Without a doubt, my favorite food is steak. And, in my mind, there is no better way to cook it than on a grill. But sometimes that can be challenging. Our kitchen is on the second floor and the grill is in the back yard. This means if I want to grill I either have to walk down the stairs through the hallway and the office to get to the back yard to man the grill, or we have to eat out on the back patio. The first becomes challenging when I am cooking other things not on the grill and am running up and down the stairs. The second is fine with one exception...we live in Seattle. This means that for at least six to nine months out of the year, it is either dark, cold or rainy (and usually some combination of the 3) which are not ideal for eating outside.
Up until tonight, when I wanted a steak I would either brave the elements and darkness to cook outside, or use a sort of double sided skillet/grill for the stove. Cooking outdoors in inclement weather is not ideal because I don't want to track things into the house, and in the darkness it is difficult to see the food in order to check for doneness. And with the skillet/grill plate, it took up two burners on the stove which made it challenging if I was cooking a couple of sides, and the temperature was difficult to maintain since there was always a part of it not directly on the heat. Not to mention I couldn't put anything directly on it. I made this mistake once and ended up using steel wool and scrubbing away the coating on the metal. So, what was different about tonight? Enter the Calphalon Grill Pan.

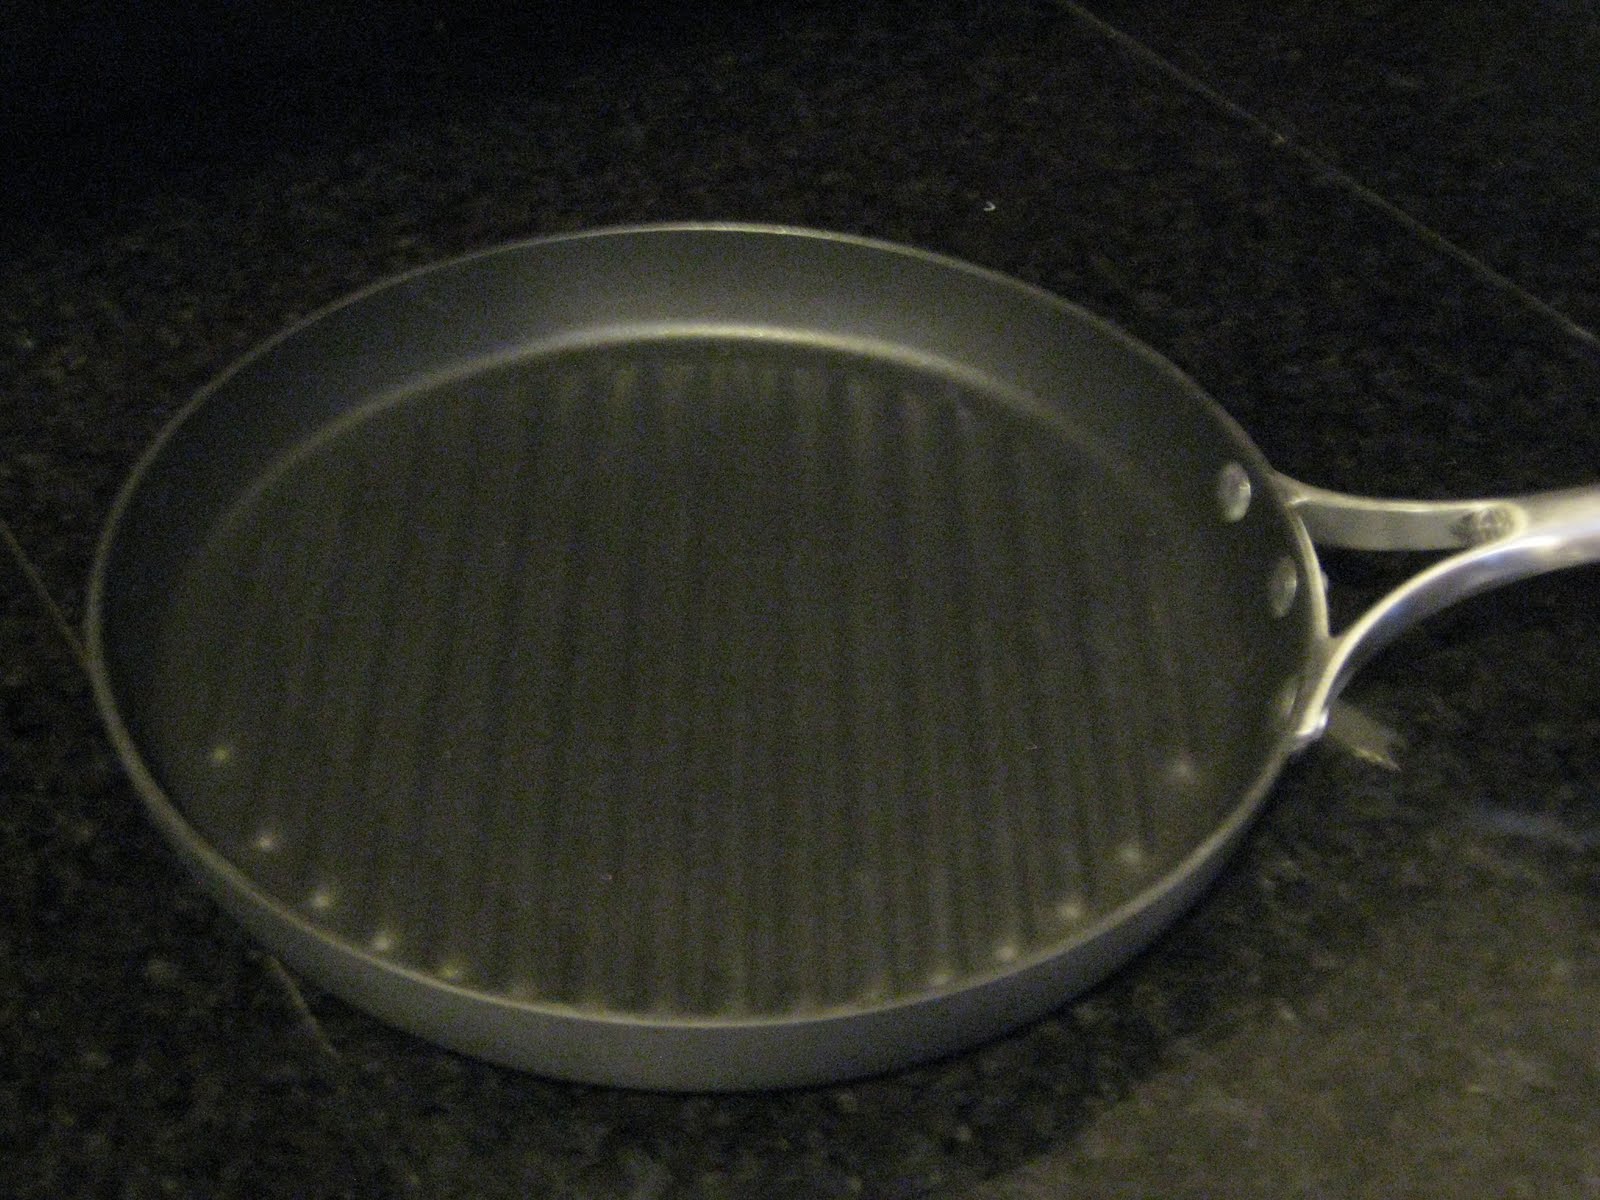
The Calphalon Grill Pan is fantastic. It is small enough that I can place it on one burner, but large enough to accommodate plenty of meat as well as regulate the temperature. It has the raised grill ridges, but is made of a non-stick surface that nicely releases the meat to flip without the need to heavily oil or spray the pan. And, it allows me to grill my steaks inside, upstairs during inclement weather and darkness like I experienced tonight. When we got this pan for our wedding, I had a feeling it was going to be the first thing that I tried.
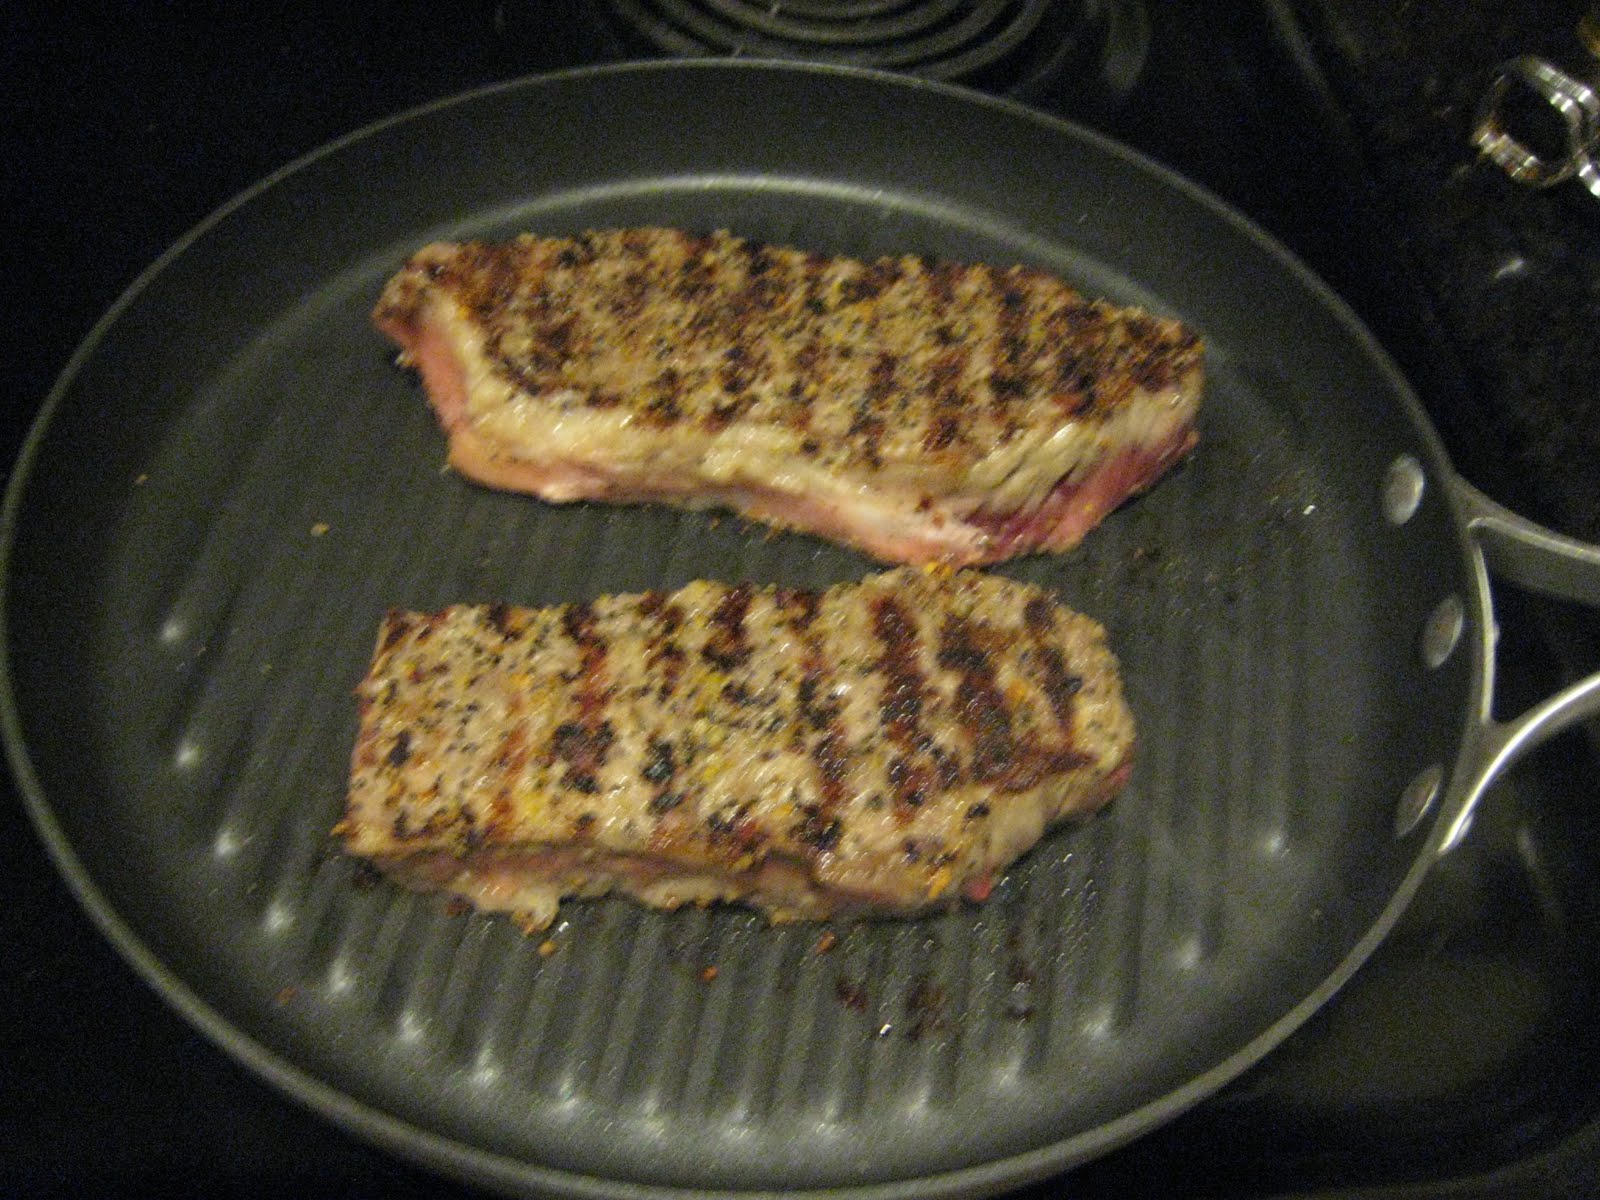
Usually when I do a steak dinner, I like to keep things simple. My preferred cut of meat is a rib eye, followed by a New York Strip. I always buy my meat at Whole Foods because of the level of quality I know I'm going to get (though I bet if I searched enough I could find a butcher with even higher quality meat). At Whole Foods they do a great job, cutting nice thick steaks that are well marbled and incredibly flavorful. On most days I go with the "regular" steaks, but on days when I want to splurge I go with the dry-aged. There is nothing like a dry-aged rib eye to put a smile on my face. For dinner tonight, I opted for the New York Strip because they happened to be on special.

In preparing my steaks, I don't do anything particularly special. I first put on some Montreal Steak Seasoning (hands down the best I've used). It is primarily sea salt and black peppercorns, with a little bit of garlic and other seasonings. For Jennifer's steak I sprinkle it on and rub it in. For mine, I add it much more liberally and press it down into the meat with the goal being to create a sort of crust when it is cooked. It will be a little saltier and have a little more of a pepper kick. Then I brushed a little bit of extra virgin olive oil on both sides (you can do the olive oil first and then the spices). I put her steak on first as she likes it medium, and wait a little bit before adding mine. One of the tricks to a great steak is to not move it around that much. Put it on one side, let it cook, flip it, and let it cook. Sometimes I'll do a quick flip just to put the cross grill marks on, but that's just for looks. Then, take it out and let it rest for at least five minutes. I learned this from watching multiple cooking shows and you do it for good reason. By letting it rest, the juices stay in the meat, and it stays nice and moist while you eat it. if you cut into a steak right away, the juices flow out, and then meat tends to dry out.
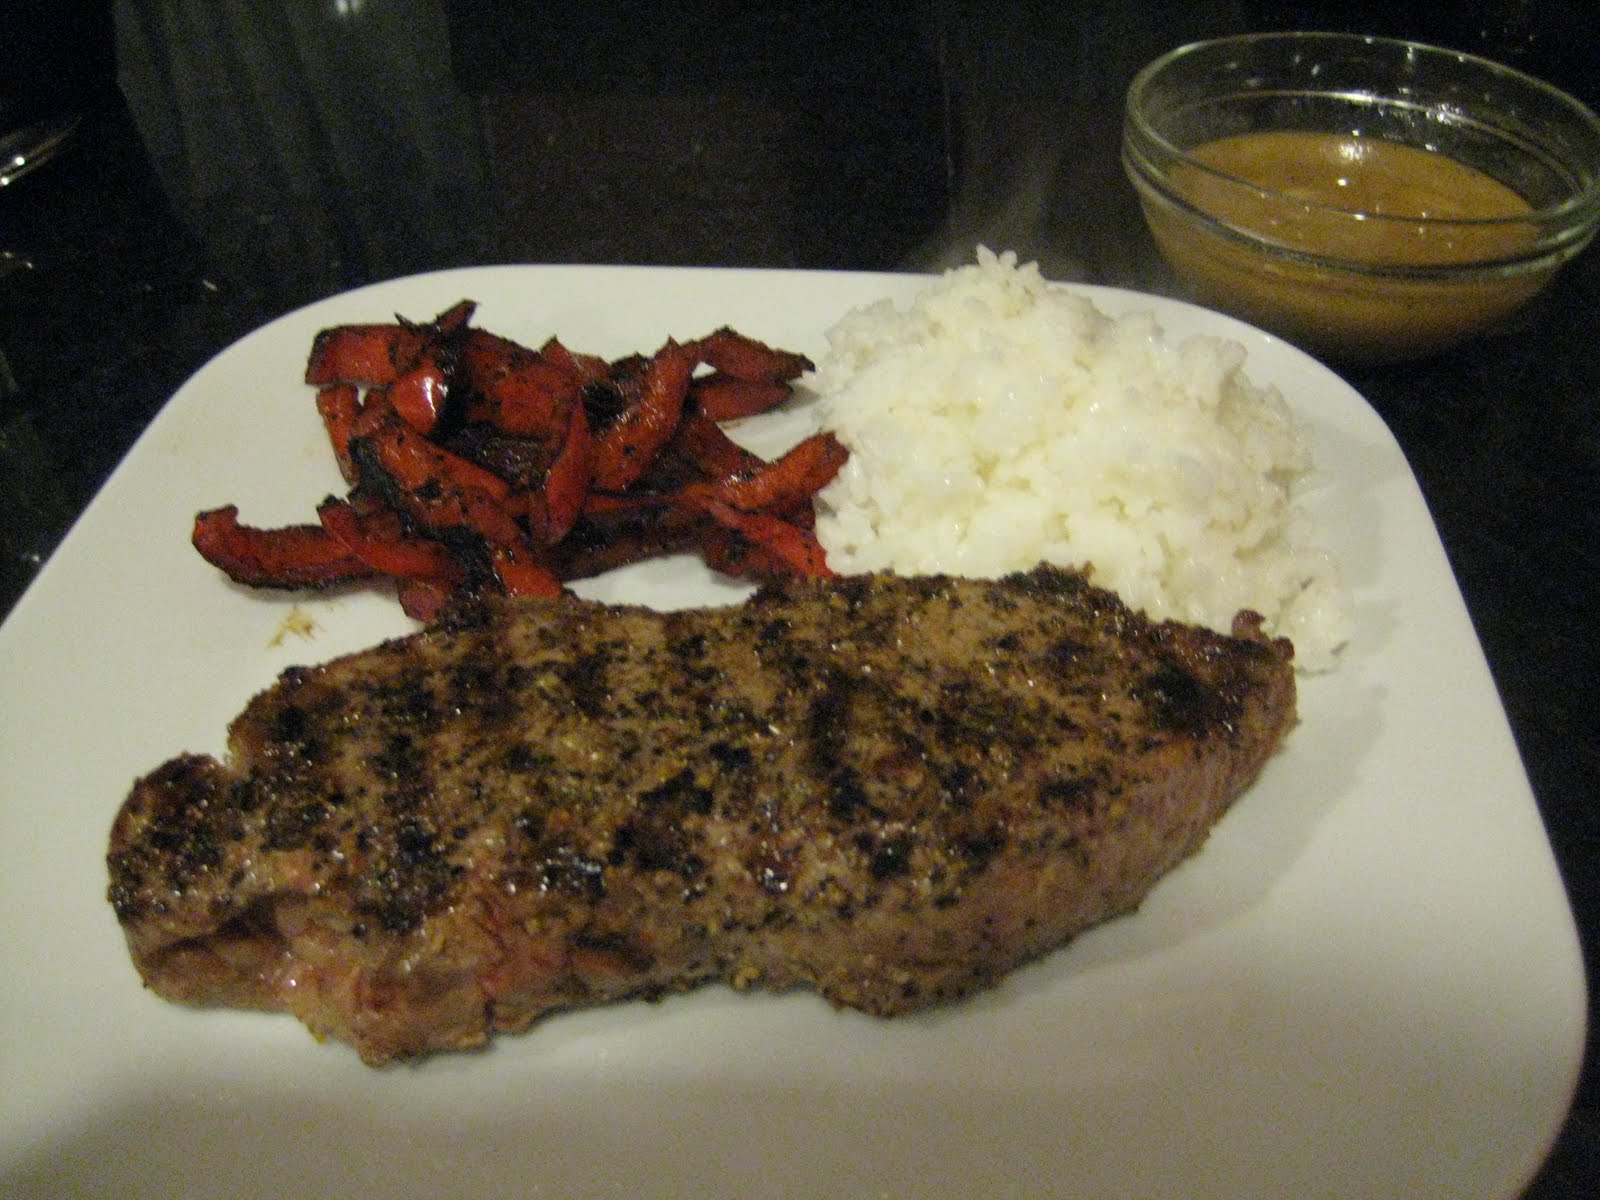
To accompany the steaks, I made some steamed white rice (Asian style in the rice cooker) and sauteed some sliced red pepper in olive oil, salt, pepper, and a splash of balsamic vinegar. I also made up a honey dijon vinaigrette to accompany the steaks. The thing is, we never used it because both of us prefer to just have a very well-cooked steak that doesn't need any type of steak sauce or anything. In fact, if I'm putting steak sauce on a steak, someone screwed up.

I am super excited about the Grill Pan. I do still need to figure out how to maximize it a little bit more. I don't think I got it quite hot enough, which led to Jennifer's steak being a little closer to medium rare, and mine a little closer to rare, though the came out much better than when I used the skillet/grill plate. The amount of smoke generated was less than previous methods, and I was able to cook directly on the pan without the need for an aluminum foil liner. Many more meals will definitely be cooked this way, at least until we get a couple of sunny afternoons.


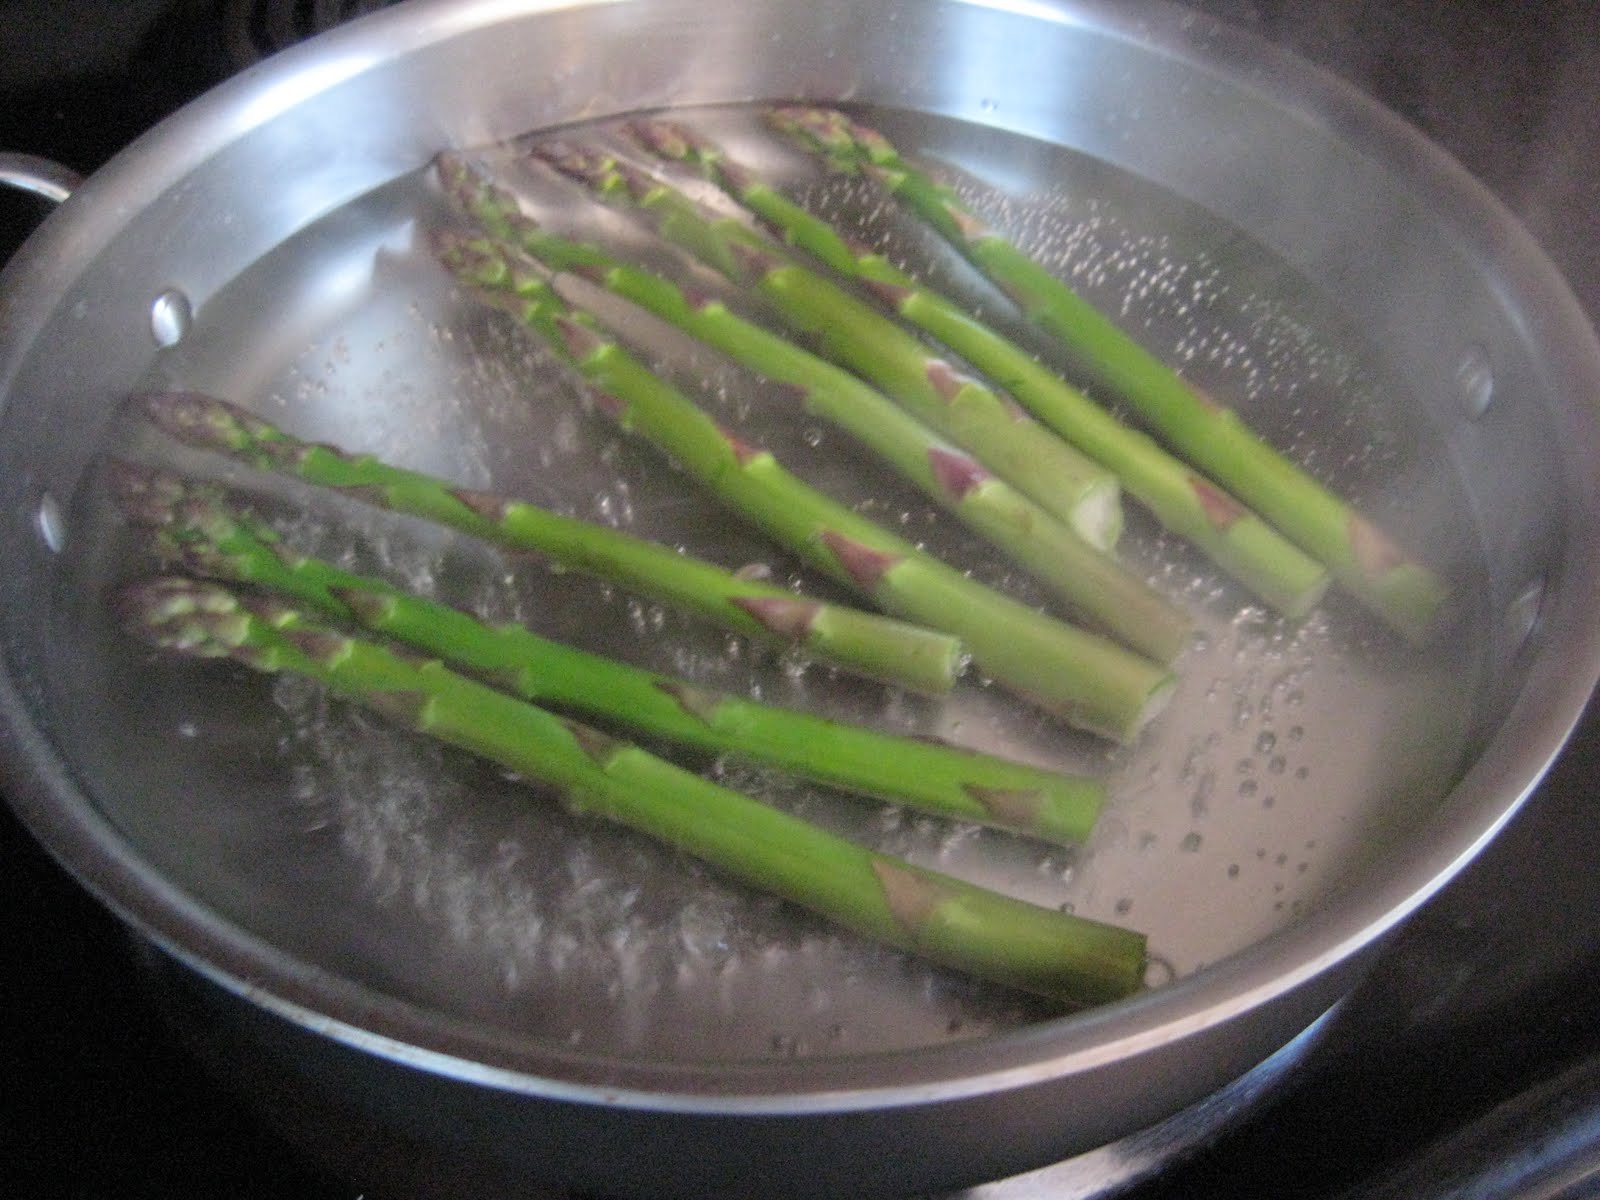

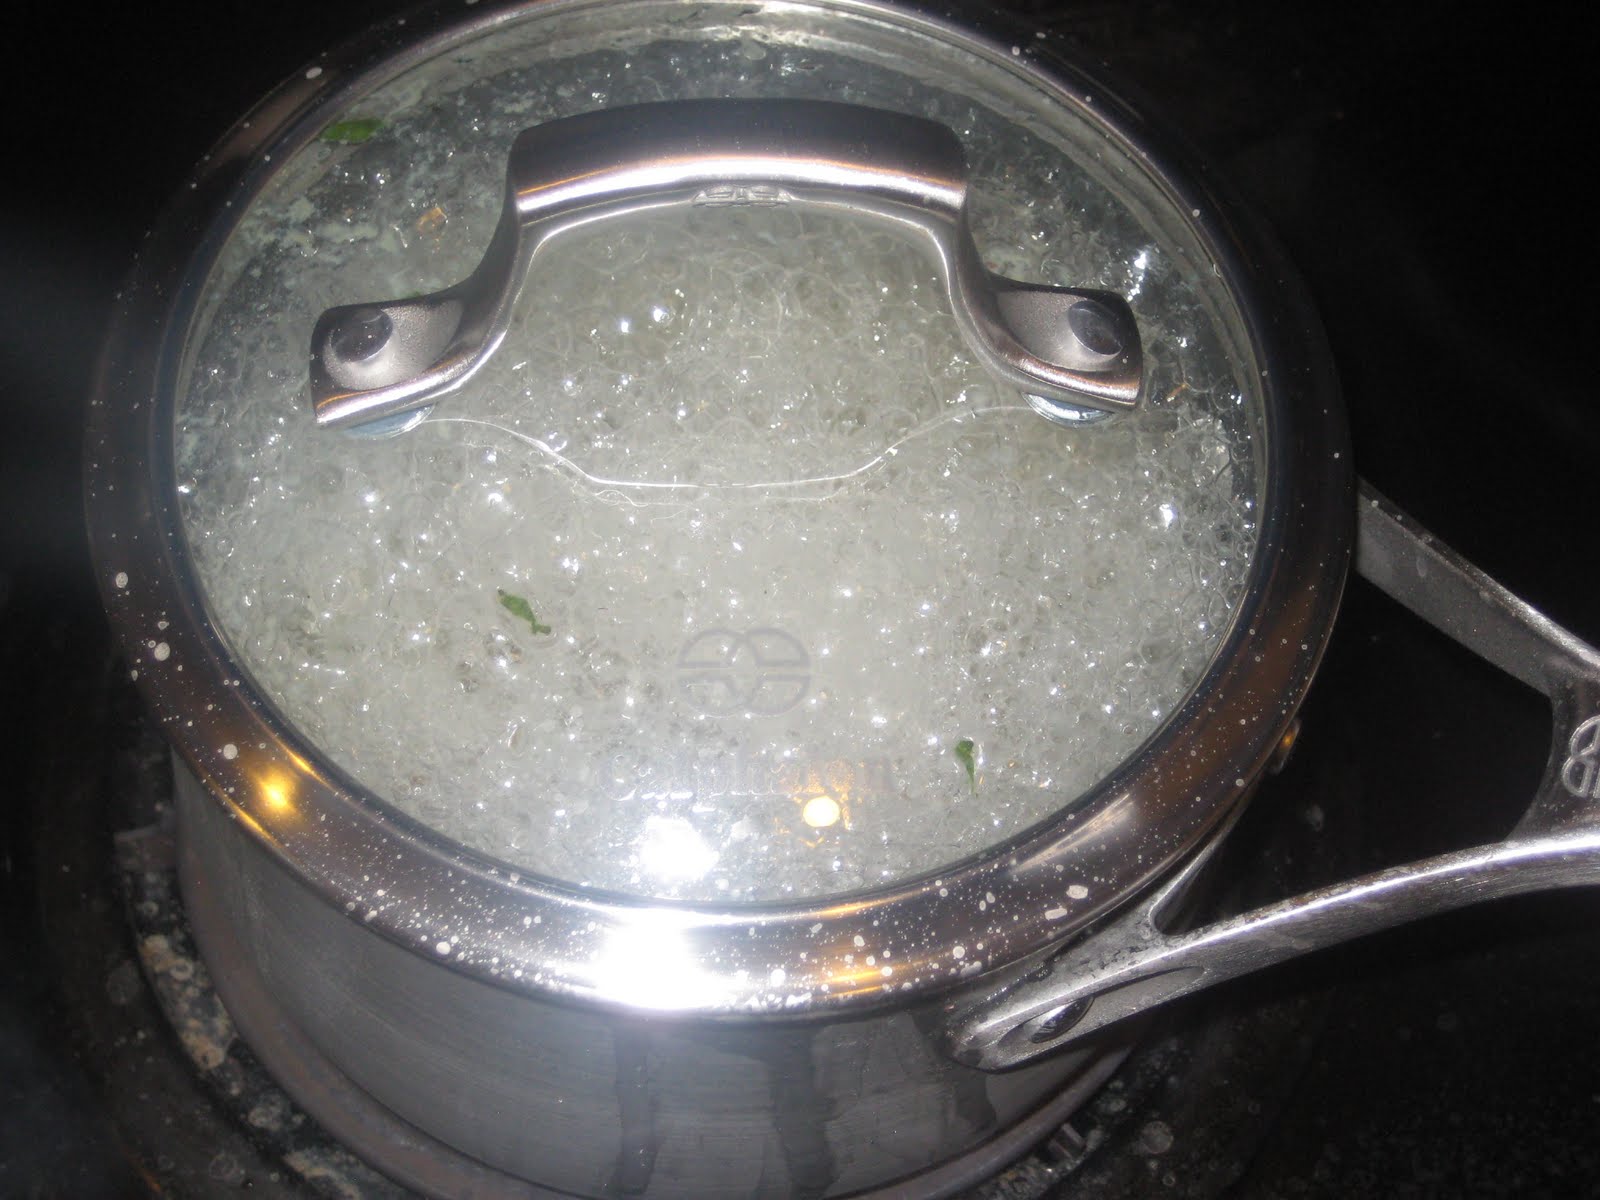
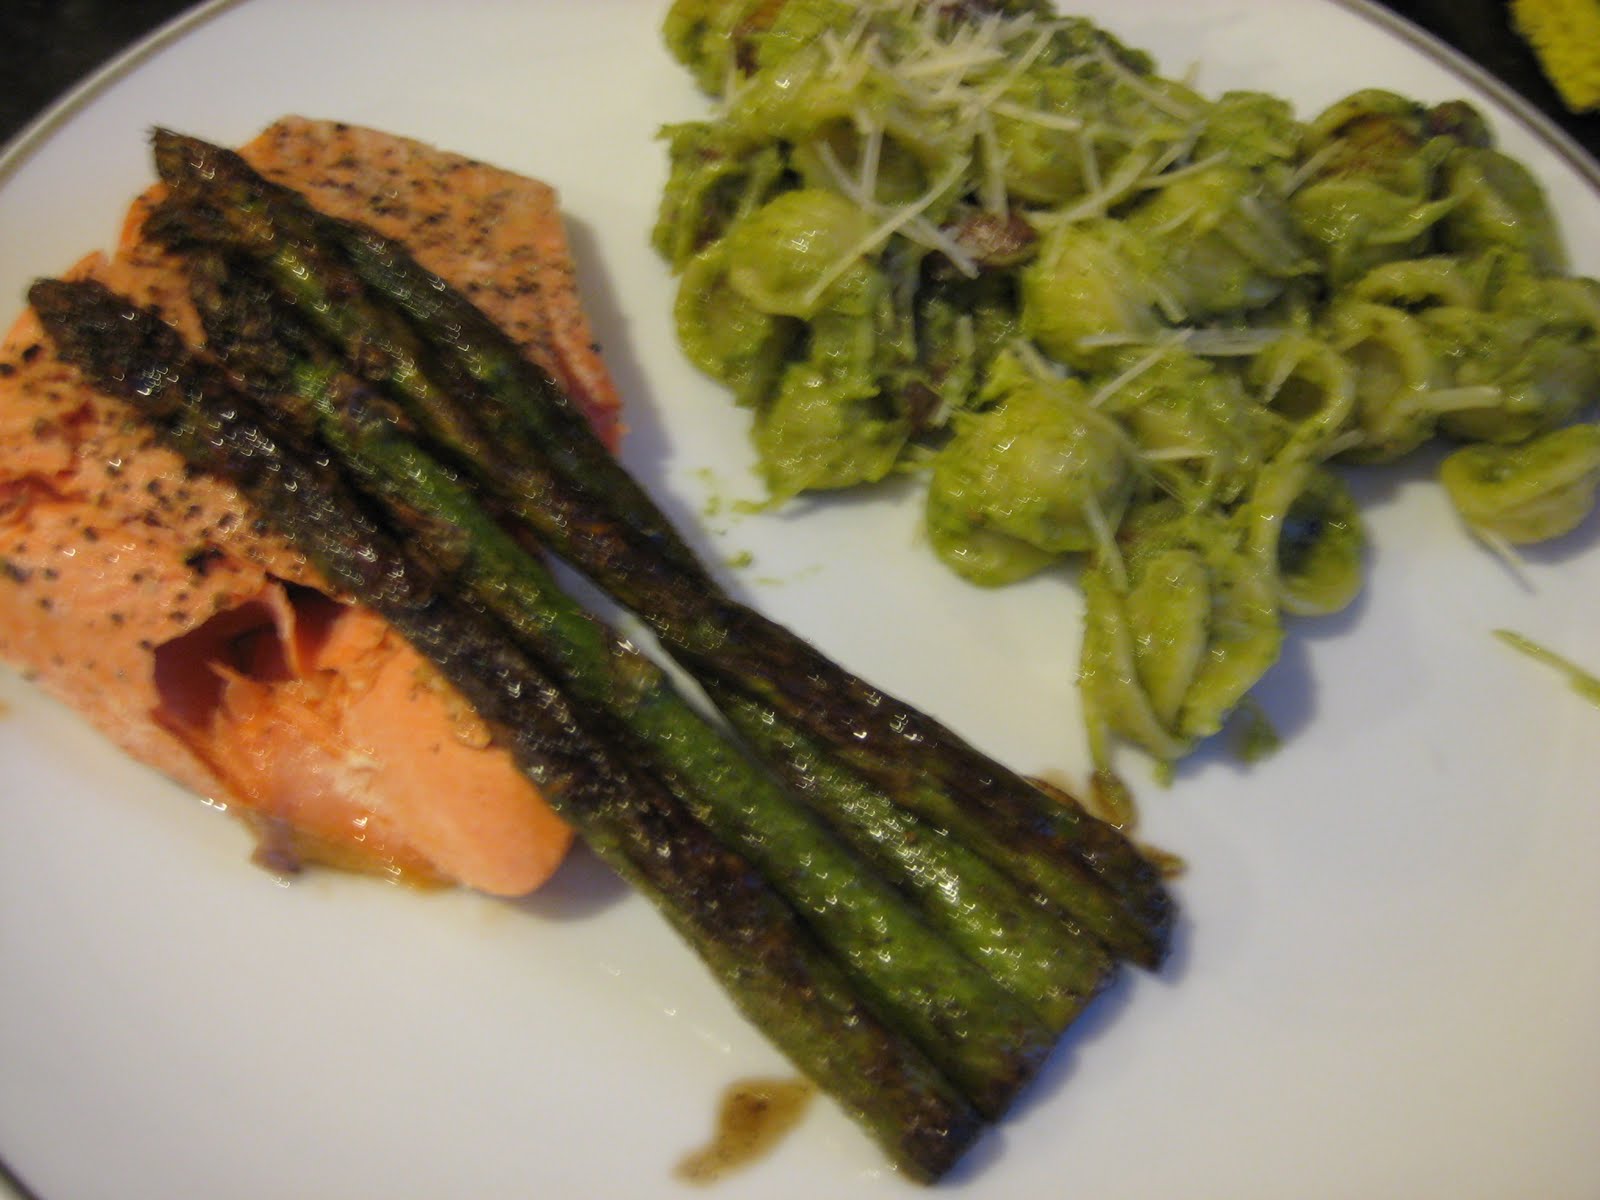
 You simply melt about a table spoon of butter over medium-high heat in a skillet. While the butter is melting, season the salmon with salt and pepper. Lay the piece of salmon in the butter and pour a little bit of water around the outside. This will create steam. Put the lid on the skillet, reduce the heat to medium-low, and let steam for about 5-7 minutes. At that time, remove it from the heat, but leave the lid on for about 3 more minutes. Then, open the lid, and serve. The times will vary depending on the thickness, and definitely takes some practice to get just right. There is a pretty fine line between beautifully cooked and overcooked. To finish the dish, I sauteed the remaining asparagus in a little bit of butter and olive oil, with some salt and pepper.