About Me

My Photo
Michael
This blog is about 3 things. First, eating out and telling you about it. Writing food reviews is fun and enjoyable. Second, making my own meals and sharing recipes. I'm all about simple, easy, and tasty. Third, tackling some challenges in my cookbooks. This way I learn techniques and flavors that I can add to my own cooking. And it all adds up to lots of talk about lots of food. I'm getting hungry just thinking about it.
View my complete profile
Deck On Food Seattle restaurants
Showing posts with label Recipe. Show all posts

Wednesday, July 14, 2010

Deck's Shrimp Scampi

THIS IS A REPOST FROM DECKONFOOD.COM.  http://deckonfood.com/?p=490

Almost every time we spend more than a couple days with Jennifer's sister, I get a request for shrimp scampi.  According to her, mine is the only one that she really likes (and I have no problem going along with that).  Shrimp is one of those things that is very tasty and quick to cook, but at the same time can be easily overcooked, so the key to this dish is cooking the shrimp over medium-low heat, flipping them only once.  I started cooking this about 4 years ago, and have worked to refine it and make it delicious.

The shrimp can be served in a number of different ways, but my favorite is over pasta.  And tonight I took it up a notch making fresh homemade pasta which was delicious.

At this point, the recipe is simply for the shrimp preparation itself, as I'm still working through some sauce ideas. I think if I take the remaining white wine/butter sauce, and add a little bit of heavy cream and some seasoning I might have something.  In the meantime, I use a creamy pesto sauce from Knorr's, which has been a fan favorite.

Deck's Shrimp Scampi

Serves 2
Ingredients:
  • 1 lb. Shrimp, shelled and deveined
  • 1/4 cup sweet cream butter
  • 1/4 cup dry white wine
  • 1 Tbsp chopped fresh basil
  • 3 cloves garlic, chopped
  • Salt and pepper for seasoning
Step 1 - Over medium-low heat (about 4 or 5 on the 1-10 dial), melt the butter in a 10-inch skillet.  Once the butter is foaming, just before it begins to brown, add the garlic and sauté for about 2 minutes until it starts release its aroma.


Step 2 - While the butter is browning, remove the tails from the shrimp and season with salt and pepper (about a 3 finger pinch of salt per pound, pepper to taste).  You don't want to put the salt on too early or it can dry out the shrimp and leave it a little tough.

Step 3 - Add the shrimp to the butter and garlic.  Make sure all of them are laying flat in the skillet.  Once theyare in the butter, add the white wine.  Cook for about 2 minutes (until just cooked through), and then flip over.

Step 4 - Just before the shrimp is done, sprinkle the chopped basil over the shrimp.  Then remove with a slotted spoon, and serve over the top of your pasta or rice.

Jennifer's Rhubarb Crisp

THIS IS A REPOST FROM DECKONFOOD.COM.  http://deckonfood.com/?p=475

When it comes to summer time food, there is nothing that says summer to me more than rhubarb.  Every summer, my grandmother would turn her rhubarb into a plethora of delicious dishes from pies to jams to breads.  I was excited when I found out that Jennifer is a rhubarb fan as well.  In fact, when we first into our house, one of the first things we planted was rhubarb.  And while we've not been very successful growing much in our garden, the rhubarb is currently flourishing.

I'm definitely not the only one in the house that can cook.  While Jennifer doesn't cook a lot, there are some things that she does really well.  And one these things just happens to be one of my favorite rhubarb preparations.  The tartness of the rhubarb combines so well with sweet fruits and a nice crumble on the top.  Add a little vanilla ice cream and it's a wonderfully simple summer dessert.

Jennifer's Strawberry Rhubarb Crips

Serves 6-8
Ingredients:
  • 1 pint fresh strawberries
  • 2-3 cups fresh chopped rhubarb
  • 1 cup white granulated sugar
  • 1/2 cup sweet cream butter at room temperature
  • 3/4 cup flour
  • 1 tsp cinnamon
  • 1/2 tsp ginger
  • 1/2 tsp salt
Preheat your oven to 350 degrees
Step 1:  Cut the rhubarb and strawberries into bite-sized pieces.  You should have 4-5 cups of fruit.  Place all of the fruit into a 2-qt casserole dish or 8" square baking dish.
Step 2: In a separate mixing bowl, add the remaining ingredients.  Using your hands, mix everything together until it forms into a nice crumble.  It should be falling apart, not forming into a dough.

Step 3: Place in the oven and bake for 50-60 minutes until the crumble is golden brown on the top, and the fruit is bubbling around the sides.  Serve in a bowl with some vanilla ice cream.


Deck's Fried Chicken


THIS IS A REPOST FROM DECKONFOOD.COM.  http://deckonfood.com/?p=428

Tuesday, July 6 was a typical day for me.  I'd headed into work in the morning with my coffee and lunch.  I was working away, answering e-mails, making phone calls, etc.  About mid-way through the day, I saw a tweet come across with some recipes to help celebrate National Fried Chicken Day.  Two things crossed my mind.  First, I need to figure out when more of these national food days are (almost missed National Grilled Cheese Day too).  Second, how was I going to celebrate?  I then realized that before leaving, I had pulled some chicken breasts out of the freezer.  Needless to say, I was stoked!  I spent the rest of the day trying to figure out how I wanted to cook the chicken (well, in between working of course).  I thought maybe strips, or I could just fry
them whole.  When I got home, I was still debating when I realized I hadn't pulled out chicken breasts.  I'd pulled out chicken legs; even better!  And so I got ready to make myself some fried chicken.

This was my second attempt at fried chicken actually.  The first time it didn't go so well. The chicken ended upcoming out bland and over breaded.  It was there that I realized not to skimp on spices, and how to properly bread the chicken.  Let's just say, second time is the charm, and that's why instead of an experience, you are getting a recipe!  The spice mix is definitely something you can tweak, as I'm sure I will, but I promise that using this one, you are going to get very moist, flavorful chicken that will have you licking your fingers and wanting more!

Deck's Fried Chicken

Serves 2
Ingredients:


Don't skimp!

  • 2 Chicken Legs
  • 1 pint Buttermilk
  • 2 cups all-purpose flour
  • 1/4 cup paprika
  • 2 Tbsp Lawry's Seasoned Salt
  • 1 Tbsp Garlic Powder
  • 1/4 cup ground black pepper
  • 2 Tbsp light brown sugar
  • 1 tsp Allspice (optional)

Step 1 - Clean/rinse the chicken and pat dry.  Separate into thighs and drumsticks.  Place the chicken in ashallow baking dish, and pour in the buttermilk.  Cover and refrigerator for at least 4 hours and up to 24 hours.
Step 2 - Preheat your oil to 350 degrees.  You can either use a small deep fryer like I use, or a pot that holds enough oil to completely submerge the chicken.  Use a light oil like vegetable or peanut oil that doesn't add flavor to the chicken.
Step 3 - Mix all of the dry ingredients together in a shallow pan.
Step 4 - Take one piece of chicken out of the buttermilk, and wipe off the excess.  Place it in the spice mixture and coat evenly.  Then dip it back in the buttermilk, and then back into the spice mixture (should be buttermilk, spices, buttermilk, spices).  Repeat this with each of the remaining pieces.
Step 5 - Place the pieces of chicken gently into the oil so as not to splash yourself, and cook for about 5-7 minutes until the outside is a nice brown texture (go past golden brown, but not quite dark brown).  Remove from the oil and place on paper towels.  Let rest 3-5 additional minutes.
That's all it takes.  You chicken should be juicy, flavorful, and delicious!  Happy Fried Chicken Day!


Delicious Fried Chicken with my Roasted Corn Salad and Potatoes a la Michael Symon

Sunday, June 27, 2010

Deck's Coca-Cola Braised Short Ribs

Every now and then a group of guys get together to watch sports and eat meat, a day known as Meat Day.  When I received my first invitation to a Meat Day, I knew I wanted to make something that would assure I got a second invitation.  After a bit of consideration, I decided that I wanted to do a Coca-Cola braised short rib; trying to infuse some sweet and some spice to my Meat Day offering.  However, after looking online for a recipe, I couldn't find anything that I really liked.  Many of them had a lot of different ingredients, or were braised at a high temperature.  After, a few different sites, I just decided to do it on my own and come up with a recipe.  I don't know if you would call this so much of a braise since I ended up using the slow cooker, and quite a few ribs were completely submerged, but it definitely produced the result I was looking for.

This recipe is very simple, but it does take a bit of prep time.  You start seasoning a minimum of 12 hours prior to placing the ribs in the slow cooker, and then let them cook for at least 6 hours.  But it's worth it when the meat develops a buttery texture that just falls off the bone!

Deck's Coca-Cola Braised Short Ribs

Serves 4-6

Ingredients:

4 lbs. Beef Short Ribs
2 Liter Coca-Cola
~30 Bing Cherries
1/2 lb. thick cut bacon
3 Fresno chiles
1 small onion
1 cup chicken stock
2 tablespoons Worchestershire Sauce

Dry Rub:
1 Tbsp Cinnamon
1 Tbsp Ground Nutmeg
2 Tbsp Light Brown Sugar
1 Tbsp Paprika
1 Tbsp Garlic Powder
1 tsp Jalepeno Pepper
2 tsp Ancho Chile Pepper
1 Tbsp Black Pepper


Step 1 - About 12-24 hours prior to cooking, salt and pepper the ribs.  Leave them out at room temperature for about 30 minutes before recovering and putting back into the refrigerator. 


Step 2 - 6 to 12 hours after salting, pull the ribs back out of the refrigerator, and liberally coat with the dry rub.  Again, allow the ribs to sit out for about 30 minutes before returning them to the refrigerator.

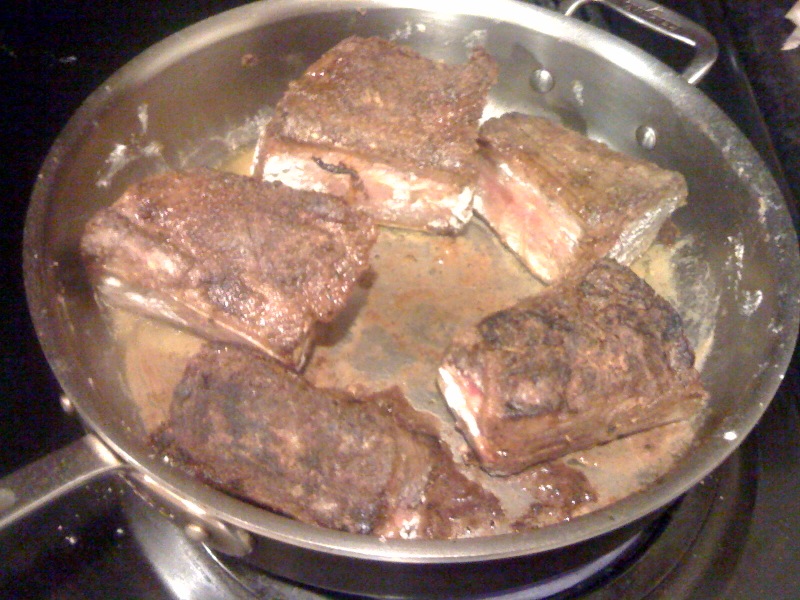
Step 3 - After the ribs have had time to absorb the flavors from the spice rub, they will need to be browned before adding to the slow cooker.  Heat a couple tablespoons of oil in a sauce pan.  Lightly dredge the ribs in some flour.  Then quickly brown all sides, about 1-2 minutes per side.  Add the browned ribs to the slow cooker.


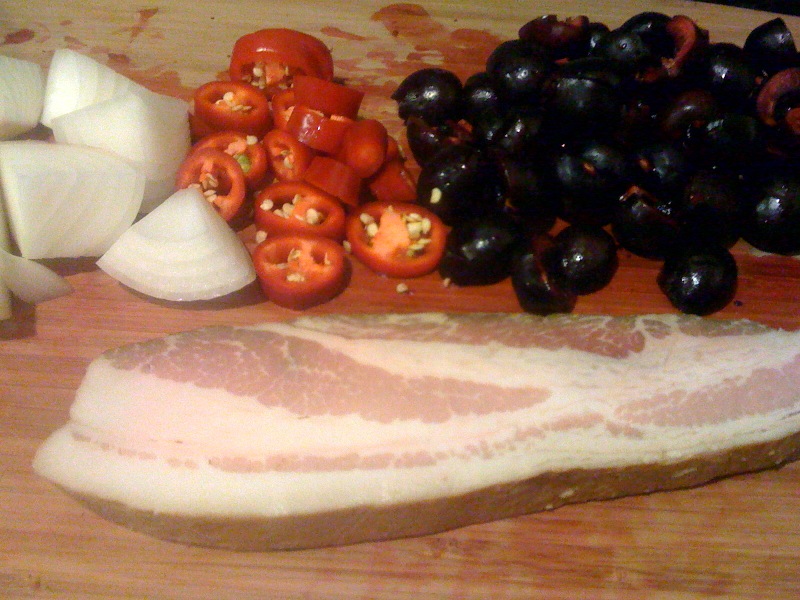
Step 4 - While the ribs are browning, pit and cut the cherries in half.  Also slice the Fresno chiles, cut the onion into 8 pieces, and cut the bacon into large chunks.  All of this can be put into the slow cooker at this point.


Step 5 - Once all of the ingredients have been added to the slow cooker, add the braising liquids.  Start by adding about a cup of the Coca-Cola first.  Then add the chicken stock and the Worchestershire Sauce.  Finish by adding enough Coca-Cola to have the pot just more than 3/4 full.  All of the ribs should be at least 1/2 covered by the liquid.

Step 6 - Set your slow cooker to low, and set the timer for 6 hours, and let it go.  At the end of the cooking time, you can leave it in the pot on warm for up to 6 hours before putting it into the refrigerator.  At this point, you can also pour some of the liquid into a sauce pan to reduce and make a sauce.  Be sure to skim off the fat from the sauce.


That's all.  The ribs should be very tender and succulent with just a bit of heat, and pull right away from the bone.

Sunday, June 20, 2010

Deck's Roasted Rosemary Chicken Breast

One of my biggest complaints about chicken breasts is too often they are dried out, and I'm sure there are a few of you that feel the same way.  And it doesn't usually matter if I make it, or I order it, there is a better than good chance that it will be dry.  So, I have been trying different things to make sure that when I make a chicken breast, it comes out moist and juicy.  I have been successful with the breaded breast (see my Chicken Parmesan recipe), but was still working on a roasted variety.  After a bit of experimentation, and a little inspiration from a Bobby Flay recipe, I have come up with this simple recipe that delivers good flavor and a very moist chicken breast.  The key to this recipe is both the bone-in, skin-on chicken breasts and the fresh rosemary.  I like to serve it with rice and some sauteed peppers, but it would be great cut up in a salad, with fresh corn, or any number of ways.

Deck's Roasted Rosemary Chicken Breast


Serves 2


Ingredients:

2 skin-on, bone-in chicken breasts
1 cup of olive oil
6 sprigs fresh rosemary
3 cloves garlic, coarsely chopped
1/2 lemon, juiced
Salt and Pepper

Step 1 - Prepare the marinade by combining the olive oil, rosemary, garlic and lemon juice in a gallon sized ziploc bag or shallow baking dish.  Salt and Pepper the chicken and then add to marinade and coat completely.  Refrigerate for at least 8 hours.  This can be prepared the night before and marinated overnight.  If possible, flip the bag halfway through the marinating time.

Step 2 - Pre-heat an oven-proof skillet over medium-high heat.  Also, pre-heat the oven to 350 degrees.  Remove the chicken from the marinade, and pour the remaining marinade into the preheated skillet.  Allow the oil to get up to temperature, about 2-3 minutes.

Step 3 - Place the chicken in the heated oil skin-side down and cook until brown and crispy, about 5-7 minutes depending on the size of the chicken breast.  Flip the chicken over, and cook for about 2 more minutes, then place the pan in the oven.

Step 4 - Roast the chicken in the oven for about 20 minutes, or until just cooked through.  If you have a leave-in thermometer, you'll want to cook it to 145 degrees.  When it is done, take it out of the oven, and let it rest for about 5 minutes on a cutting board.  Serve and enjoy!

Sunday, June 13, 2010

Deck's Super Moist Slow Cooker Pot Roast

One of the gifts that we got for our wedding was a slow cooker, and I have to say I was really excited about it.  With as busy as we are, it's nice to be able to throw something in before leaving for work, and having a delicious dinner waiting when you get home.  The most common of all things to cook in the slow cooker would be the pot roast.  I've had some great slow cooker pot roasts, and I've had some not so great. The thing that makes a great pot roast is that when you take it out it is still moist, and doesn't need to be drowned in gravy.

So, I was determined to make sure that my first slow cooker pot roast was very moist, and found there are 3 tricks to making sure that this happens:
  1. Make sure you get a cut of meat that has fat in it.  As the meat cooks, the fat renders down and keeps the meat nice and moist.  You can remove the leftover fat at the end.
  2. Sear the meat prior to cooking it.  This creates a sort of "barrier" that keeps the moisture recirculating in the meat, making it increasingly moist.
  3. Make sure you have enough liquid that it will keep the meat about 2/3 submerged through the cooking process.  If you want to make it into a gravy later, you can pour off what you need and reduce it.  
The great thing about this recipe is that it is ridiculously simple, and it turned out very well!  Feel free to modify spices and liquids to make it even better.

Deck's Super Moist Slow Cooker Pot Roast


Serves 4 (or 2 with leftovers)


Ingredients:

3 - 3 1/2 pound chuck roast (not super lean)
1 - 1 1/2 pounds fingerling or baby red potatoes
1 medium yellow onion
1 pound of carrots
1/2 bottle red wine
1 cup heavy cream
1 package onion soup mix
1/2 - 1 cup of water
Salt and Pepper

Step 1:  The day before you make the pot roast (at least 12 hours), season liberally with salt and pepper. Leave out at room temperature for about 30 minutes before returning the roast to the refrigerator.

Step 2:  In the morning, brown the roast on all sides using a little bit of oil over medium high heat.  This should take about 30 seconds to 1 minute per side.  You just want it browned.  When all six sides have been browned, place the roast in the slow cooker.


Step 3:  Cut the potatoes and carrots into medium bite size pieces.  You don't want them too small as they might get a little too mushy.  For the onion, peel it, cut it in half, and then quarter each of the halves.  Add all of this around the roast in the slow cooker.


Step 4:  Add the wine, onion soup, heavy cream, and just a bit of water to make sure that there is about 4 cups of liquid in the pot.  The roast should not be completely submerged.  Just about 3/4.

Step 5:  Set your slow cooker on low (or whatever setting cooks around 200-225 degrees).  If you have a timer, it should cook for at least 8 hours.  Then remove to a plate and enjoy.

I did not end up making gravy as the roast was so moist that it didn't need it, and I'm not a huge gravy person myself.  But you could definitely strain the liquid into a pot, reduce down for a little bit, add some flour and have a decent gravy.  Also, when the roast is done cooking, you can leave it in the liquid for as long as you need to on the warm setting.  The roast just continues to get moist, but doesn't get mushy.  We left it in for almost an additional 8 hours.


Wednesday, June 2, 2010

Deck's Chicken Parmesan

Some evenings call for a quick and easy meal, but that doesn't mean that flavor has to be sacrificed (something I now understand).  Tonight was one of those evenings, so I broke out one of my sure fire, simple and delicious recipes; Chicken Parmesan.  I'll admit that I cheated a little bit on this one, using a pre-made sauce instead of doing my own.  As my cooking evolves, so to will this recipe.  But for now, it is a great flavorful dish for the working professional.

Deck's Chicken Parmesan


Serves 2 (with some leftovers)


Ingredients:

2 Bone-in, Skin-On Chicken Breasts
1/4 - 1/2 cup of Italian Seasoned Bread Crumbs
2 Tbsp Extra Virgin Olive Oil
3 Tbsp Butter
Salt and Pepper
3 cups Marinara Sauce (I prefer the Whole Foods 365 Brand)
1/4 cup Balsamic Vinegar
1/4 cup buttermilk blue cheese
1/2 cup Shredded Parmesan cheese
Angel Hair Pasta or Spaghetti

Step 1:  Heat the oil over medium-high heat in a skillet or pan that you will be able to place in the oven.  At the same time, preheat your oven to 350, and put some salted water on to boil for your pasta.


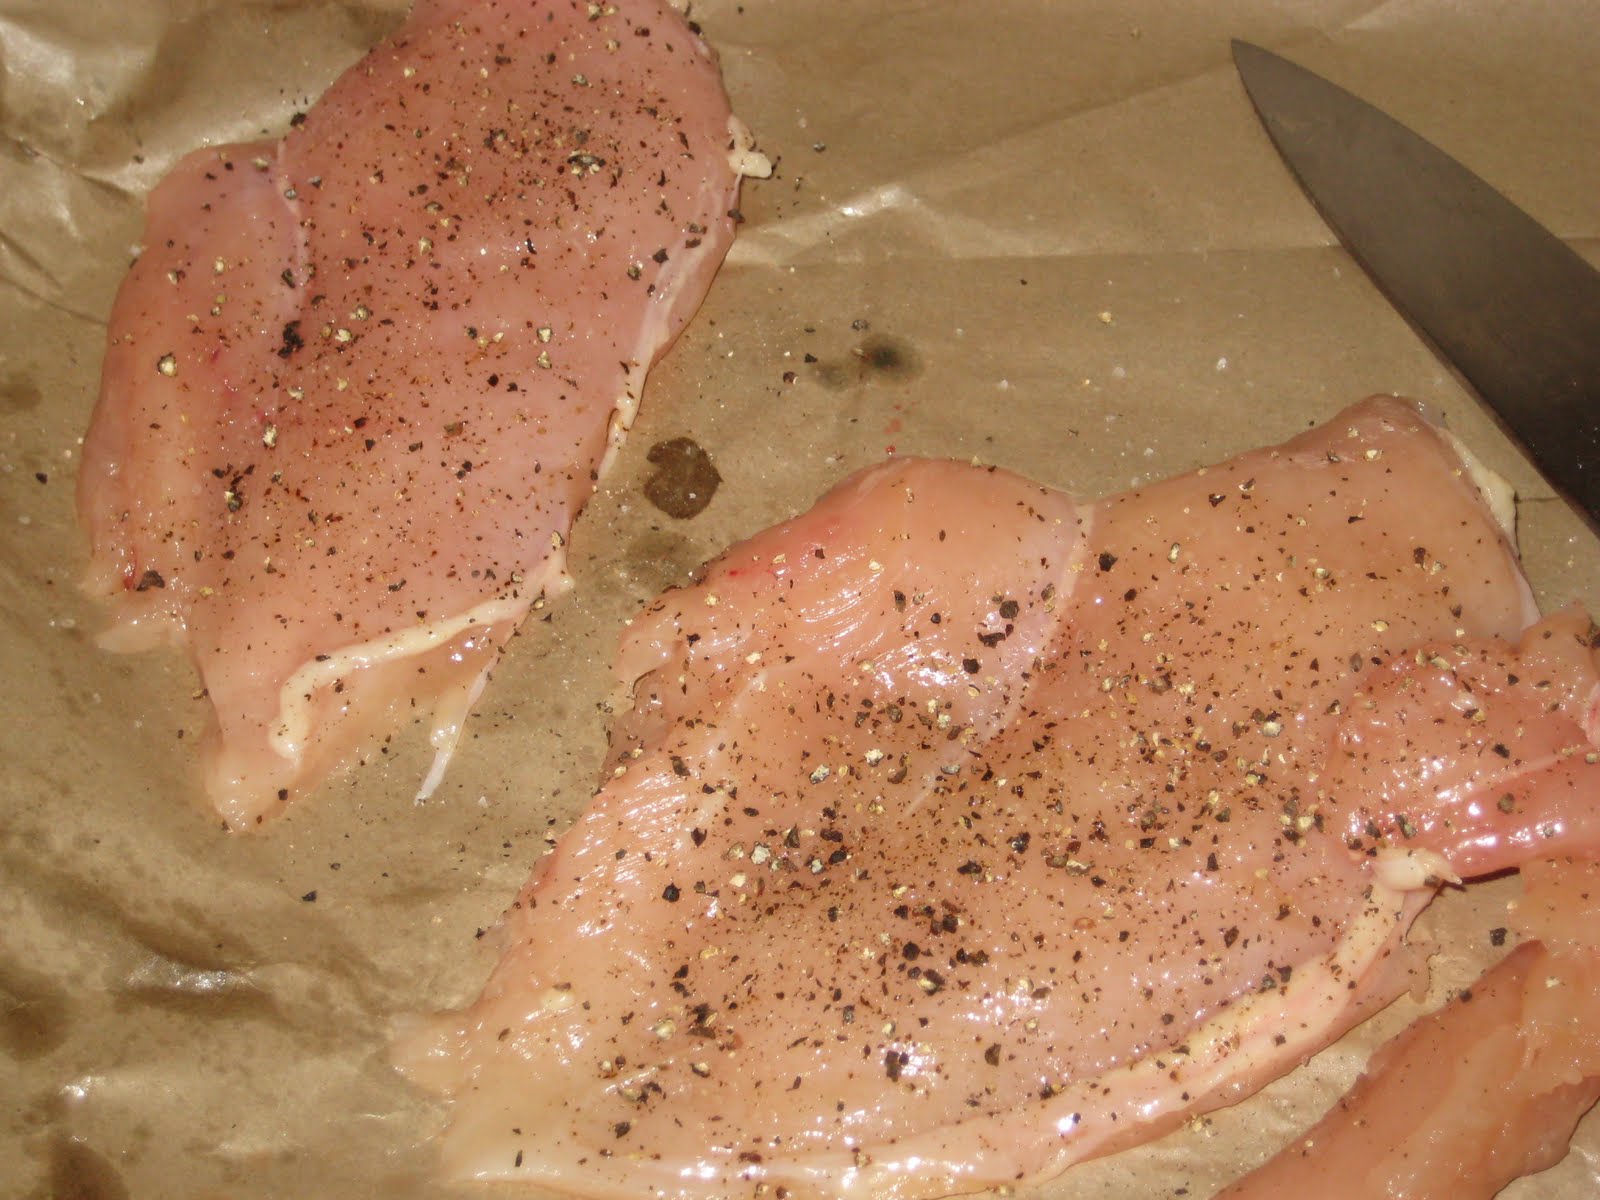
Step 2:  Remove the bone and skin from the chicken.  Then season with some salt and pepper.

Cook's note:  I prefer to purchase the bone-in, skin-on chicken breasts feeling that these help keep the chicken breasts nice and moist (not to mention being a little cheaper).  I also try and avoid freezing the chicken so that it doesn't lose any of the natural moisture.

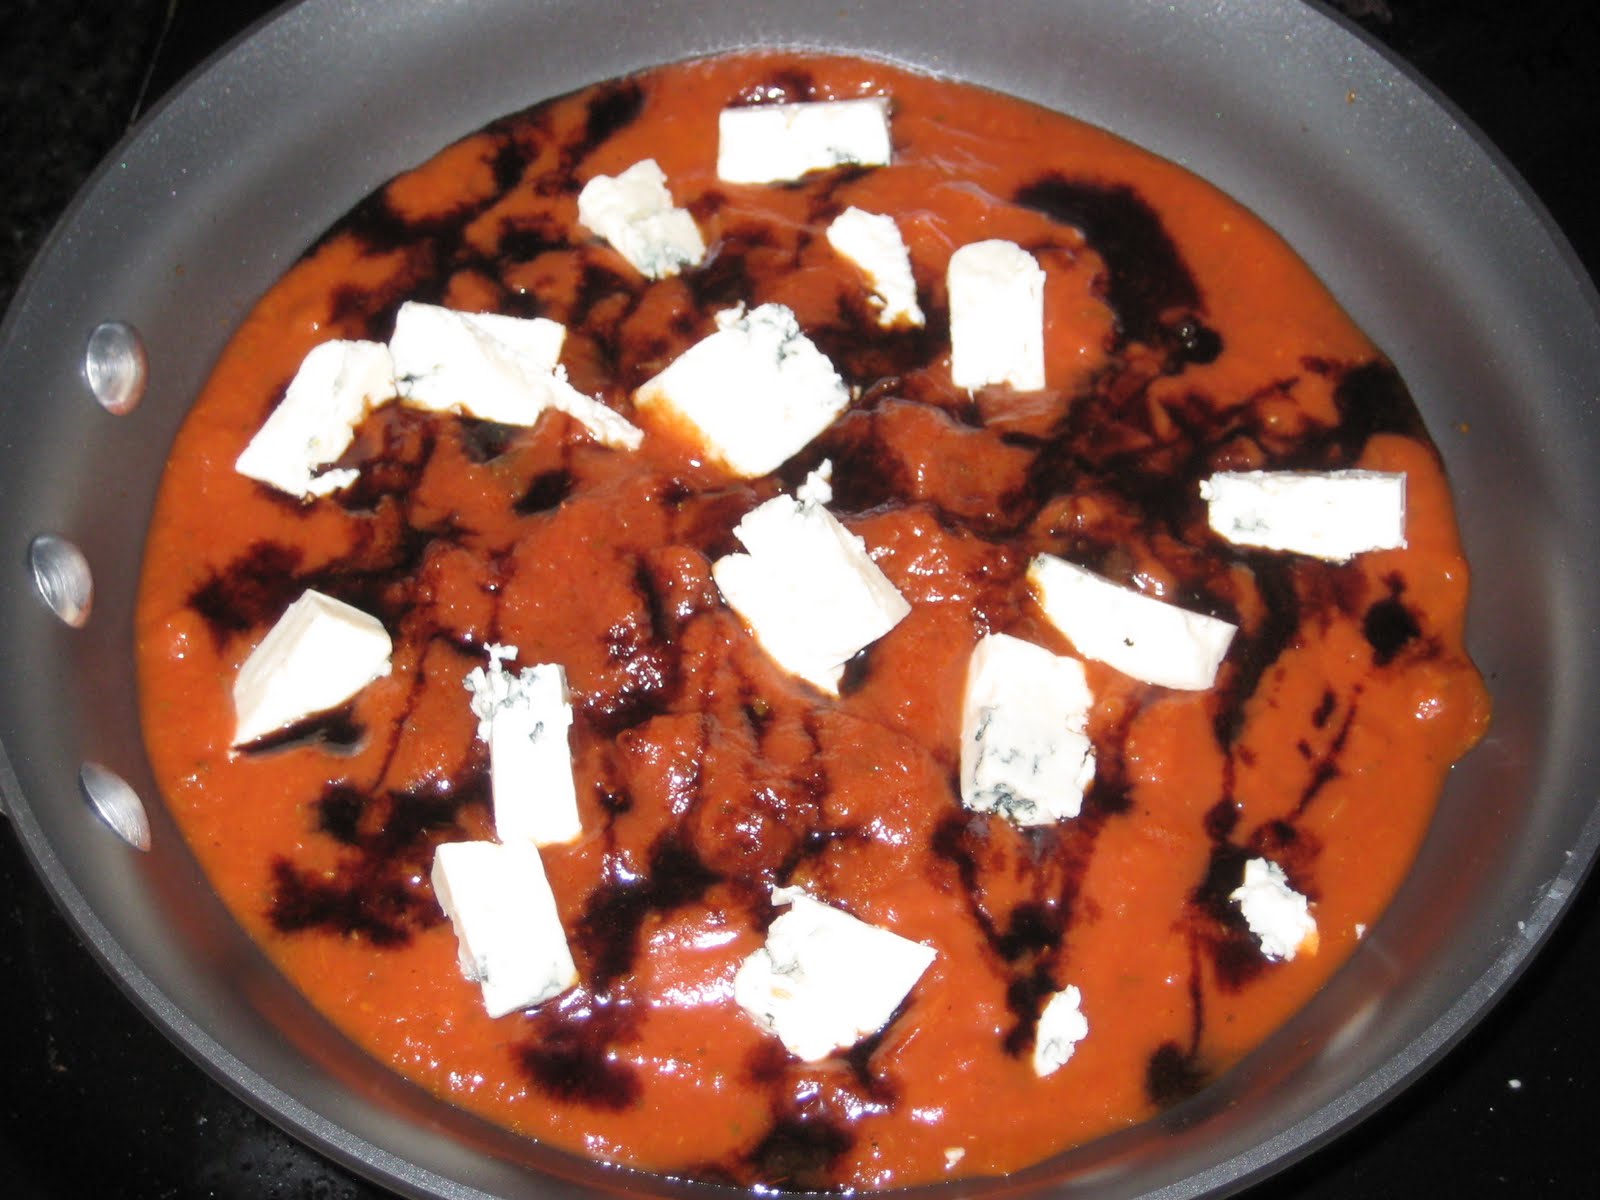
Step 3:  Melt the butter in a dish that will be big enough to lay the chicken breasts in.  While the butter is in the microwave, combine the blue cheese, balsamic vinegar and marinara sauce in a sauce pan over medium heat.  You can also add any type of herbs here (I prefer oregano and basil), as well as some fresh ground black pepper.


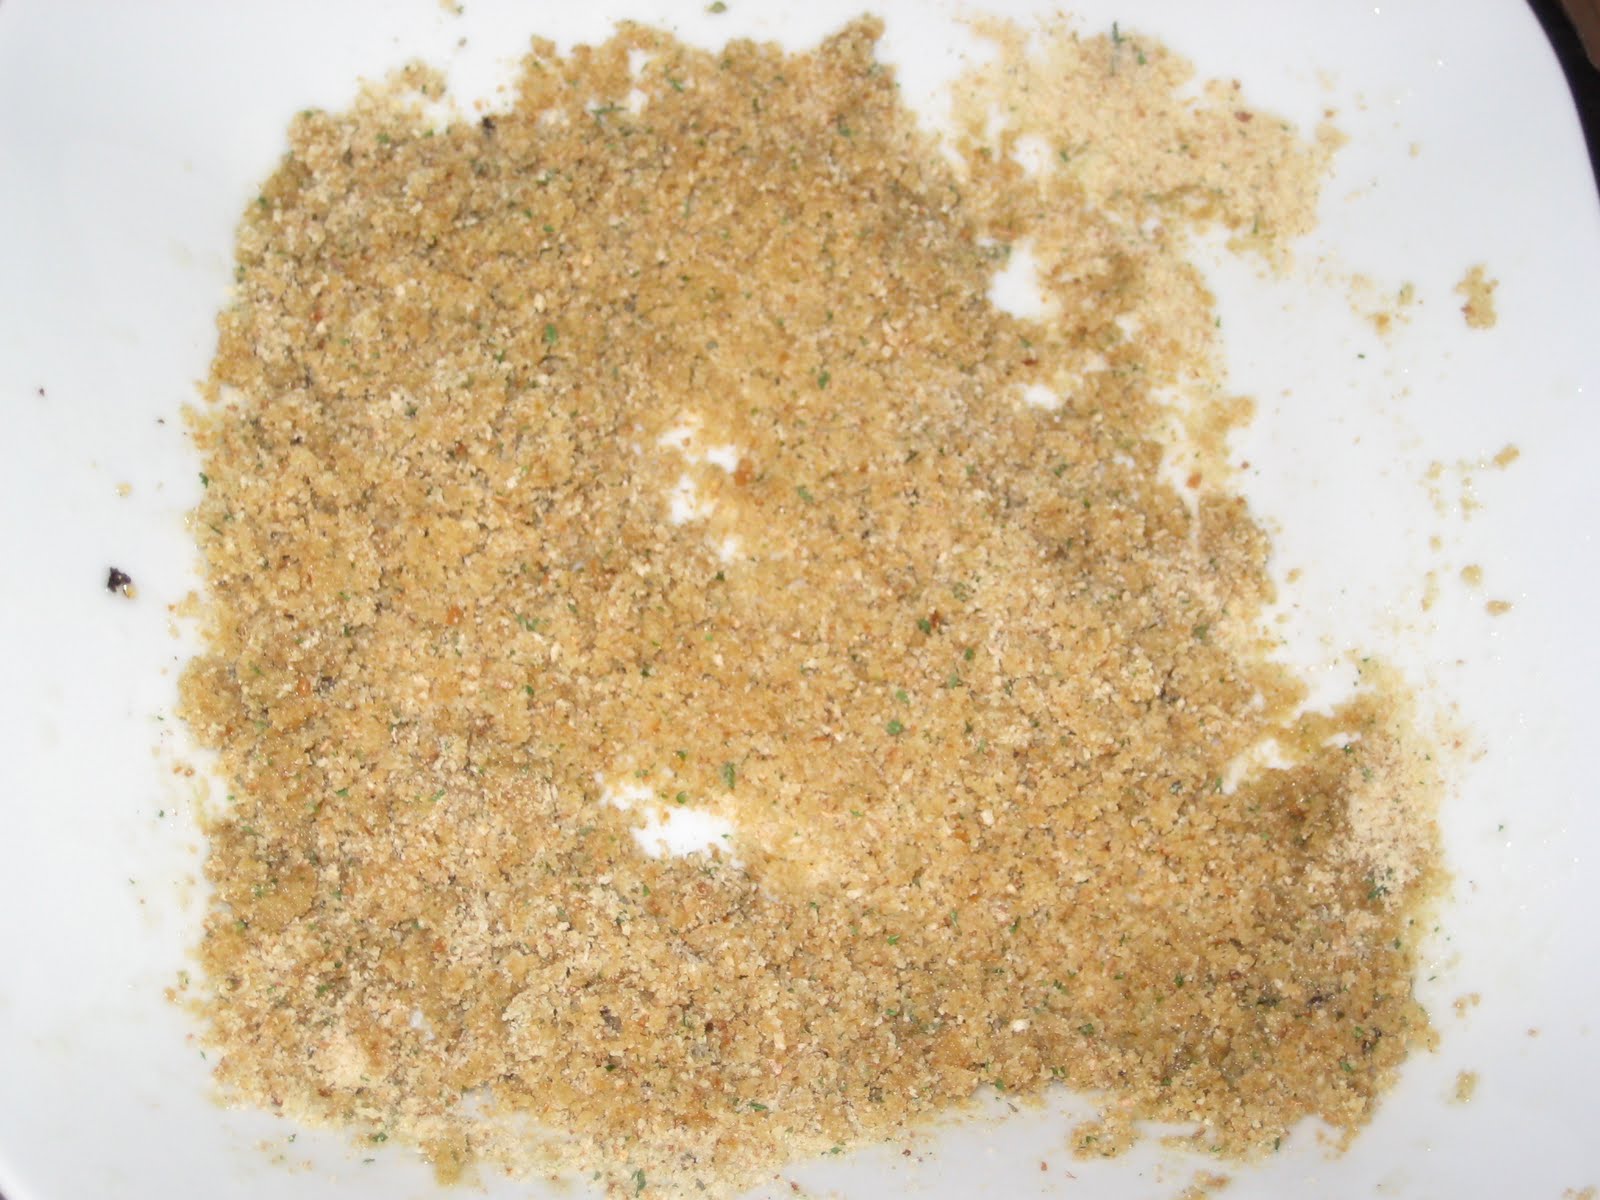
Step 4:  Brush a little bit of the melted butter on each side of the chicken breast.  You just want to put a thin layer on.  Add the bread crumbs to the remaining butter and mix together.


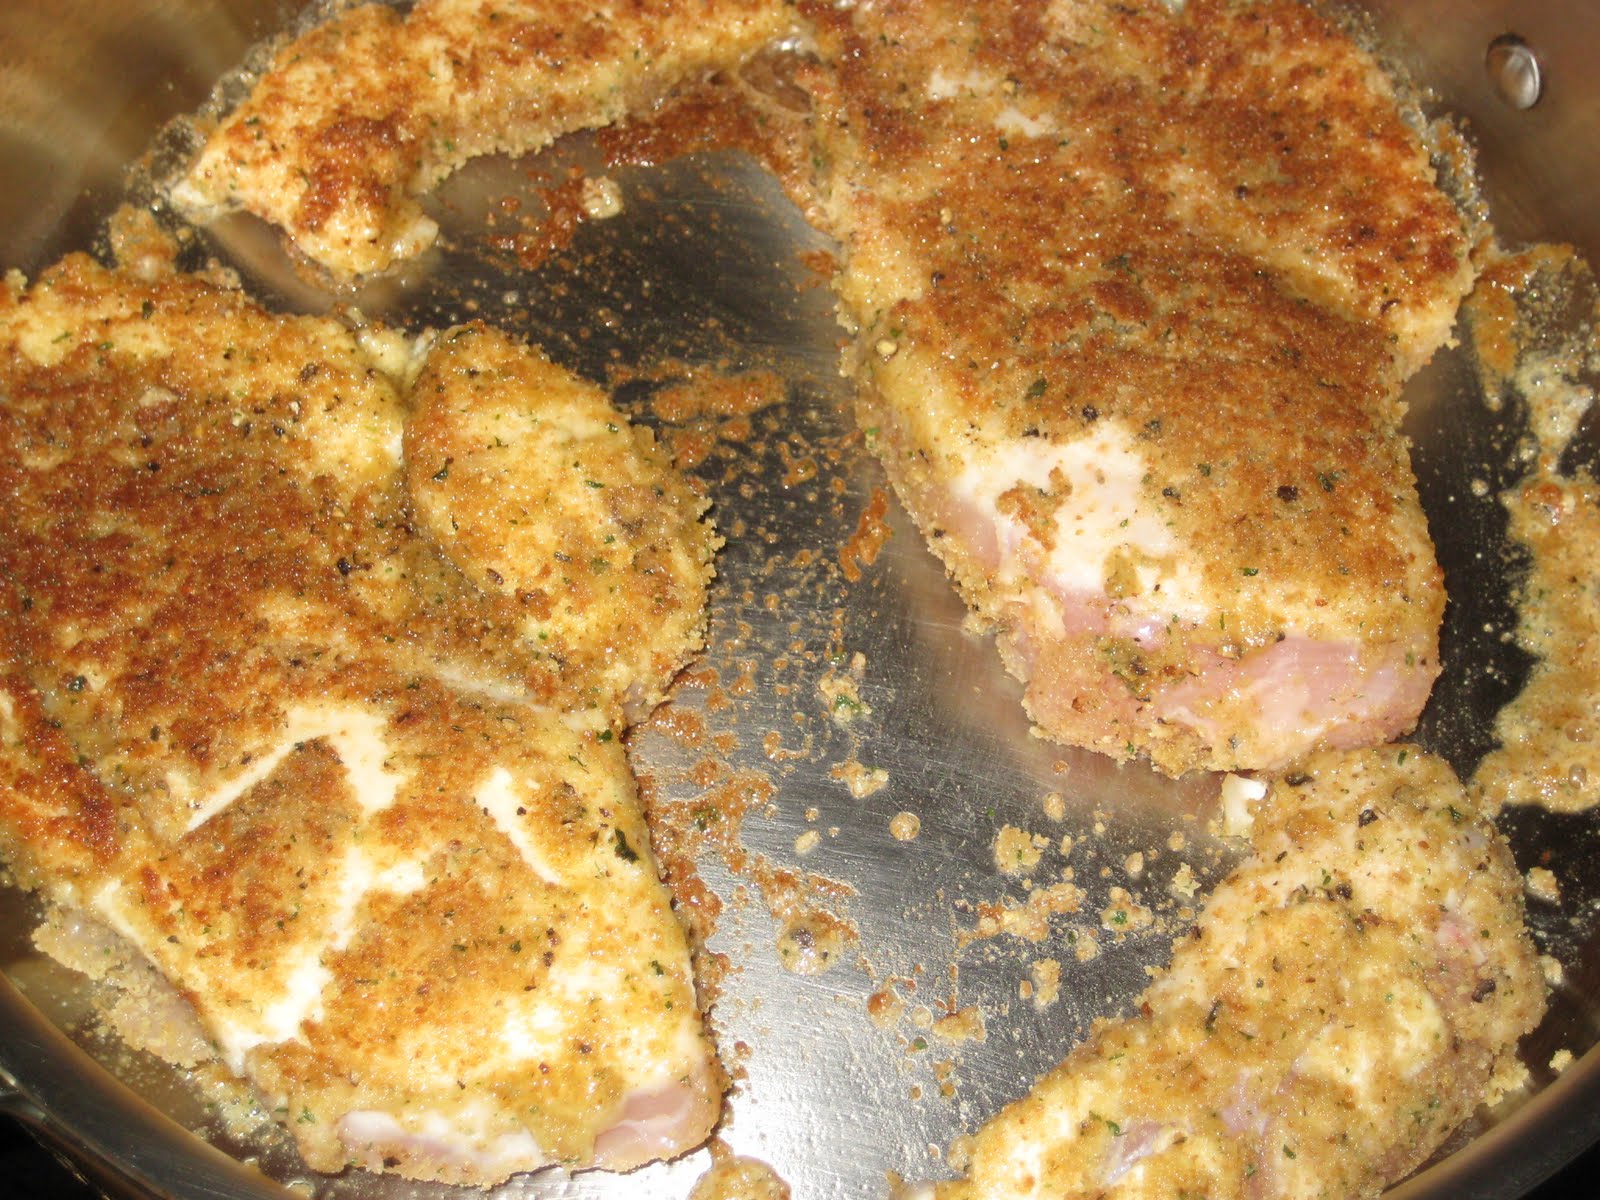
Step 5:  Coat the chicken breasts in the bread crumbs, and add to the heated oil.  Cook for about 2 minutes, and then flip over (you want to cook just long enough to brown the bread crumbs, but not cook all the way through).  Cook for another minute, and put directly into the pre-heated oven.

This would be a good time to put your pasta in the water as well.


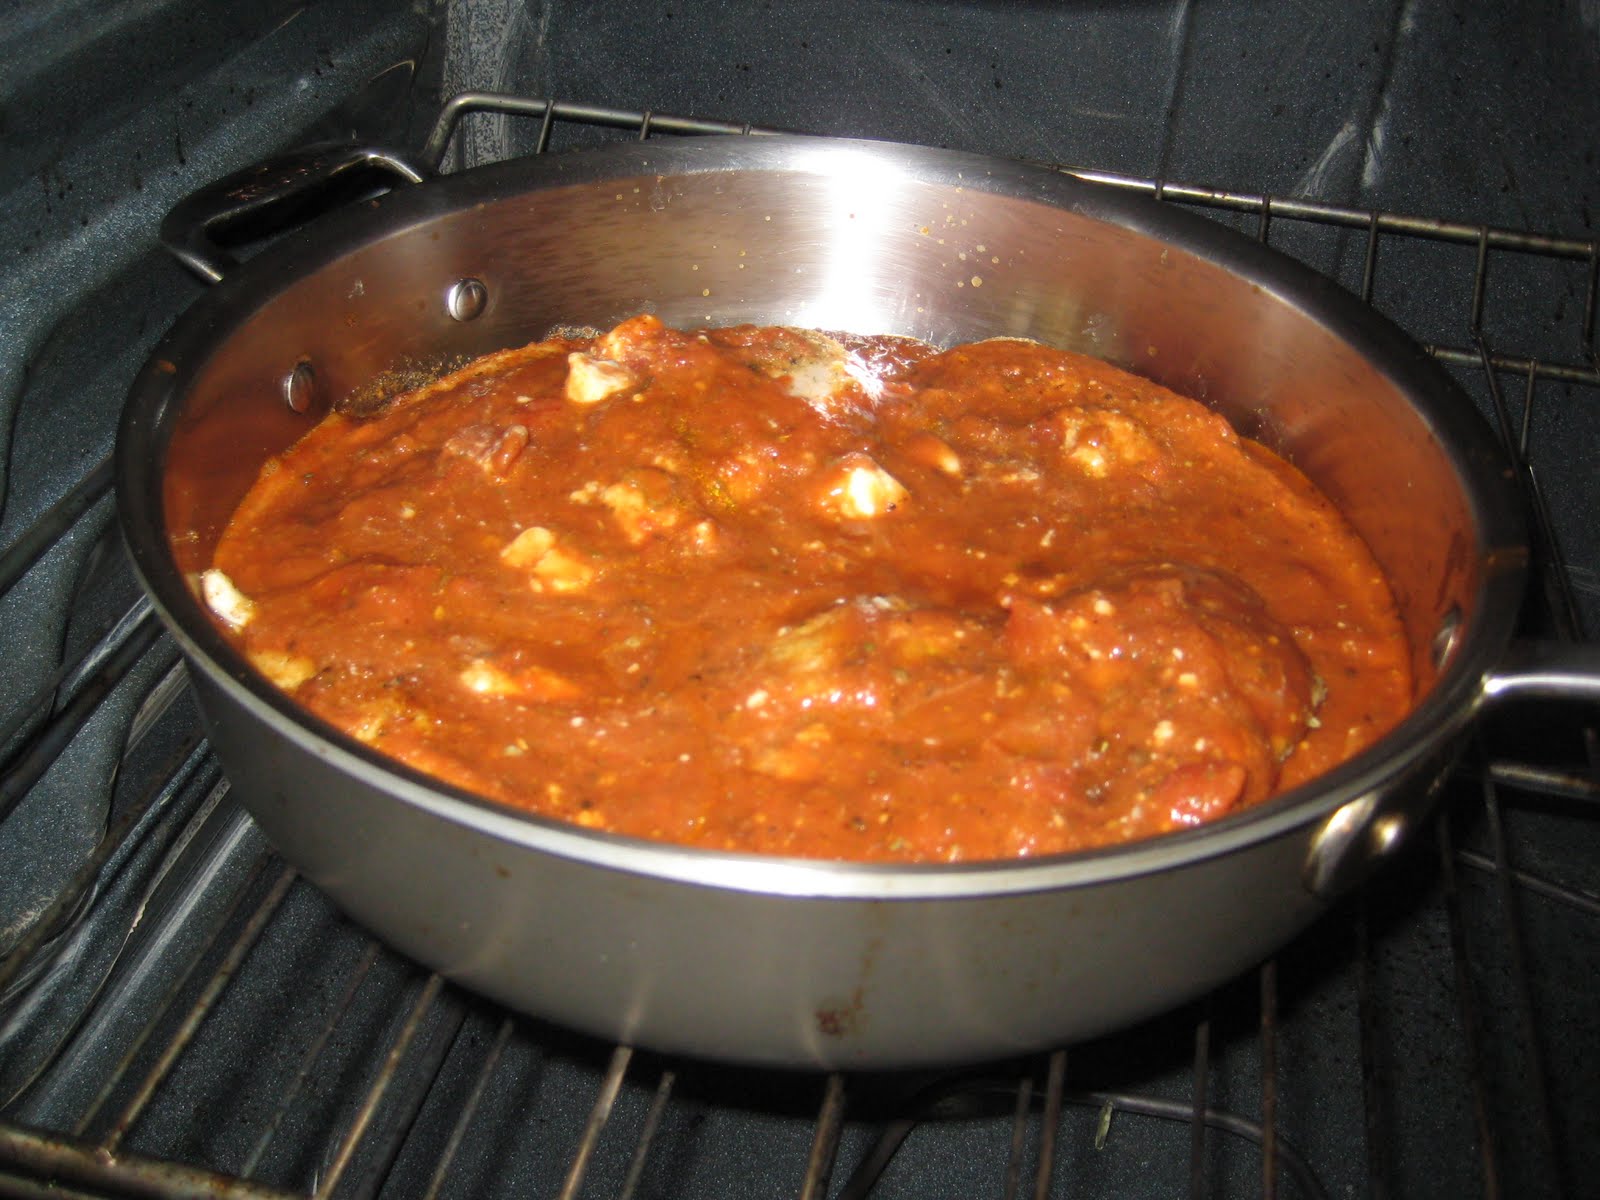
Step 6:  After about five minutes, pull the pan out of the oven, and pour the sauce directly over the chicken breasts.  Put the pan back in the oven.

Step 7:  After another 5 minutes, pull the pan out, add the cheese, and put back in the oven long enough to melt the cheese.
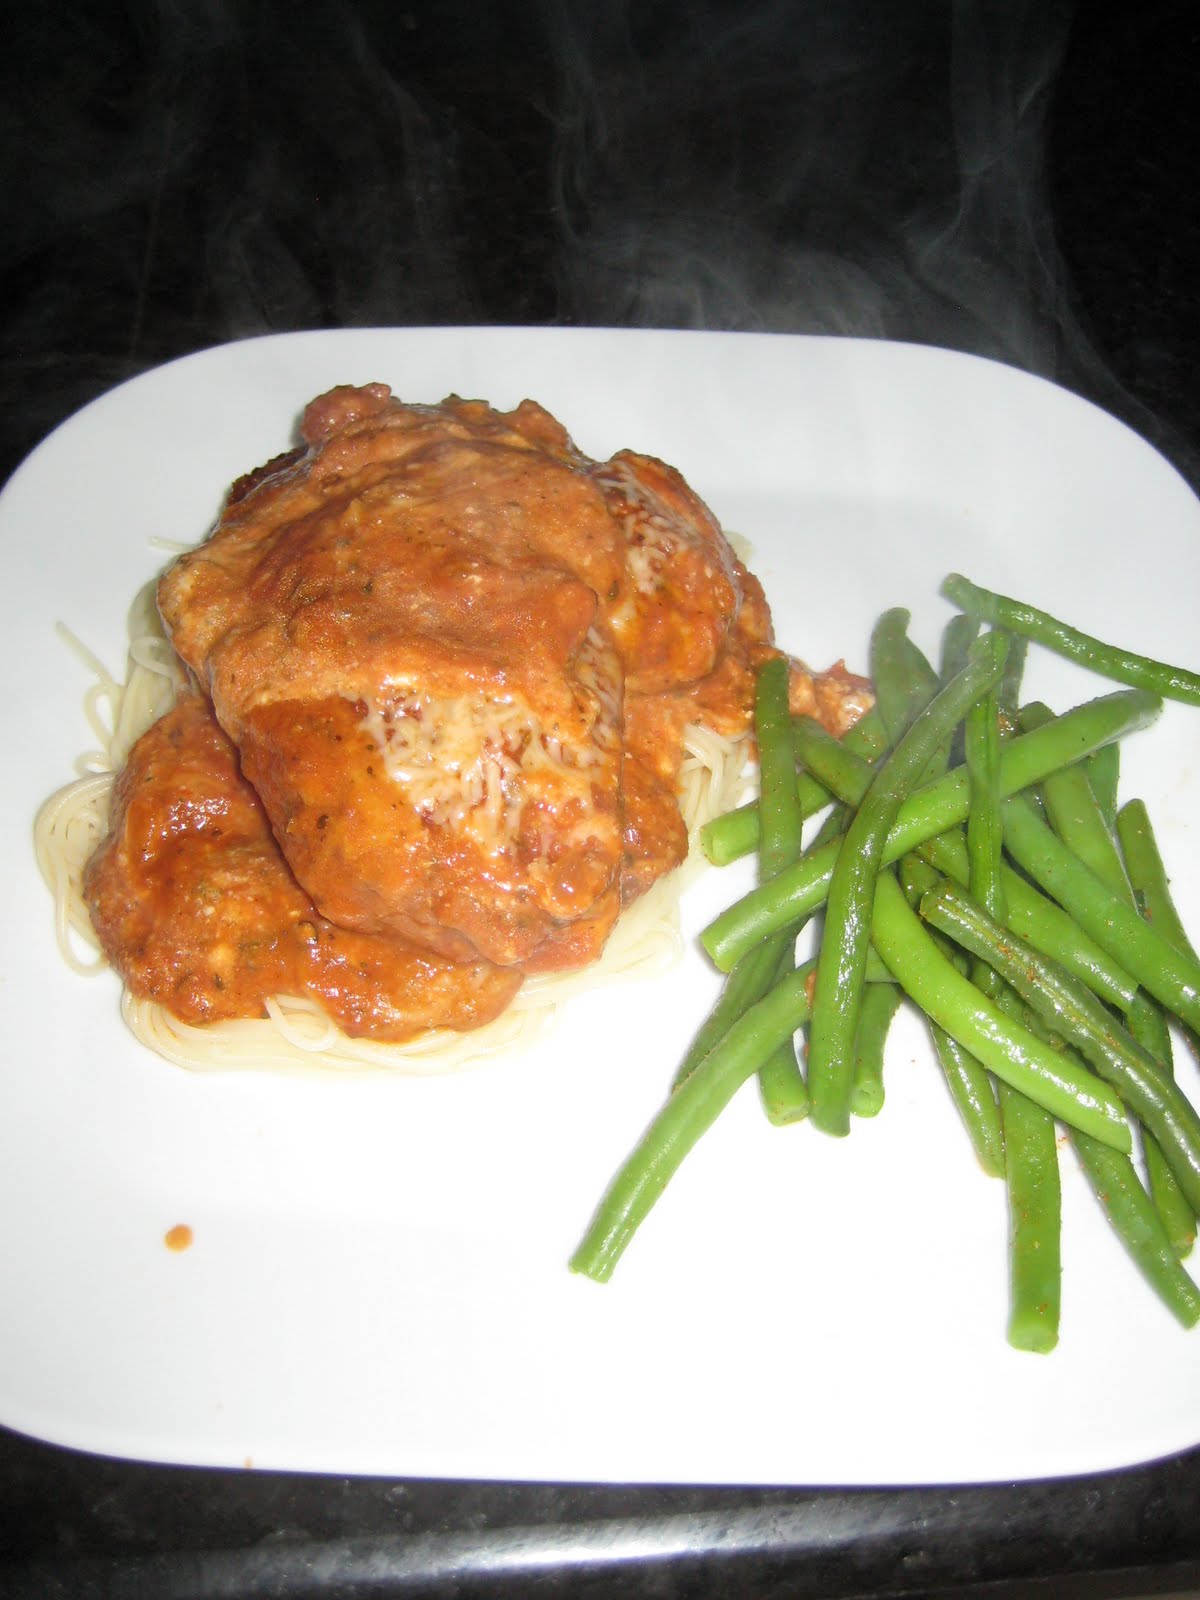
To serve:  Remove from the oven.  Put some of the pasta on the plate.  Add some of the sauce directly to the pasta.  Then place a chicken breast on top of the pasta, add cheese to your taste, and enjoy!

Saturday, May 15, 2010

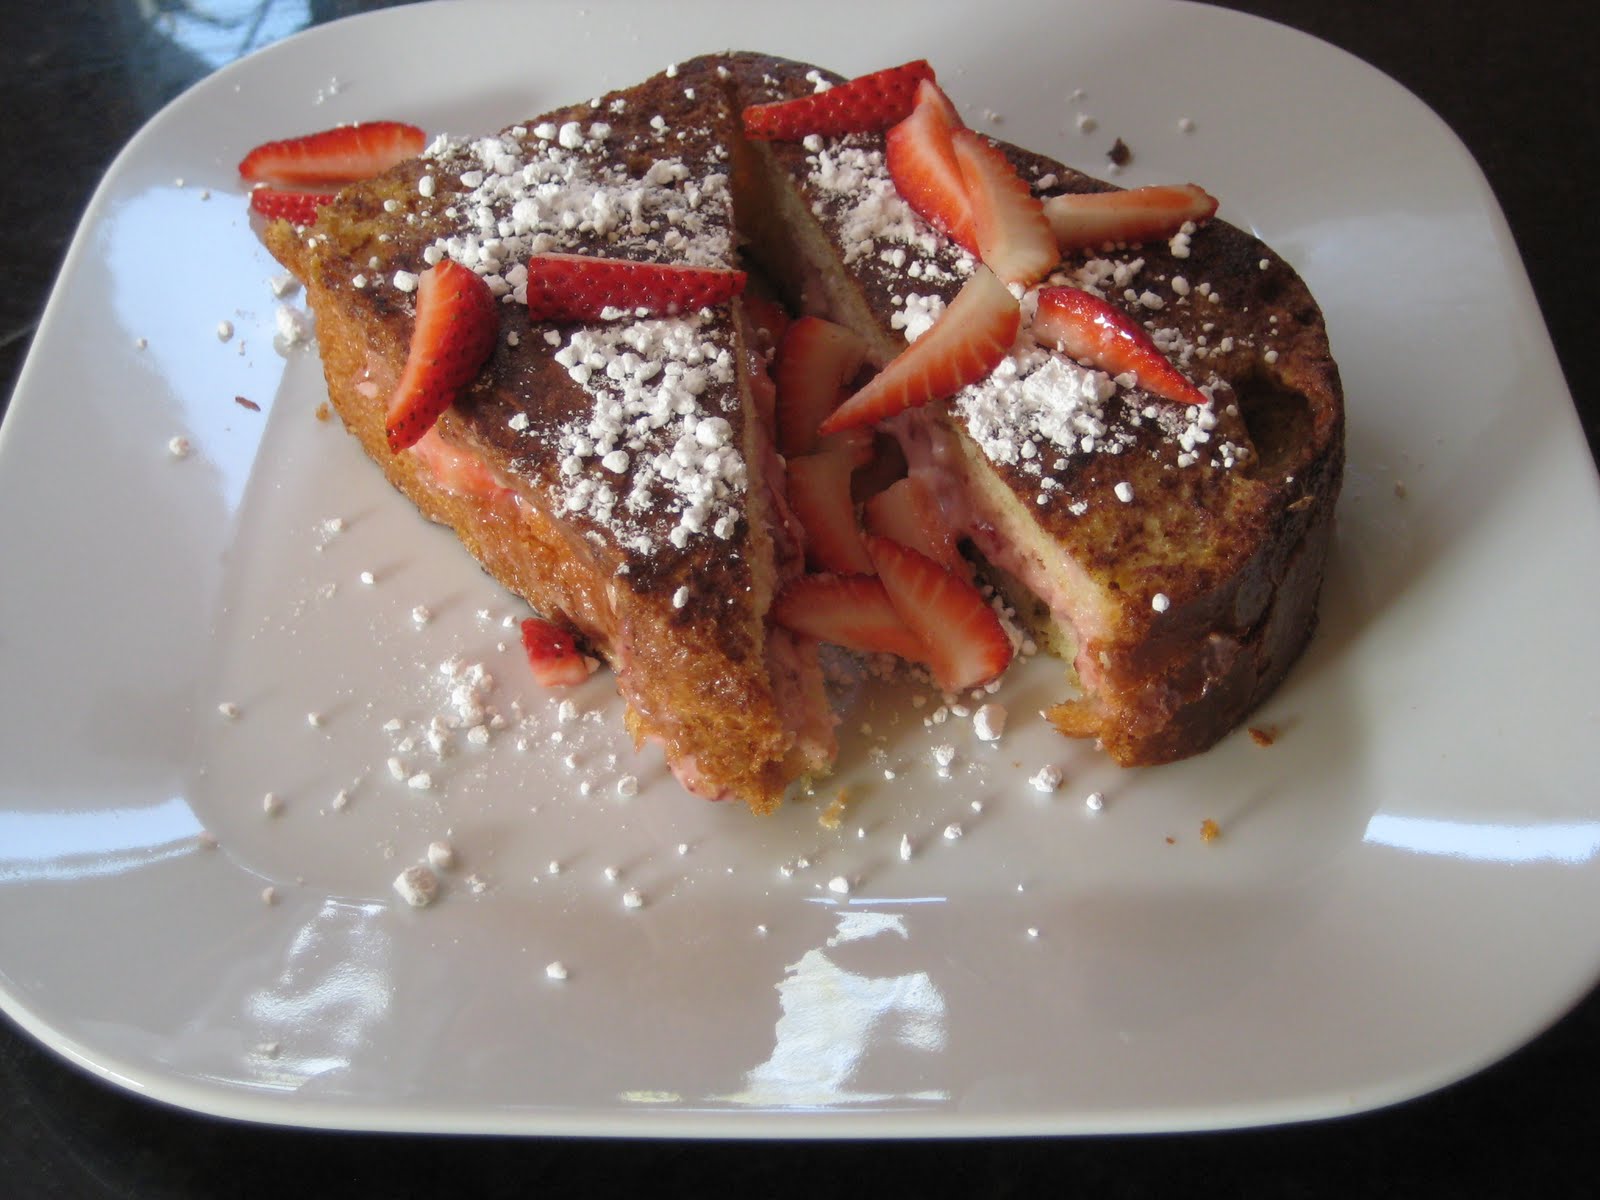
Deck's Strawberry Stuffed French Toast

Fellas, pay attention to this one because this one is for you.  If you want to earn some brownie points, pull this one out.  It's perfect for birthdays, anniversaries, or any other morning you want to be a little extra special.  This recipe is sure to please your wife, girlfriend, or girl you are interested in, and is incredibly easy to pull together.  It's not overly sweet, and surprisingly light.   This is the recipe I tried a week ago. I tweaked it a little bit and broke it out again this morning getting very favorable reviews.  And ladies, feel free to pass this on to your guy and tell him he can thank me later.

Deck's Strawberry Stuffed French Toast


Serves 2


Ingredients:

1 loaf Brioche bread (or some other soft, light bread such as French or even Challah)
1/3 cup cream cheese
1/4 cup strawberry jam or preserves
2 Tbsp brown sugar
2 eggs
1 Tbsp cinnamon
1 tsp vanilla extract
2 Tbsp milk
2 Tbsp butter
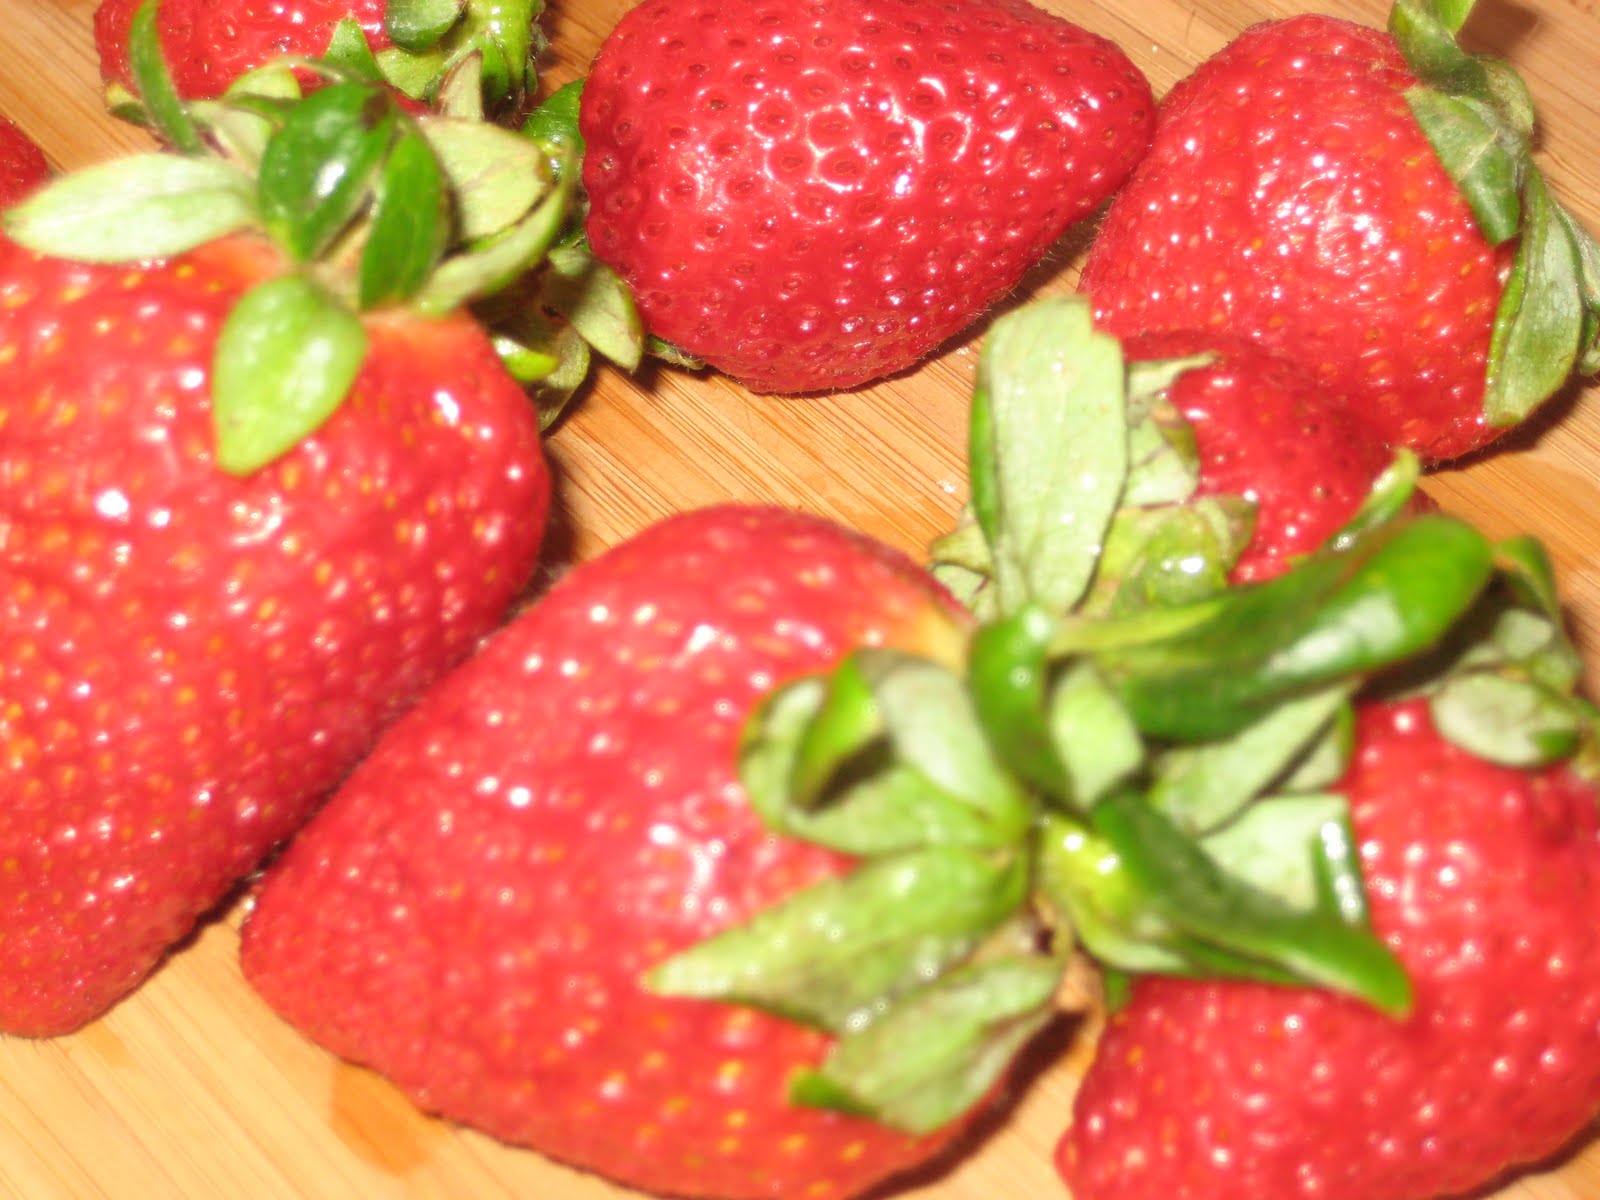
1/4 cup fresh strawberries, diced

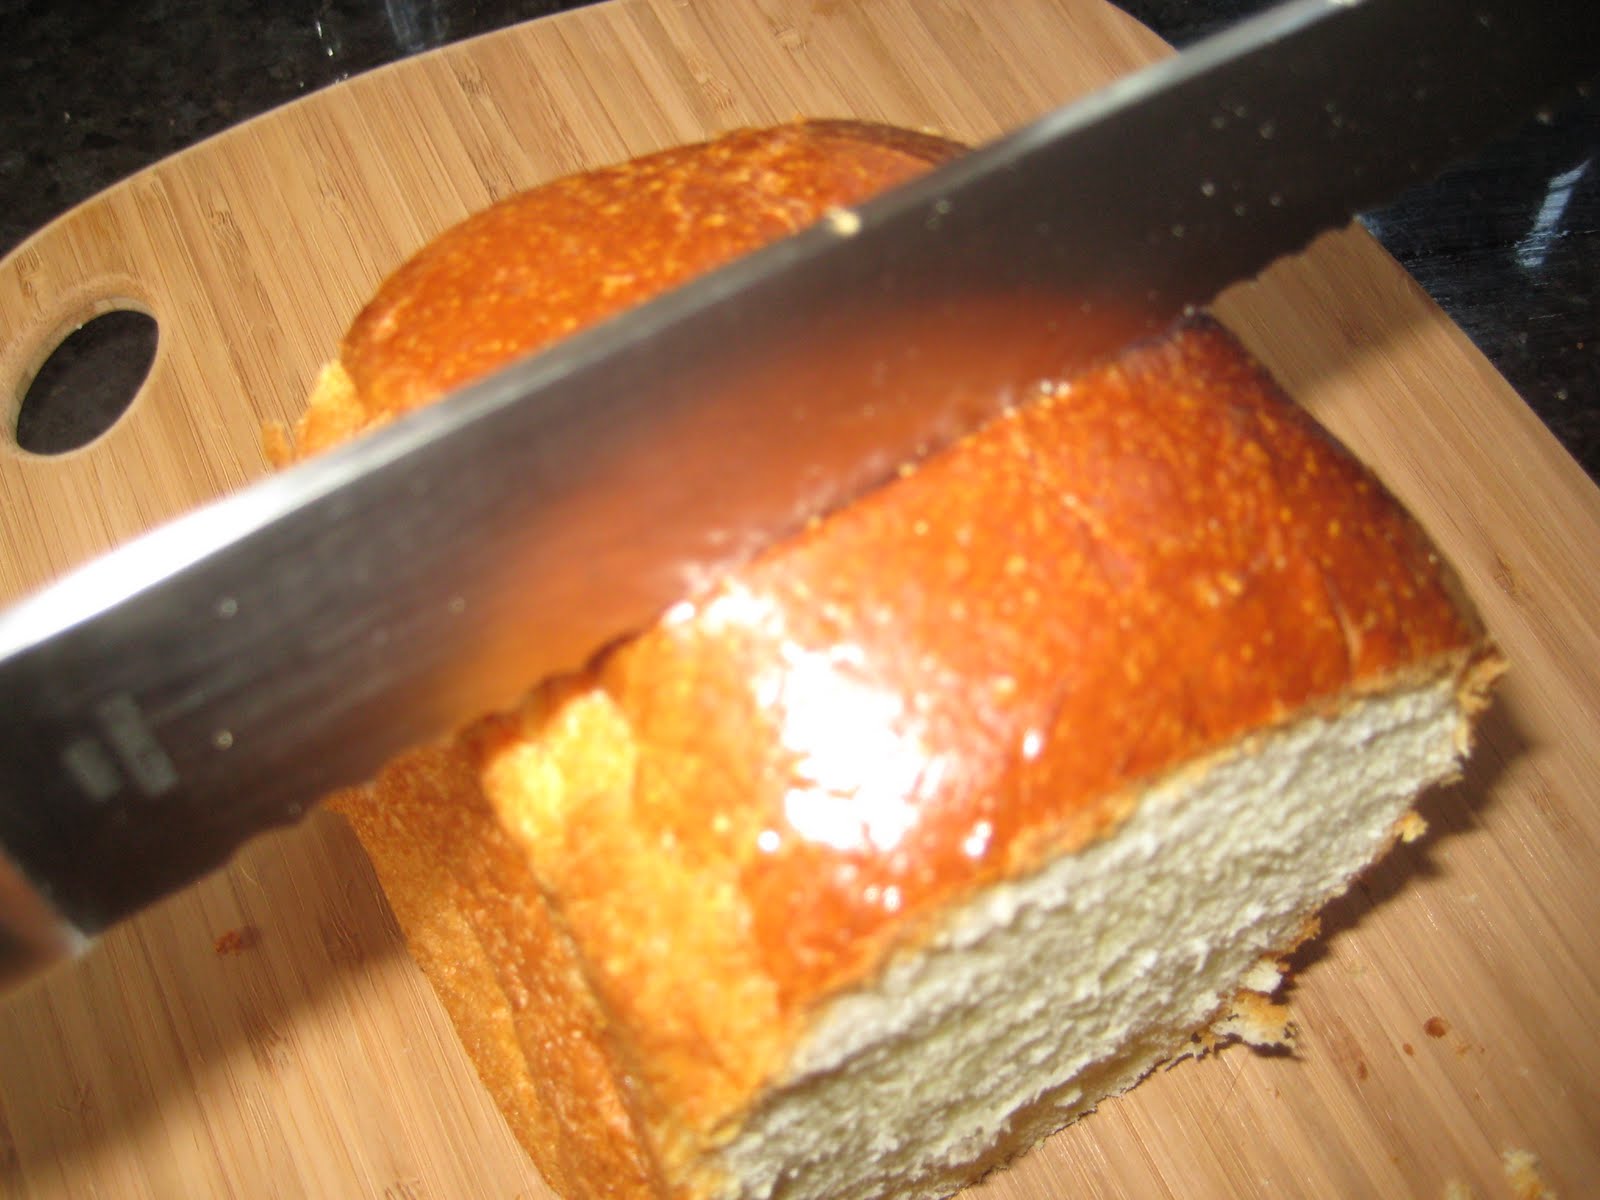
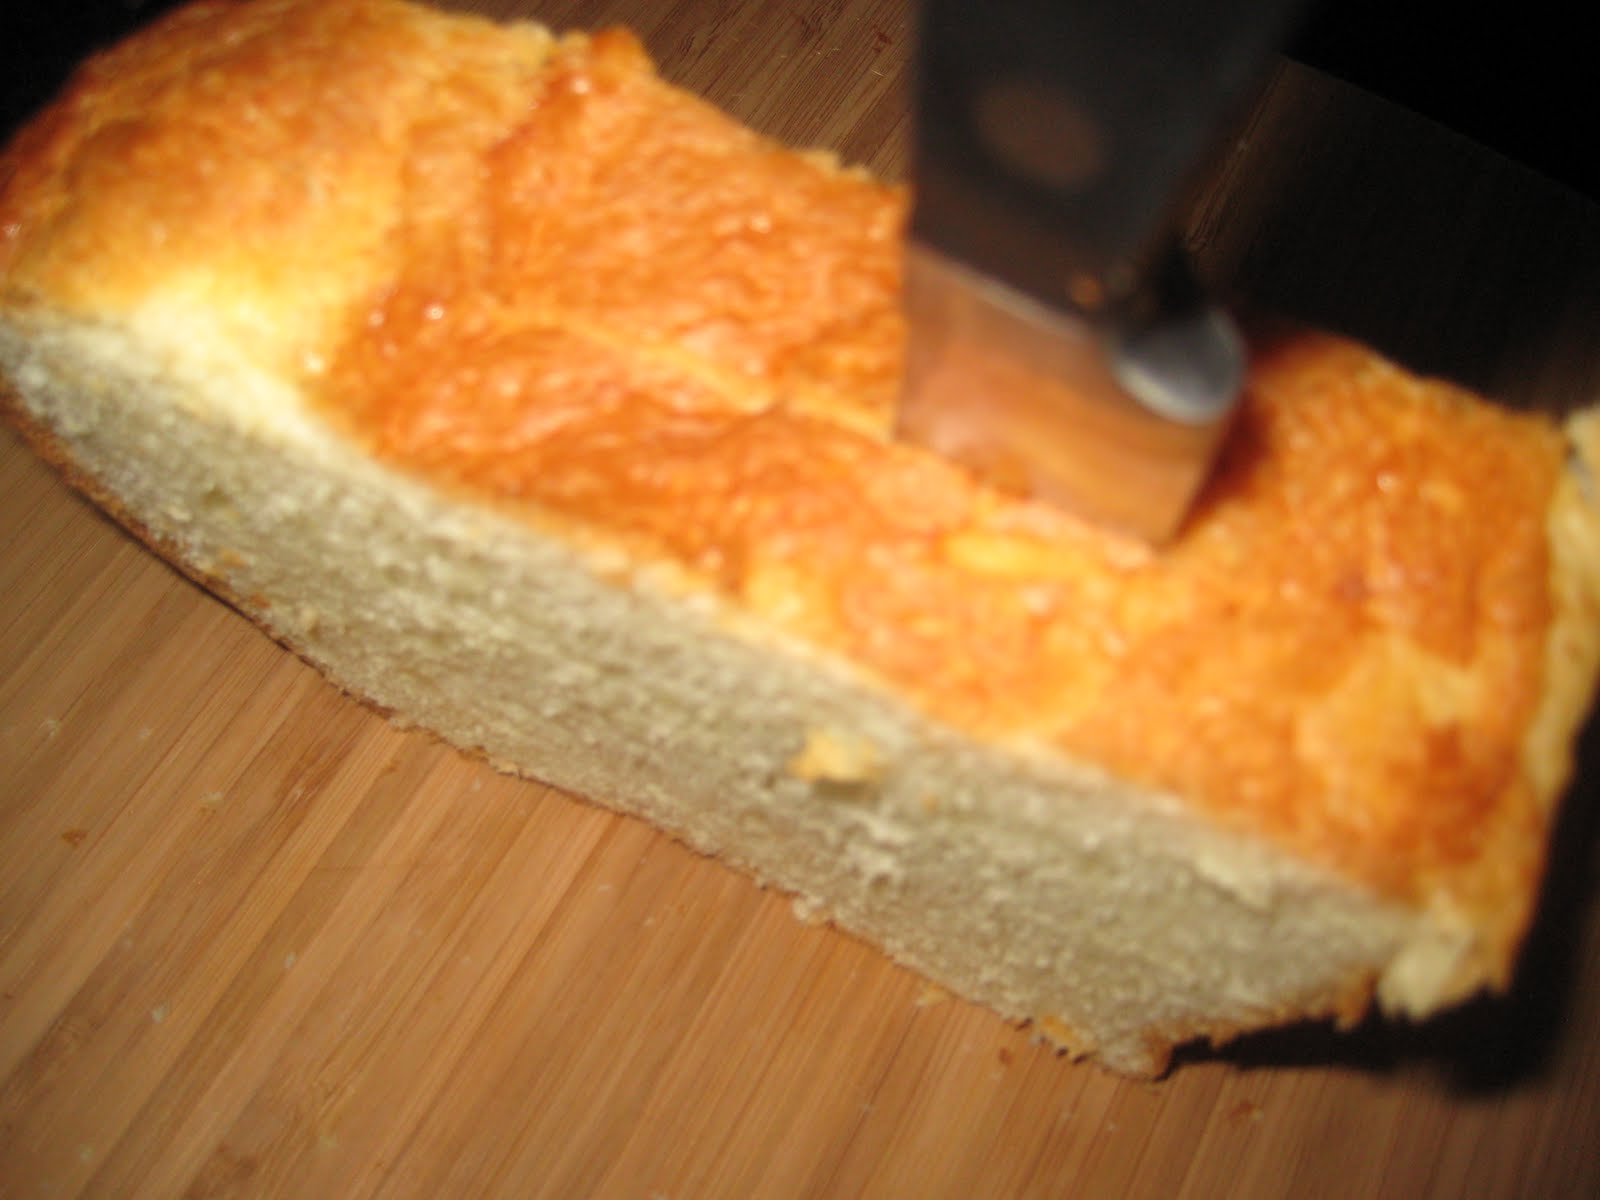
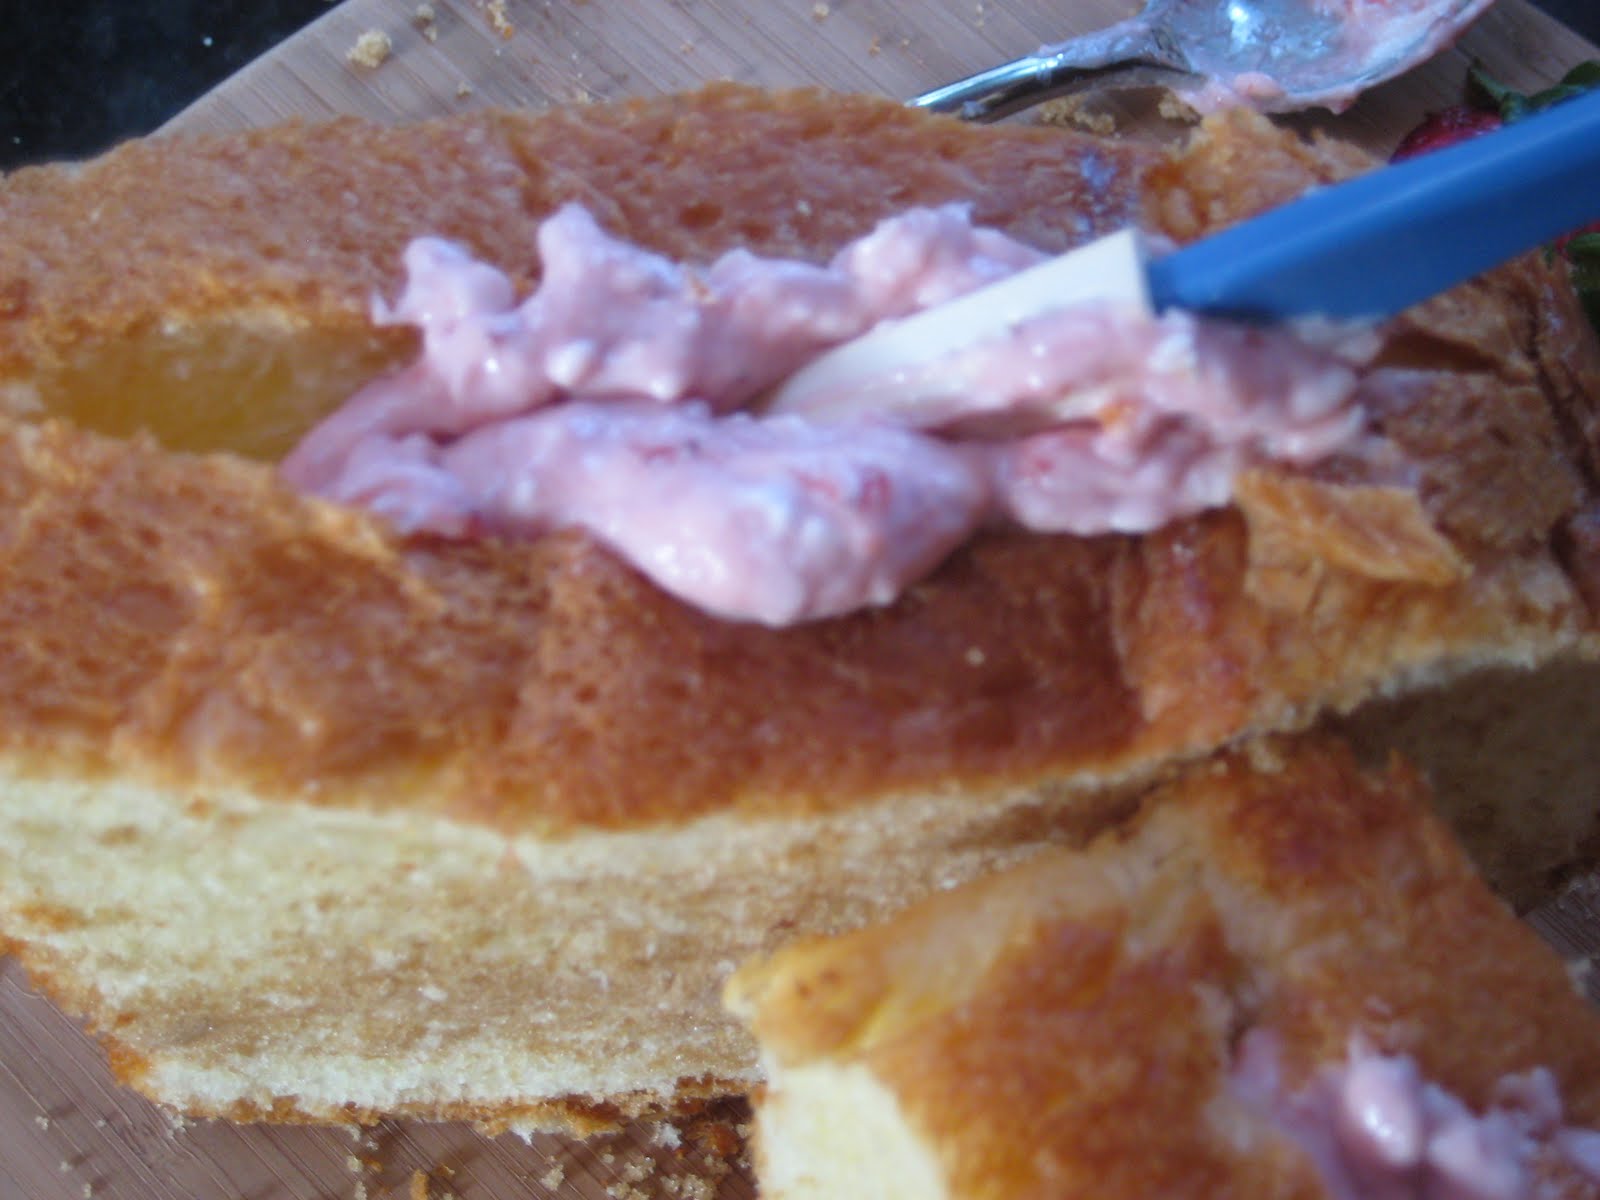
Step 1:  Slice the break into about 1 inch wide slices (should be just wider than 2 slices of sandwich bread).  In the side of each slice, cut a slit that goes almost all the way through, and almost all the way end to end.  You basically want to create a pouch for the filling.

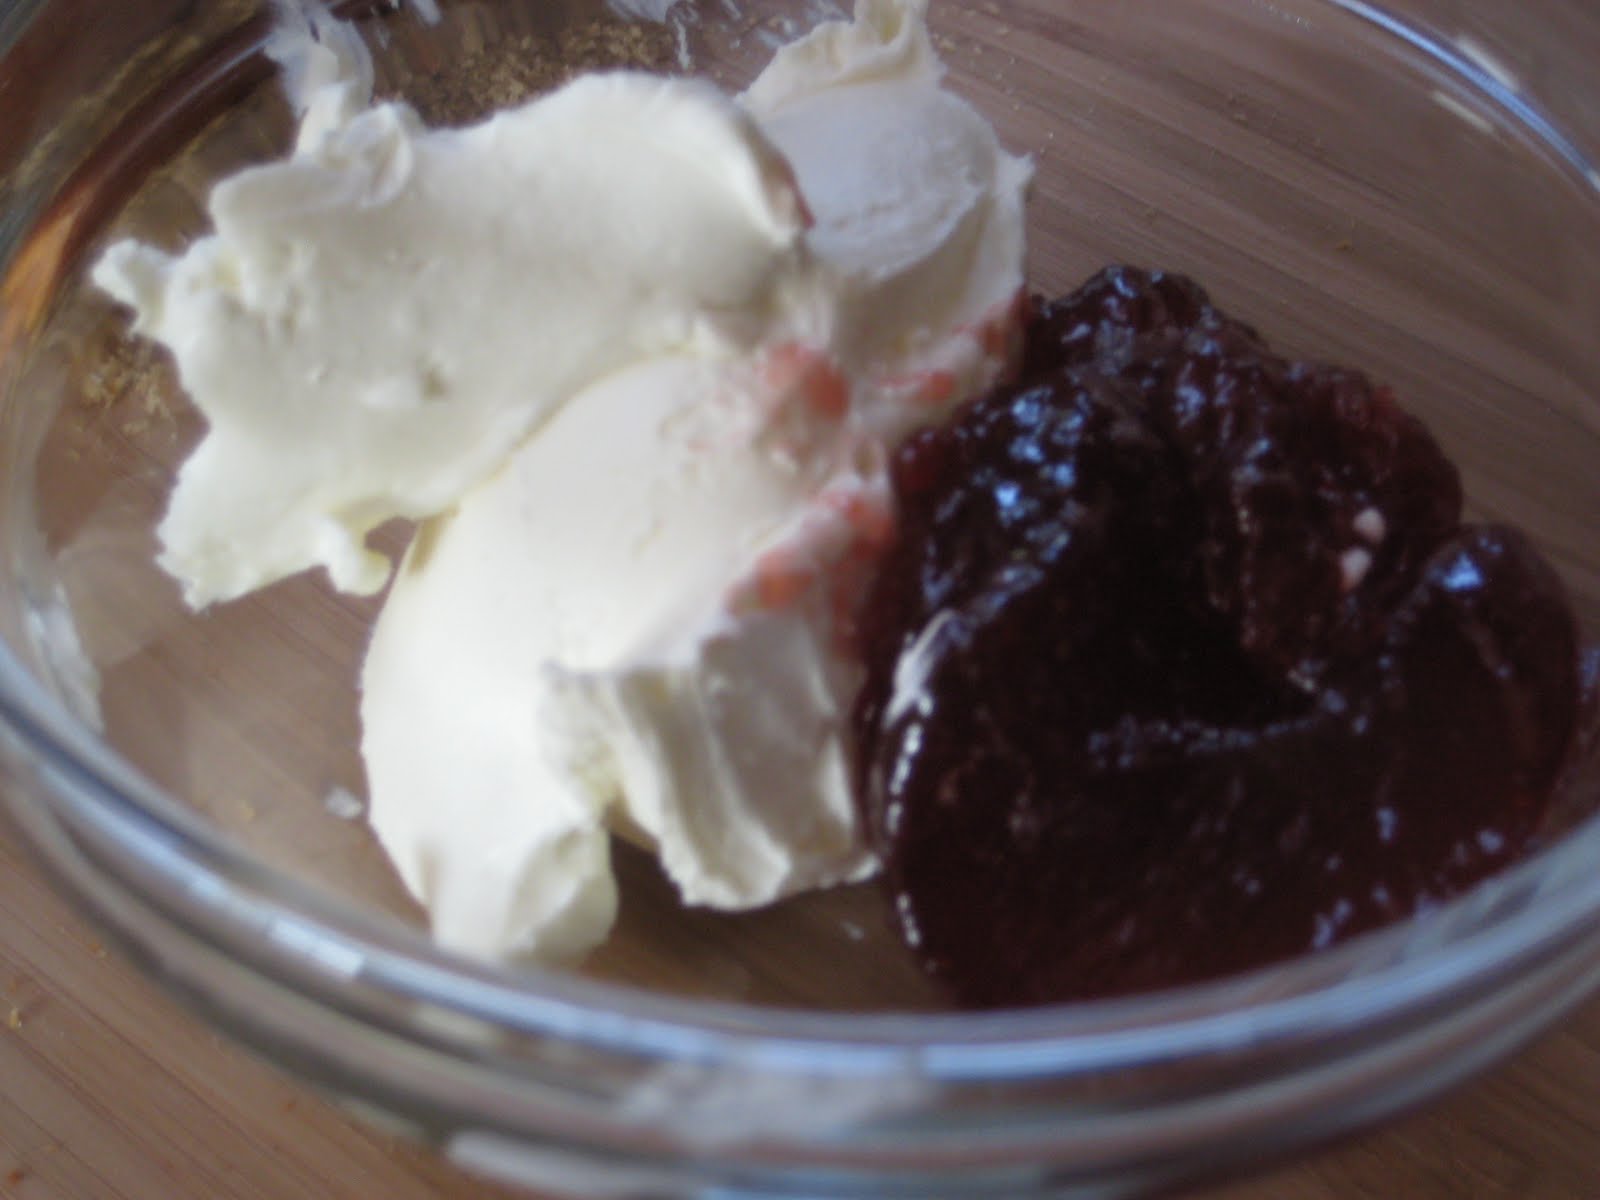
Step 2: Mix the cream cheese and jam together.  Then using a spoon or small, thin spatula, put half of the cream cheese mixture into each slice.  You want to try and get it as evenly distributed within the slice as possible.  Next add the fresh, diced strawberries to the slice, again using a spoon or spatula to distribute them throughout the pouch.


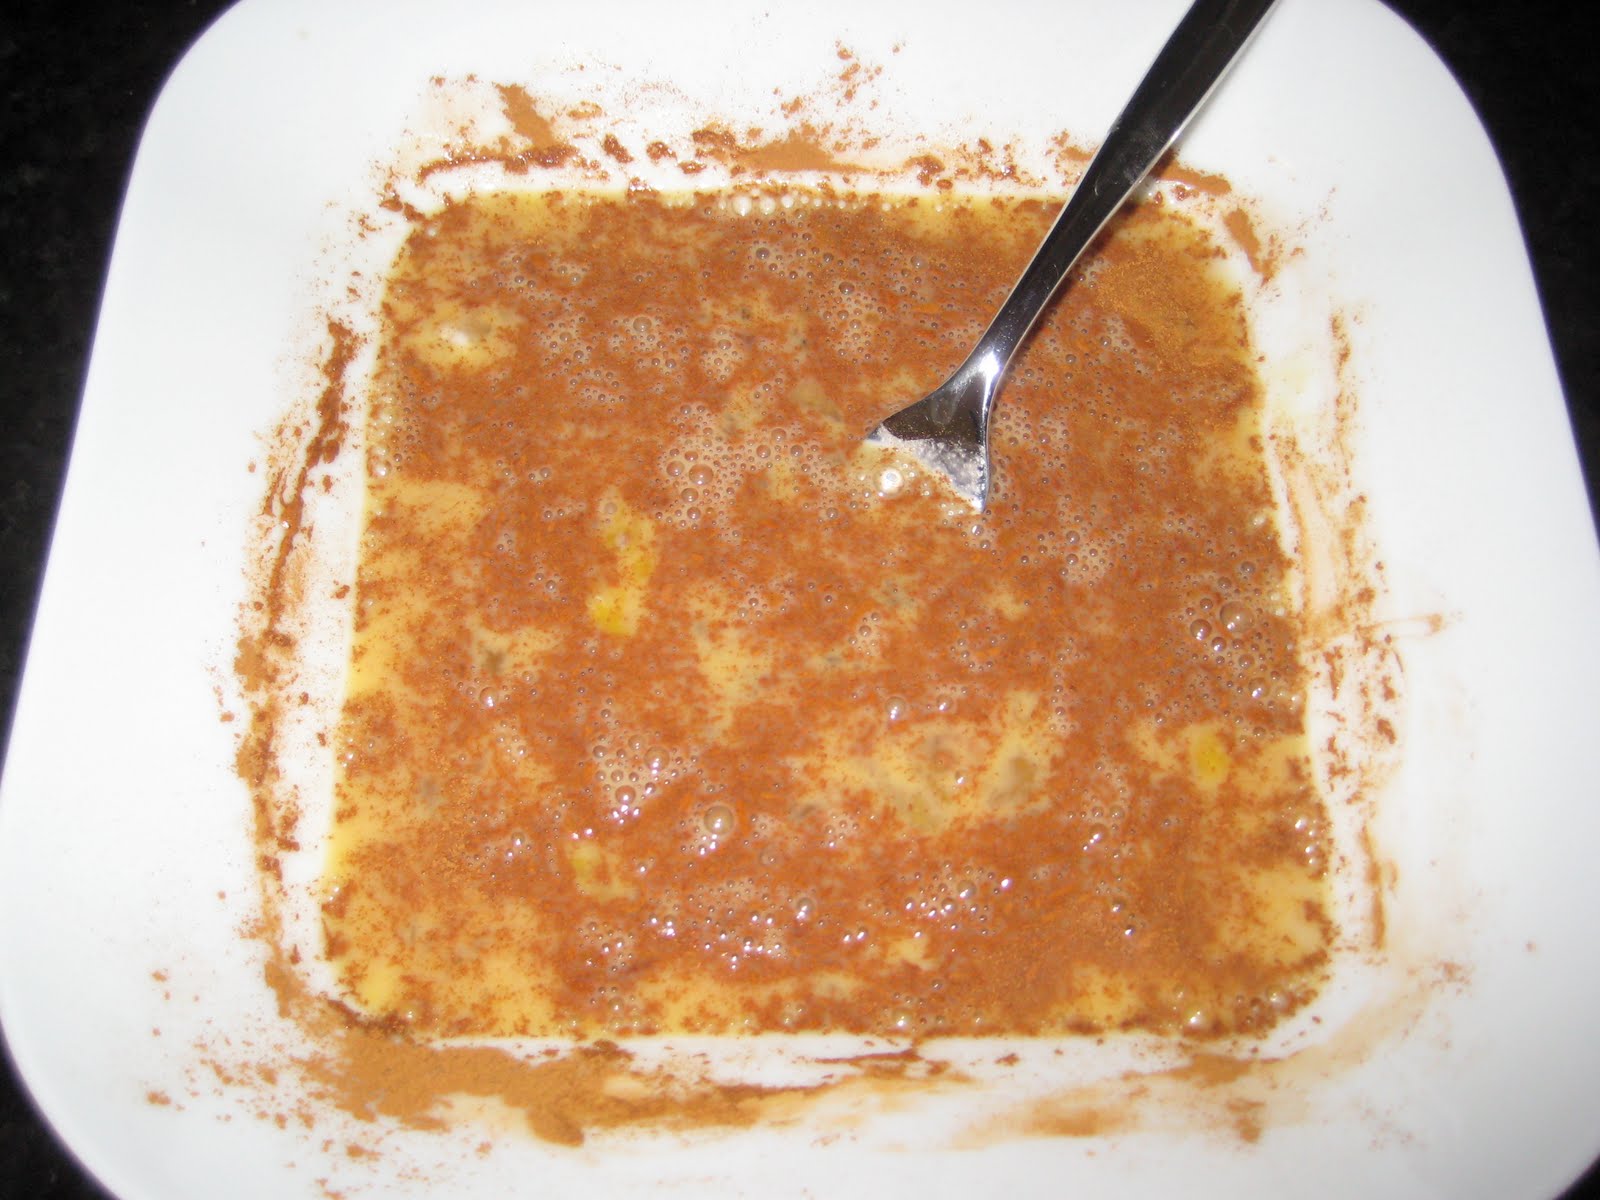
Step 3:  In a skillet or griddle, melt the butter slowly over medium heat.  While the butter is melting mix together the eggs, milk, cinnamon and vanilla in a bowl or shallow dish large enough for the entire slice to fit into.


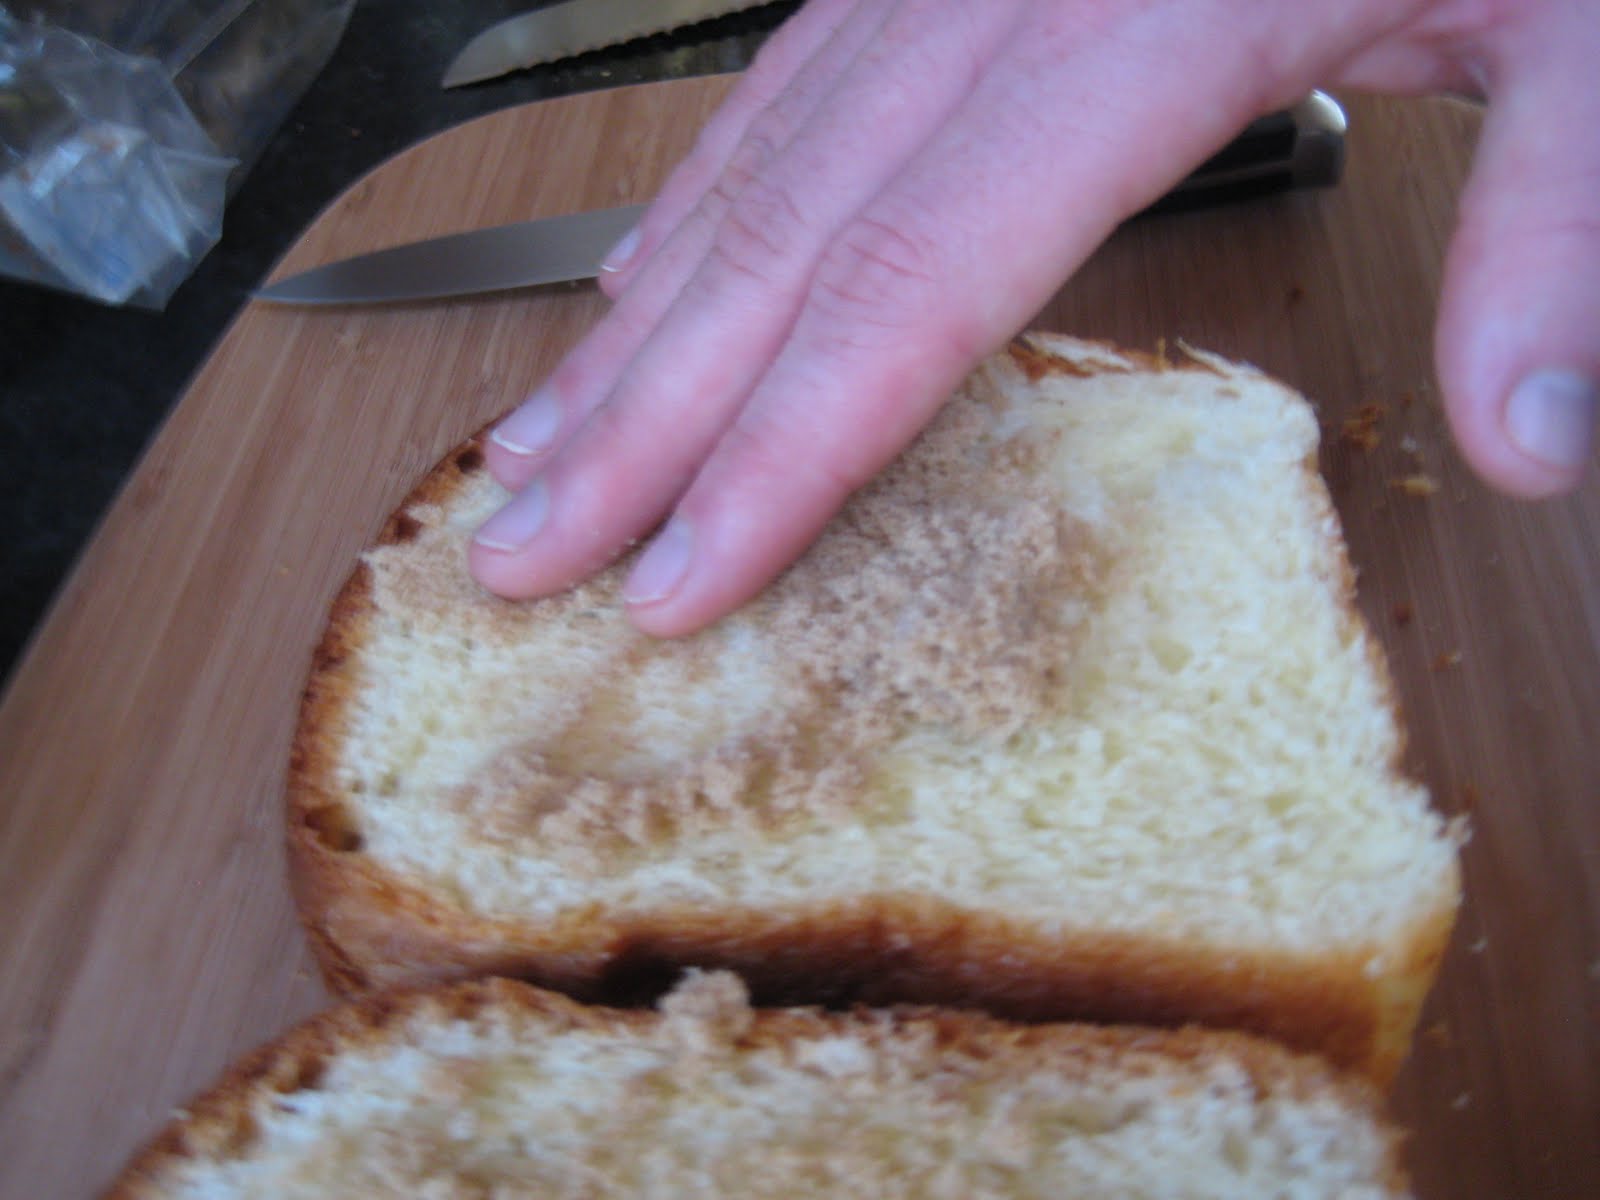
Step 4:  Take the brown sugar and sprinkle on the outside of each slice.  Work the brown sugar into the bread with your fingers.  Flip each slice over and repeat.


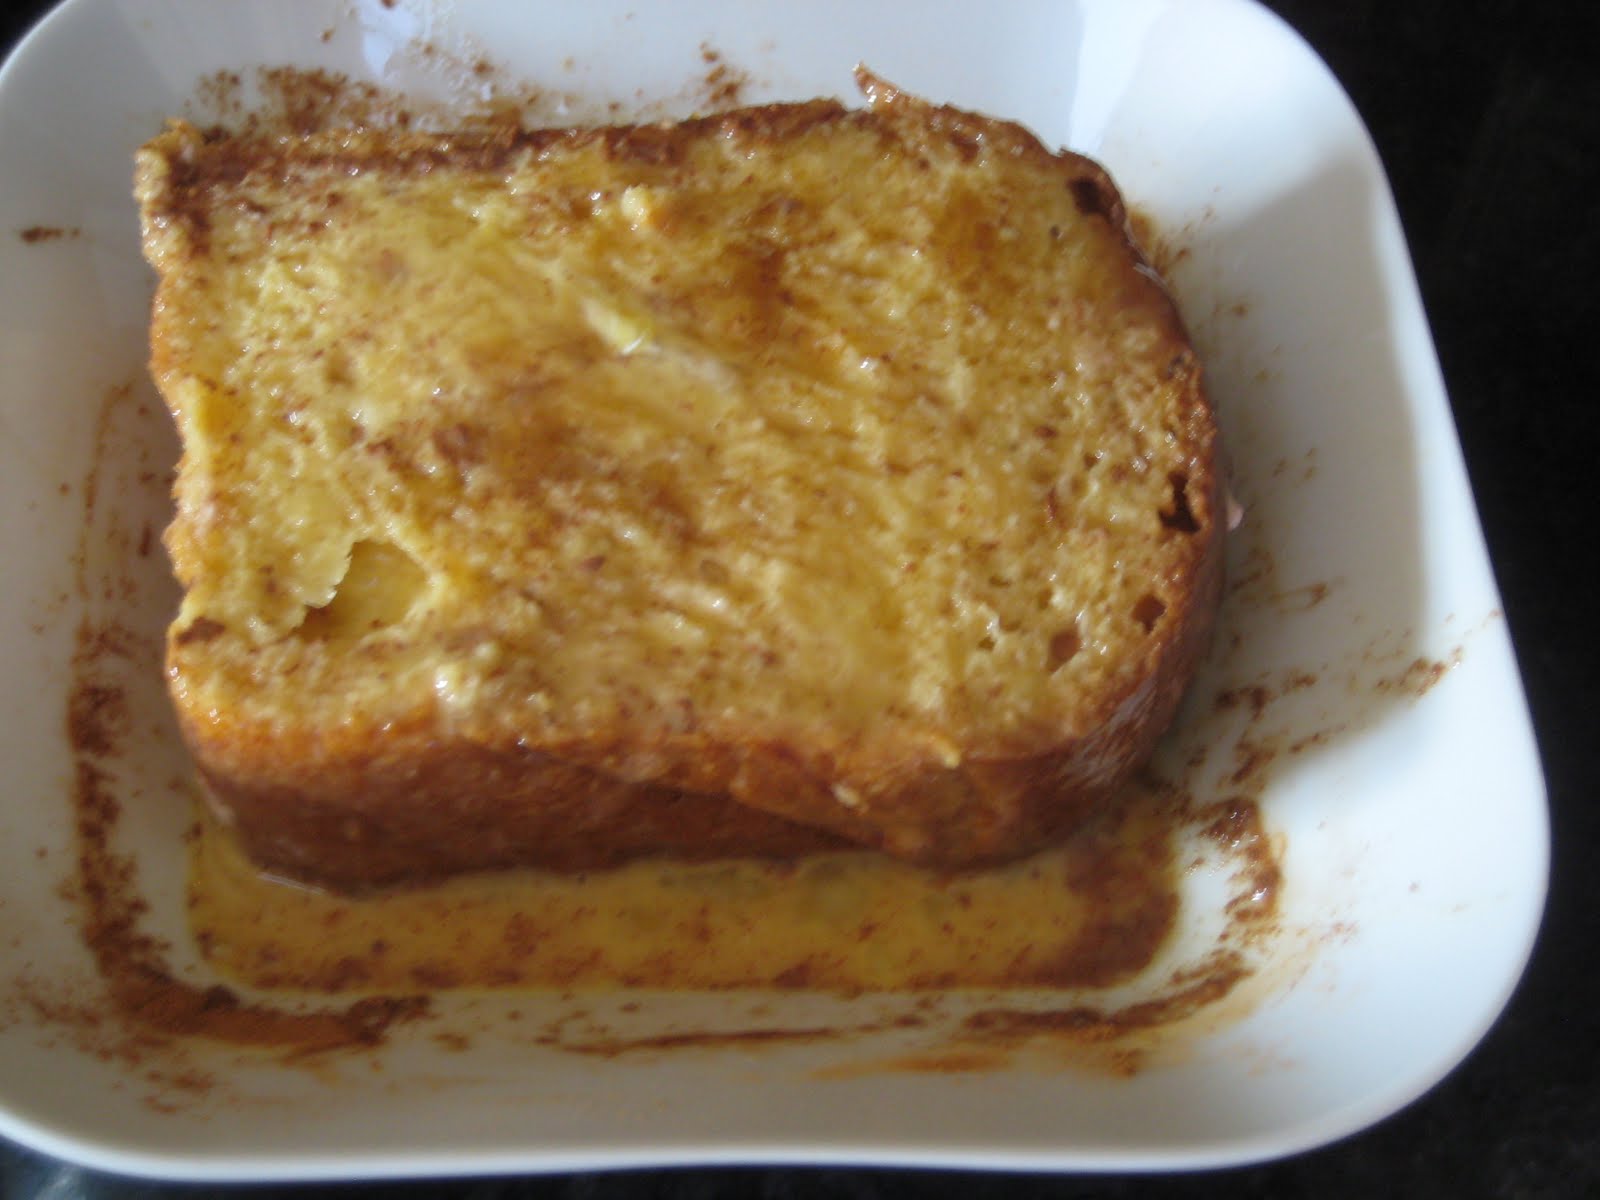
Step 5:  Dip the slice of french toast into the egg mixture, coating it completely.  Flip it over and coat the other side.  Add to the skillet.  Repeat with the second slice.  Cook for about 5 minutes on each side until a nice golden brown.


Finishing: I like to serve this with some powdered sugar and additional sliced strawberries over the top.  You can add a flavored syrup or regular maple.  Cooking this in the butter will give it that nice butter flavor without having to add any later.


Saturday, May 8, 2010

Deck's POG Pork Chops with Roasted Corn Salad

There is absolutely nothing like a bright, sunny Spring Day in Seattle.  For me it means throwing on the sunglasses, listening to Summertime by Will Smith, having a beer, and grilling.

For this recipe I was inspired by two things.  First, was some flavors from Hawaii; Passion, Orange and Guava.  This combination, commonly referred to as POG, can be found as a juice pretty much everywhere you go, and is something that I order quite frequently.  Second was a dish that I saw in an episode of Top Chef Masters.

Now I don't know if POG and roasted corn are meant to be combined, but for this dish, the flavors actually worked pretty well together, and the corn received a "This is the best corn I've had" response from my number 1 critic.

Deck's POG Pork Chops with Roasted Corn Salad

Serves 2

Ingredients:

For Pork Chops:
- 2 Pork Chops (I prefer bone-in, thick cut)
- 1 Passionfruit
- 1 Guava
- 3-4 medium large mandarins (if you use navel oranges, 3 should be enough), juiced
- 2 Tbsp Granulated Sugar

For Roasted Corn Salad
- 2 ears sweet yellow corn in husks, silks removed, soaked in water
- 1/2 lime, juiced
- 1-2 Tbsp finely chopped cilantro
- 1-2 Tbsp thinly sliced scallion
- 3 Tbsp butter
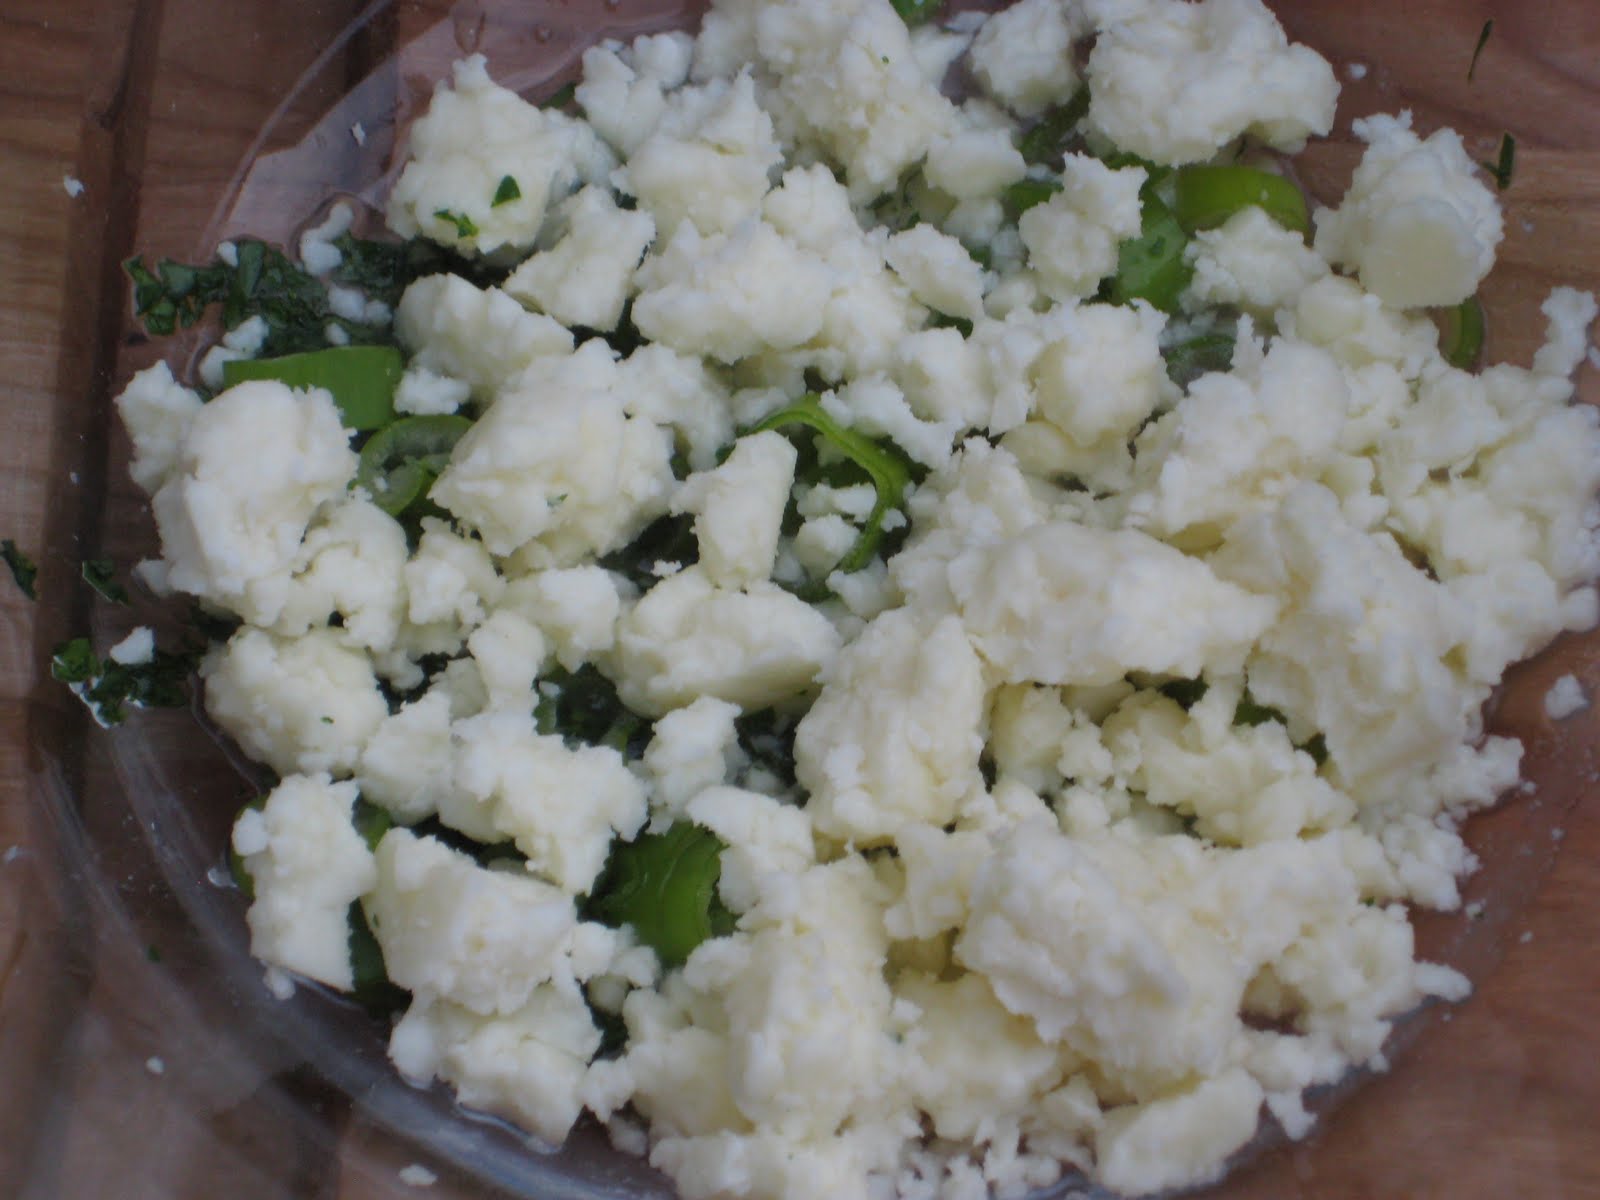
- 4 oz. queso fresco crumbled (can substitute feta if queso fresco or Cotija is not available)

For this recipe, I prefer using the grill, but if the weather is inclement or you don't have a grill, a grill pan should be ok.


The order for this meal is to first make the POG sauce to be added to the pork chops, followed by the corn and then the pork chops themselves.

Step 1:  Combine the passionfruit, guava, orange juice and sugar in a small saucepan.  For the passionfruit, cut it in half, and scoop out the fruit from the inside.  For the guava, remove the skin, and cut into small pieces.


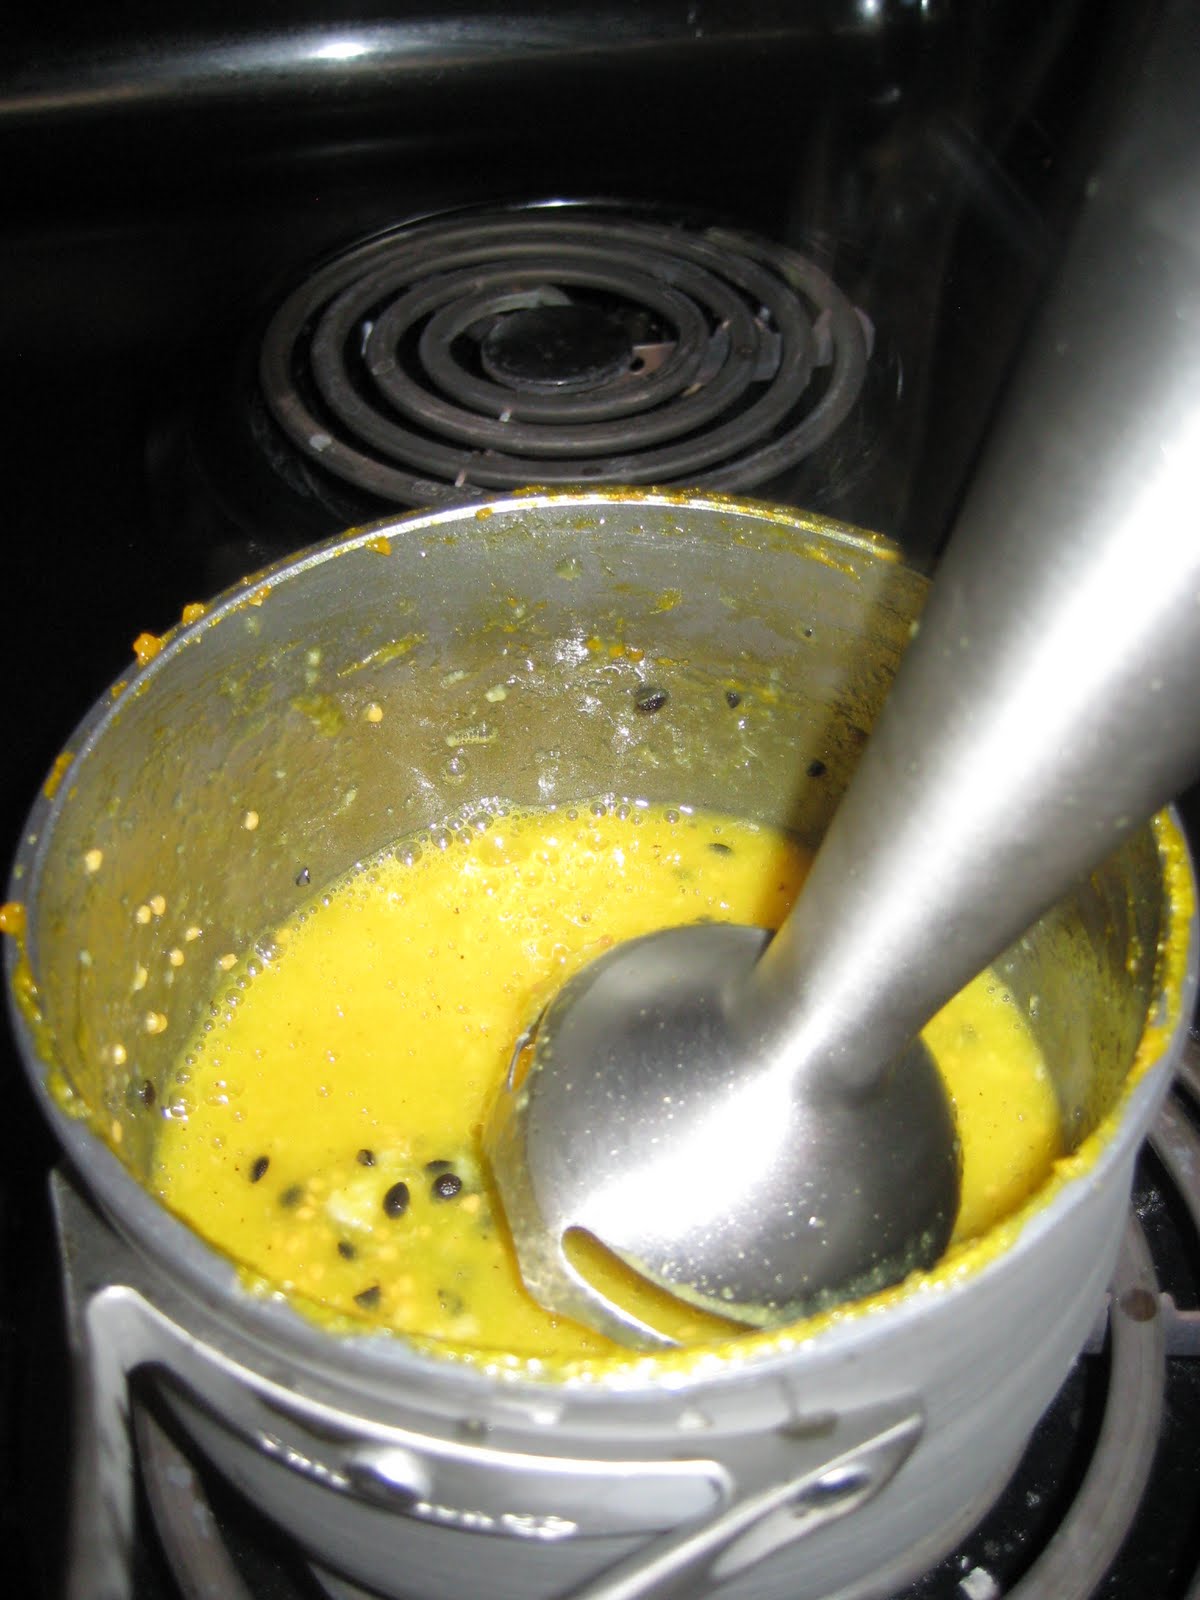
Step 2:  Heat the mixture over medium-high heat until it begins to boil, then reduce the heat to medium, and continue to simmer until the mixture has been reduced by about half.  When reduced, use a hand blender (or pour into a blender) and puree.  Then strain the mixture and set aside for later.


Step 3:  Pre-heat the grill to high.  Once the grill is heated, add the corn, still in husks to the grill.  You should have removed the silks and soaked in water.  This technique will cook the corn by steaming it within the husk.  Every five minutes rotate the corn a third.  You will steam the corn for about 15 minutes.

Step 4:  While the corn is steaming, combine the lime, cilantro, scallion and cheese in a bowl.  You can adjust the amount of cilantro and lime to personal tastes.  Do NOT add the butter at this point.

Step 5:  Remove the corn from the grill and remove the husks.  Be careful of the steam released when you remove the husks.

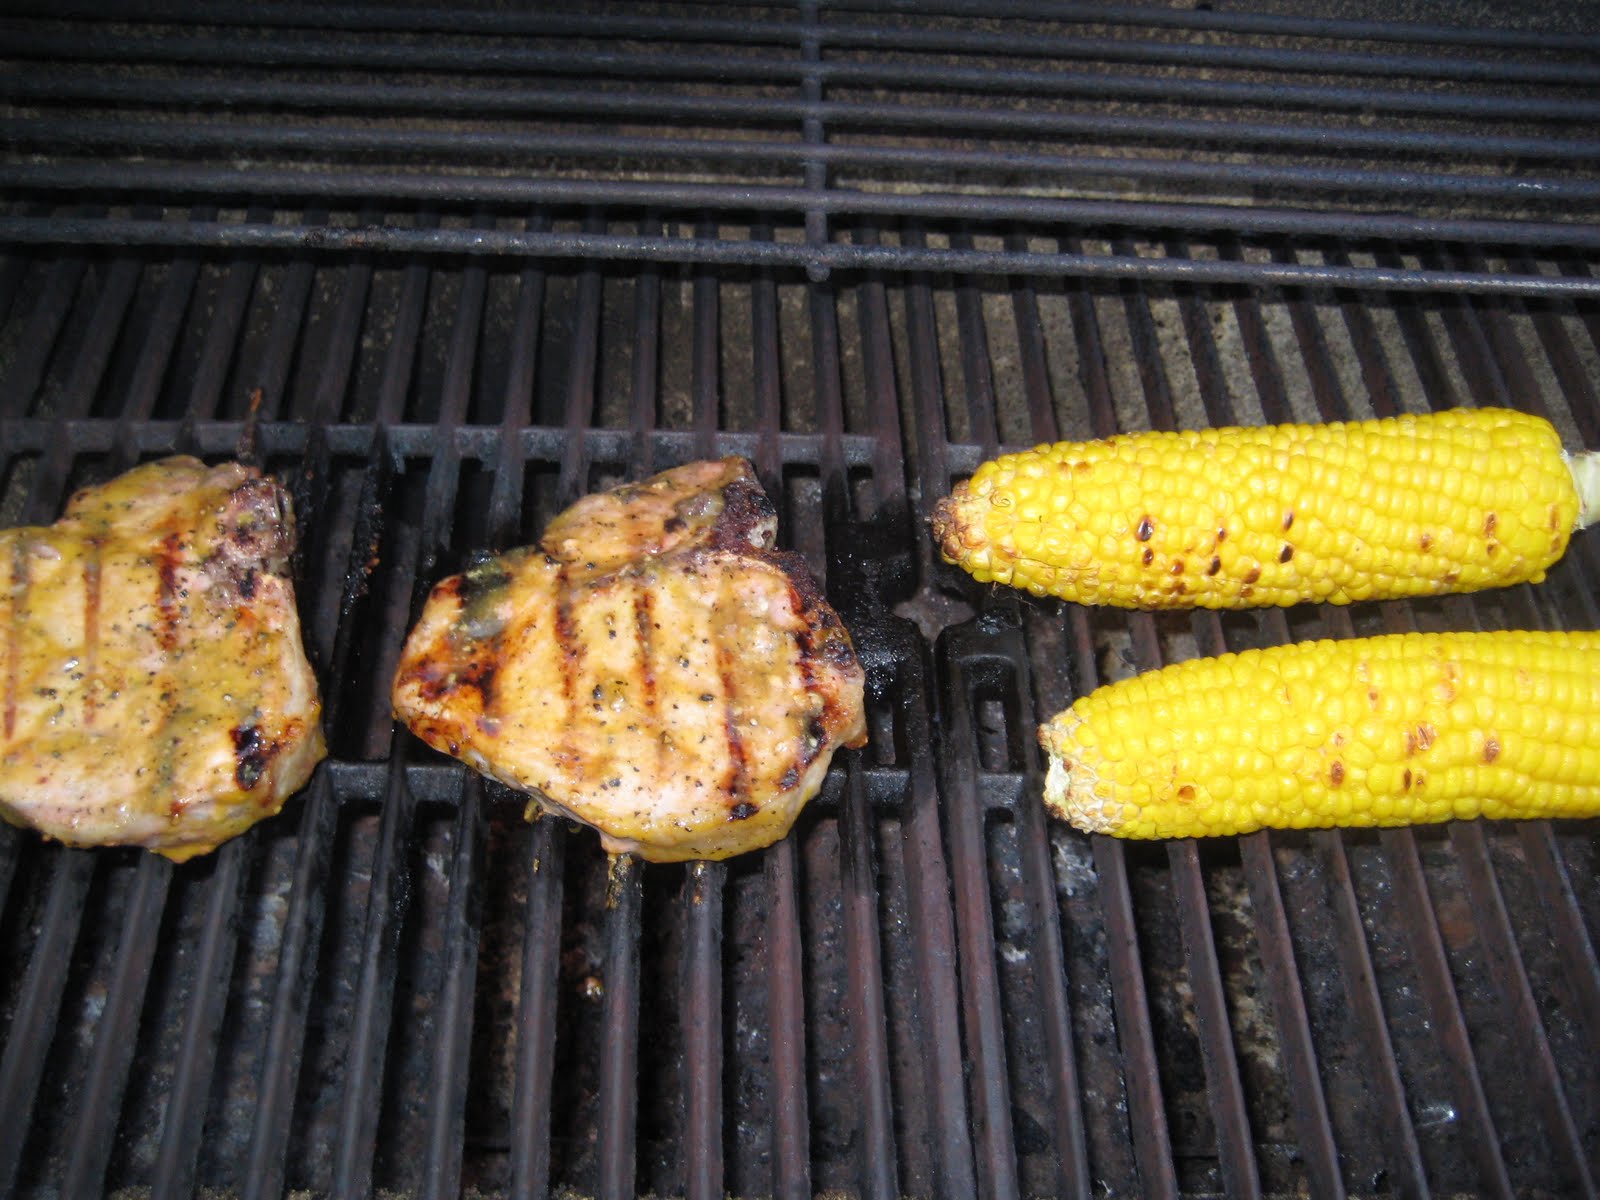
Step 6:  Lower the heat on the grill to medium-high.  Season the pork chops with salt and pepper, and add to the grill.  At the same time, add the corn back to the grill now without the husks.

Step 7:  After about 3-4 minutes, rotate the corn.  It should be getting a nice char on the outside.  Also flip the pork chops over at this point.  Apply the POG sauce liberally to the pork chops.

Step 8:  Flip the pork chops one more time and the POG sauce again.  Finish cooking for about 2 minutes to get to medium.  Remove from the grill, and let rest for about 3 or 4 minutes.  Add the remainder of the sauce and serve.

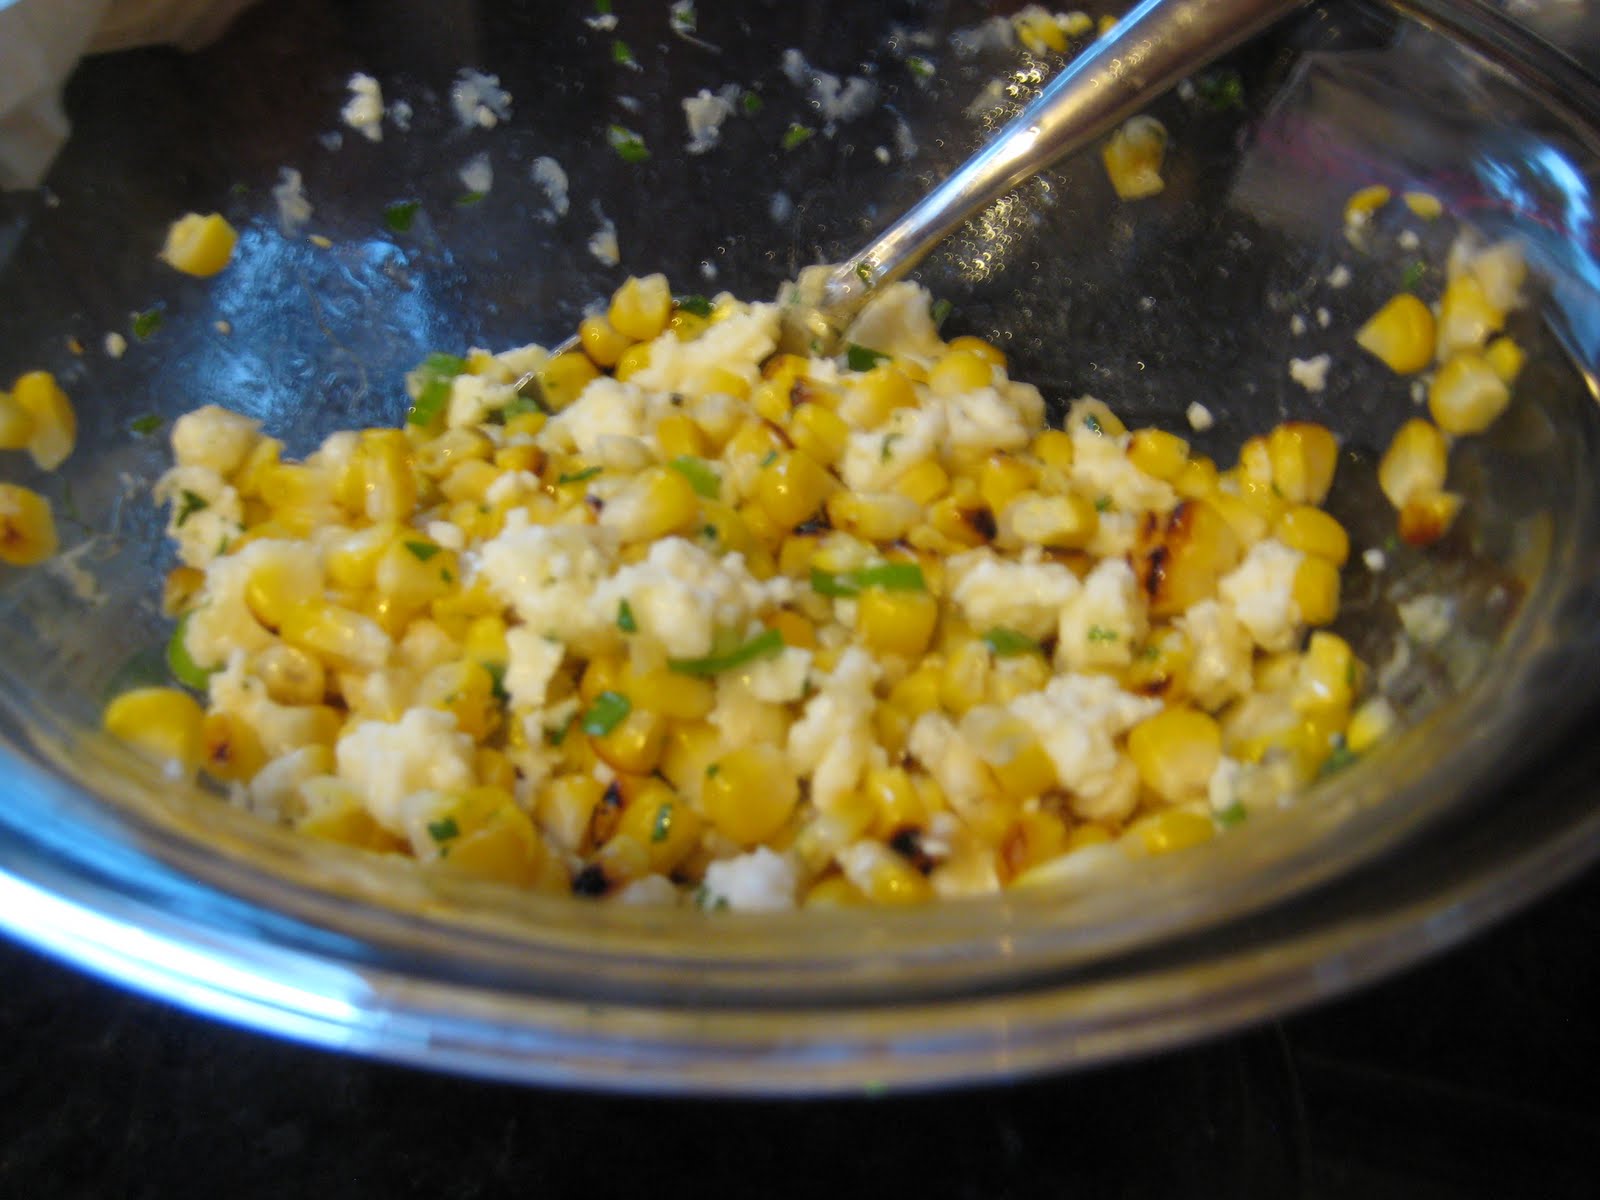
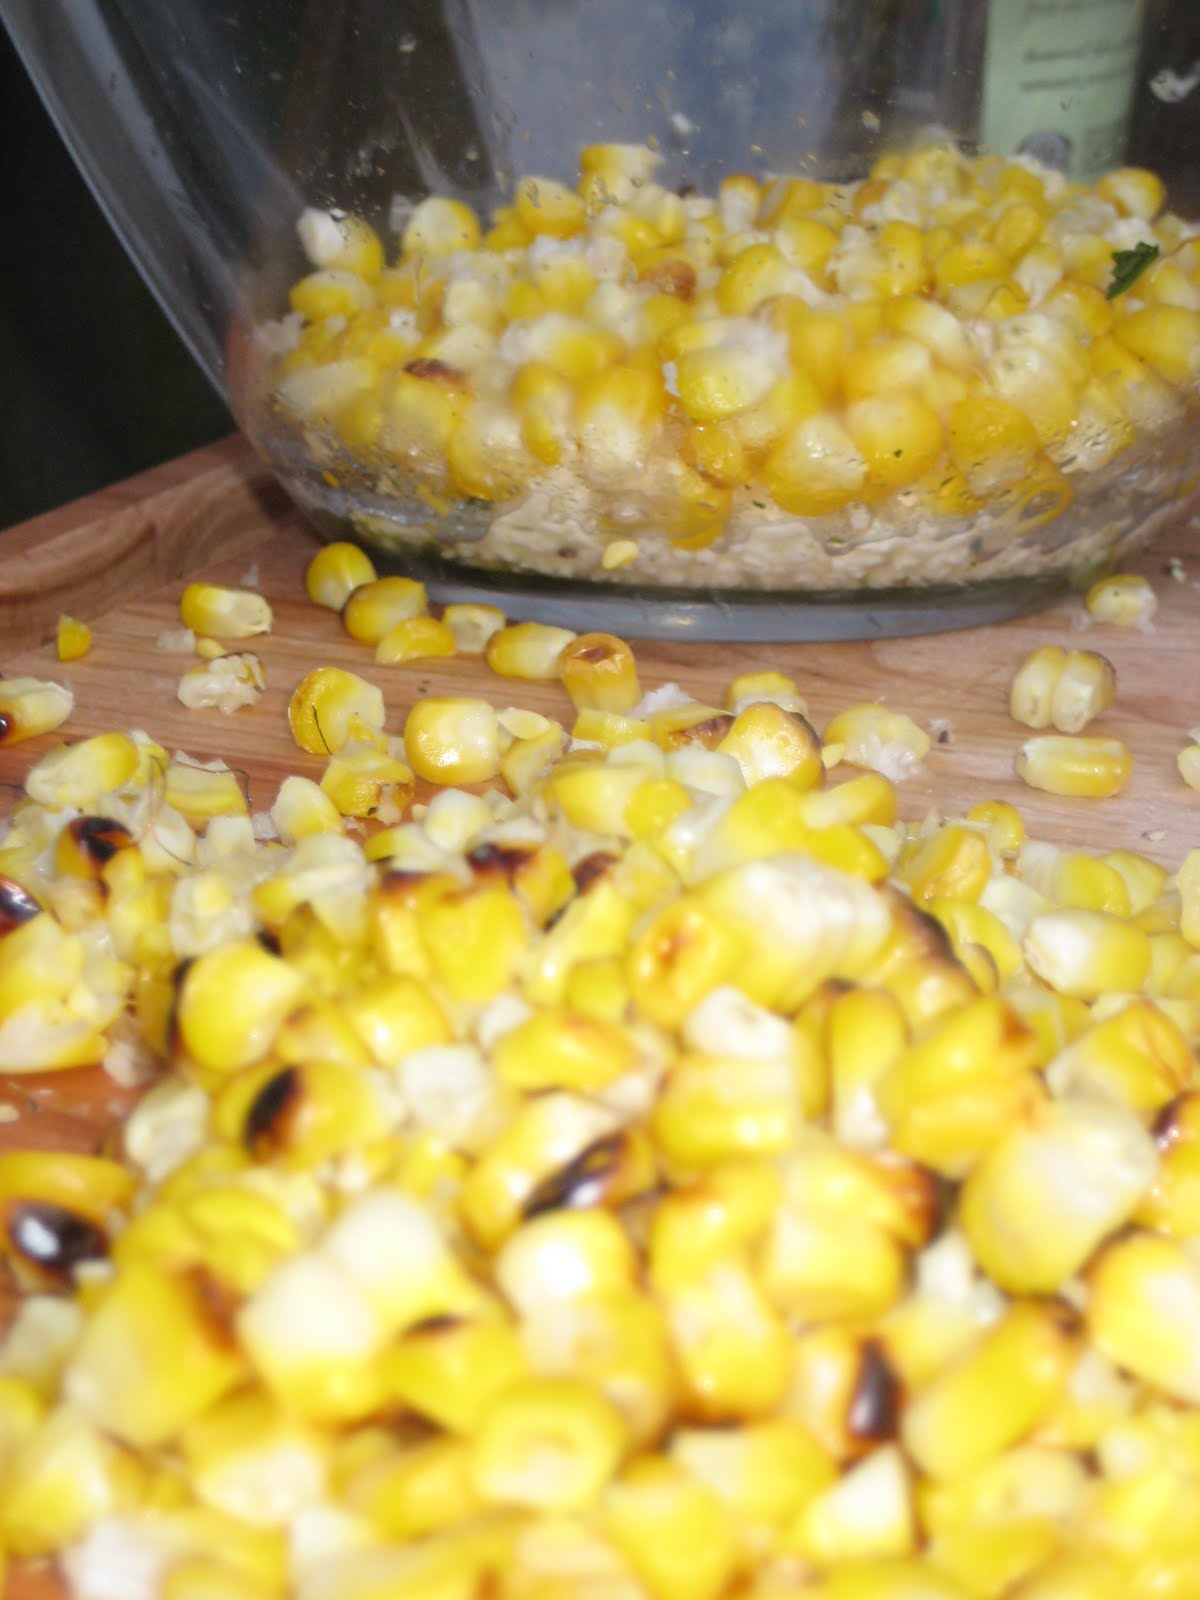
Step 9:  While the pork is resting, remove the corn from the grill.  Using a knife, remove the corn from the cob and add to the lime, cilantro, scallion and cheese.  Stir to coat evenly.  At this point, melt the butter, and pour over the corn right before serving.

Enjoy!