About Me

My Photo
Michael
This blog is about 3 things. First, eating out and telling you about it. Writing food reviews is fun and enjoyable. Second, making my own meals and sharing recipes. I'm all about simple, easy, and tasty. Third, tackling some challenges in my cookbooks. This way I learn techniques and flavors that I can add to my own cooking. And it all adds up to lots of talk about lots of food. I'm getting hungry just thinking about it.
View my complete profile
Deck On Food Seattle restaurants
Showing posts with label Chicken. Show all posts

Wednesday, July 14, 2010

Deck's Fried Chicken


THIS IS A REPOST FROM DECKONFOOD.COM.  http://deckonfood.com/?p=428

Tuesday, July 6 was a typical day for me.  I'd headed into work in the morning with my coffee and lunch.  I was working away, answering e-mails, making phone calls, etc.  About mid-way through the day, I saw a tweet come across with some recipes to help celebrate National Fried Chicken Day.  Two things crossed my mind.  First, I need to figure out when more of these national food days are (almost missed National Grilled Cheese Day too).  Second, how was I going to celebrate?  I then realized that before leaving, I had pulled some chicken breasts out of the freezer.  Needless to say, I was stoked!  I spent the rest of the day trying to figure out how I wanted to cook the chicken (well, in between working of course).  I thought maybe strips, or I could just fry
them whole.  When I got home, I was still debating when I realized I hadn't pulled out chicken breasts.  I'd pulled out chicken legs; even better!  And so I got ready to make myself some fried chicken.

This was my second attempt at fried chicken actually.  The first time it didn't go so well. The chicken ended upcoming out bland and over breaded.  It was there that I realized not to skimp on spices, and how to properly bread the chicken.  Let's just say, second time is the charm, and that's why instead of an experience, you are getting a recipe!  The spice mix is definitely something you can tweak, as I'm sure I will, but I promise that using this one, you are going to get very moist, flavorful chicken that will have you licking your fingers and wanting more!

Deck's Fried Chicken

Serves 2
Ingredients:


Don't skimp!

  • 2 Chicken Legs
  • 1 pint Buttermilk
  • 2 cups all-purpose flour
  • 1/4 cup paprika
  • 2 Tbsp Lawry's Seasoned Salt
  • 1 Tbsp Garlic Powder
  • 1/4 cup ground black pepper
  • 2 Tbsp light brown sugar
  • 1 tsp Allspice (optional)

Step 1 - Clean/rinse the chicken and pat dry.  Separate into thighs and drumsticks.  Place the chicken in ashallow baking dish, and pour in the buttermilk.  Cover and refrigerator for at least 4 hours and up to 24 hours.
Step 2 - Preheat your oil to 350 degrees.  You can either use a small deep fryer like I use, or a pot that holds enough oil to completely submerge the chicken.  Use a light oil like vegetable or peanut oil that doesn't add flavor to the chicken.
Step 3 - Mix all of the dry ingredients together in a shallow pan.
Step 4 - Take one piece of chicken out of the buttermilk, and wipe off the excess.  Place it in the spice mixture and coat evenly.  Then dip it back in the buttermilk, and then back into the spice mixture (should be buttermilk, spices, buttermilk, spices).  Repeat this with each of the remaining pieces.
Step 5 - Place the pieces of chicken gently into the oil so as not to splash yourself, and cook for about 5-7 minutes until the outside is a nice brown texture (go past golden brown, but not quite dark brown).  Remove from the oil and place on paper towels.  Let rest 3-5 additional minutes.
That's all it takes.  You chicken should be juicy, flavorful, and delicious!  Happy Fried Chicken Day!


Delicious Fried Chicken with my Roasted Corn Salad and Potatoes a la Michael Symon

Sunday, June 20, 2010

Deck's Roasted Rosemary Chicken Breast

One of my biggest complaints about chicken breasts is too often they are dried out, and I'm sure there are a few of you that feel the same way.  And it doesn't usually matter if I make it, or I order it, there is a better than good chance that it will be dry.  So, I have been trying different things to make sure that when I make a chicken breast, it comes out moist and juicy.  I have been successful with the breaded breast (see my Chicken Parmesan recipe), but was still working on a roasted variety.  After a bit of experimentation, and a little inspiration from a Bobby Flay recipe, I have come up with this simple recipe that delivers good flavor and a very moist chicken breast.  The key to this recipe is both the bone-in, skin-on chicken breasts and the fresh rosemary.  I like to serve it with rice and some sauteed peppers, but it would be great cut up in a salad, with fresh corn, or any number of ways.

Deck's Roasted Rosemary Chicken Breast


Serves 2


Ingredients:

2 skin-on, bone-in chicken breasts
1 cup of olive oil
6 sprigs fresh rosemary
3 cloves garlic, coarsely chopped
1/2 lemon, juiced
Salt and Pepper

Step 1 - Prepare the marinade by combining the olive oil, rosemary, garlic and lemon juice in a gallon sized ziploc bag or shallow baking dish.  Salt and Pepper the chicken and then add to marinade and coat completely.  Refrigerate for at least 8 hours.  This can be prepared the night before and marinated overnight.  If possible, flip the bag halfway through the marinating time.

Step 2 - Pre-heat an oven-proof skillet over medium-high heat.  Also, pre-heat the oven to 350 degrees.  Remove the chicken from the marinade, and pour the remaining marinade into the preheated skillet.  Allow the oil to get up to temperature, about 2-3 minutes.

Step 3 - Place the chicken in the heated oil skin-side down and cook until brown and crispy, about 5-7 minutes depending on the size of the chicken breast.  Flip the chicken over, and cook for about 2 more minutes, then place the pan in the oven.

Step 4 - Roast the chicken in the oven for about 20 minutes, or until just cooked through.  If you have a leave-in thermometer, you'll want to cook it to 145 degrees.  When it is done, take it out of the oven, and let it rest for about 5 minutes on a cutting board.  Serve and enjoy!

Monday, June 7, 2010

Why do we always get chicken breasts at these events?

This past weekend I was in Minnesota celebrating my wife’s class reunion. On one evening, as is customary at events like this, there was a big group dinner. Kind of like you get when you go to a charity auction or a wedding or banquet. I was initially planning on writing about the food that was there, and scoring it like I’ve been doing for my restaurant reviews. But, after a few bites, I decided I did not want to do that. Unfortunately the food just wasn’t that good, but the atmosphere and the camaraderie were great, and honestly that’s what this whole evening was about. So instead, I thought I would write about the approach that these facilities take, and how it continues to perplex me.


Like I said, these events are not about the food, but the people and the event, but why can’t the food be a part of that? And why do these events consistently insist on serving roasted chicken breast? As a home cook, preparing a chicken breast that remains moist can be a challenge, and that’s when I’m cooking for 2, not 60. I’ve been implementing some breading techniques doubled with searing prior to roasting. And then it has to be served immediately, and doesn’t have time to sit. Yet, here we are with 60 warm, dry chicken breasts to eat, trying to compensate with some watered down sauce and a few capers. If anything, it slightly dampens the evening’s festivities (or at least doesn’t boost it). The same thing always happens with salmon. How many of these events have you gone to where you order the salmon and have to dip it in your water to put some sort of moisture back into it? And don’t even get me started on the sad vegetables and roasted potatoes that look like they’ve been sitting out for a couple of days (and are covered in garlic!!)

If these events are going to insist on serving chicken, why not change techniques? Maybe use chicken thighs instead of breasts. Not only are thighs much more difficult to dry out, they tend to be less expensive per pound than chicken breast. Or at least bread the chicken breasts before roasting, thus allowing some additional flavor from the chicken. For the sauce, why not a simple fruit based sauce instead of a heavy cream (which ends up being watered down to the consistency of 2% milk before it is all said and done)?

Now, I’m no expert. I haven’t cooked for more than 8, and I know how difficult it can be to have everything done at the same time and ready to head out. But, I don’t think it is that difficult to think through the menu a little. If there are going to be say 100 plates, you know that they are probably going to have to sit for a bit. So, serve meat that has a lot of moisture like chicken thighs, spare ribs or sea bass (other oily fish). Consider different cooking techniques. Don’t just throw everything in the oven for 30 minutes and call it good. Bread it. Poach it. Marinate it (this one is easy!!). For side dishes, what about mashed potatoes, a creamy polenta, risotto? Having spent a lot of time working on my risotto, I can tell you that this can hold up to sitting for a time without losing anything. For sauces, avoid milk/cream based sauces unless you are serving pasta. These don’t hold up well to sitting, and honestly don’t add a whole lot of flavor. A simple fruit sauce (I’m thinking one of my pepper/fruit sauces) would be great, and again holds its flavor over time.

These types of events aren’t about the food, and it shows. The food can really accentuate the evening. A good meal leaves people talking, and builds memories. This is a meal that will be completely forgotten and not talked about beyond finishing this post. When people go home, they won’t say “remember that great meal”, they will say we spent two hours in a room, and then went outside and talked to so-and-so. And as a “foodie” this actually makes me a little sad.

Wednesday, June 2, 2010

Deck's Chicken Parmesan

Some evenings call for a quick and easy meal, but that doesn't mean that flavor has to be sacrificed (something I now understand).  Tonight was one of those evenings, so I broke out one of my sure fire, simple and delicious recipes; Chicken Parmesan.  I'll admit that I cheated a little bit on this one, using a pre-made sauce instead of doing my own.  As my cooking evolves, so to will this recipe.  But for now, it is a great flavorful dish for the working professional.

Deck's Chicken Parmesan


Serves 2 (with some leftovers)


Ingredients:

2 Bone-in, Skin-On Chicken Breasts
1/4 - 1/2 cup of Italian Seasoned Bread Crumbs
2 Tbsp Extra Virgin Olive Oil
3 Tbsp Butter
Salt and Pepper
3 cups Marinara Sauce (I prefer the Whole Foods 365 Brand)
1/4 cup Balsamic Vinegar
1/4 cup buttermilk blue cheese
1/2 cup Shredded Parmesan cheese
Angel Hair Pasta or Spaghetti

Step 1:  Heat the oil over medium-high heat in a skillet or pan that you will be able to place in the oven.  At the same time, preheat your oven to 350, and put some salted water on to boil for your pasta.


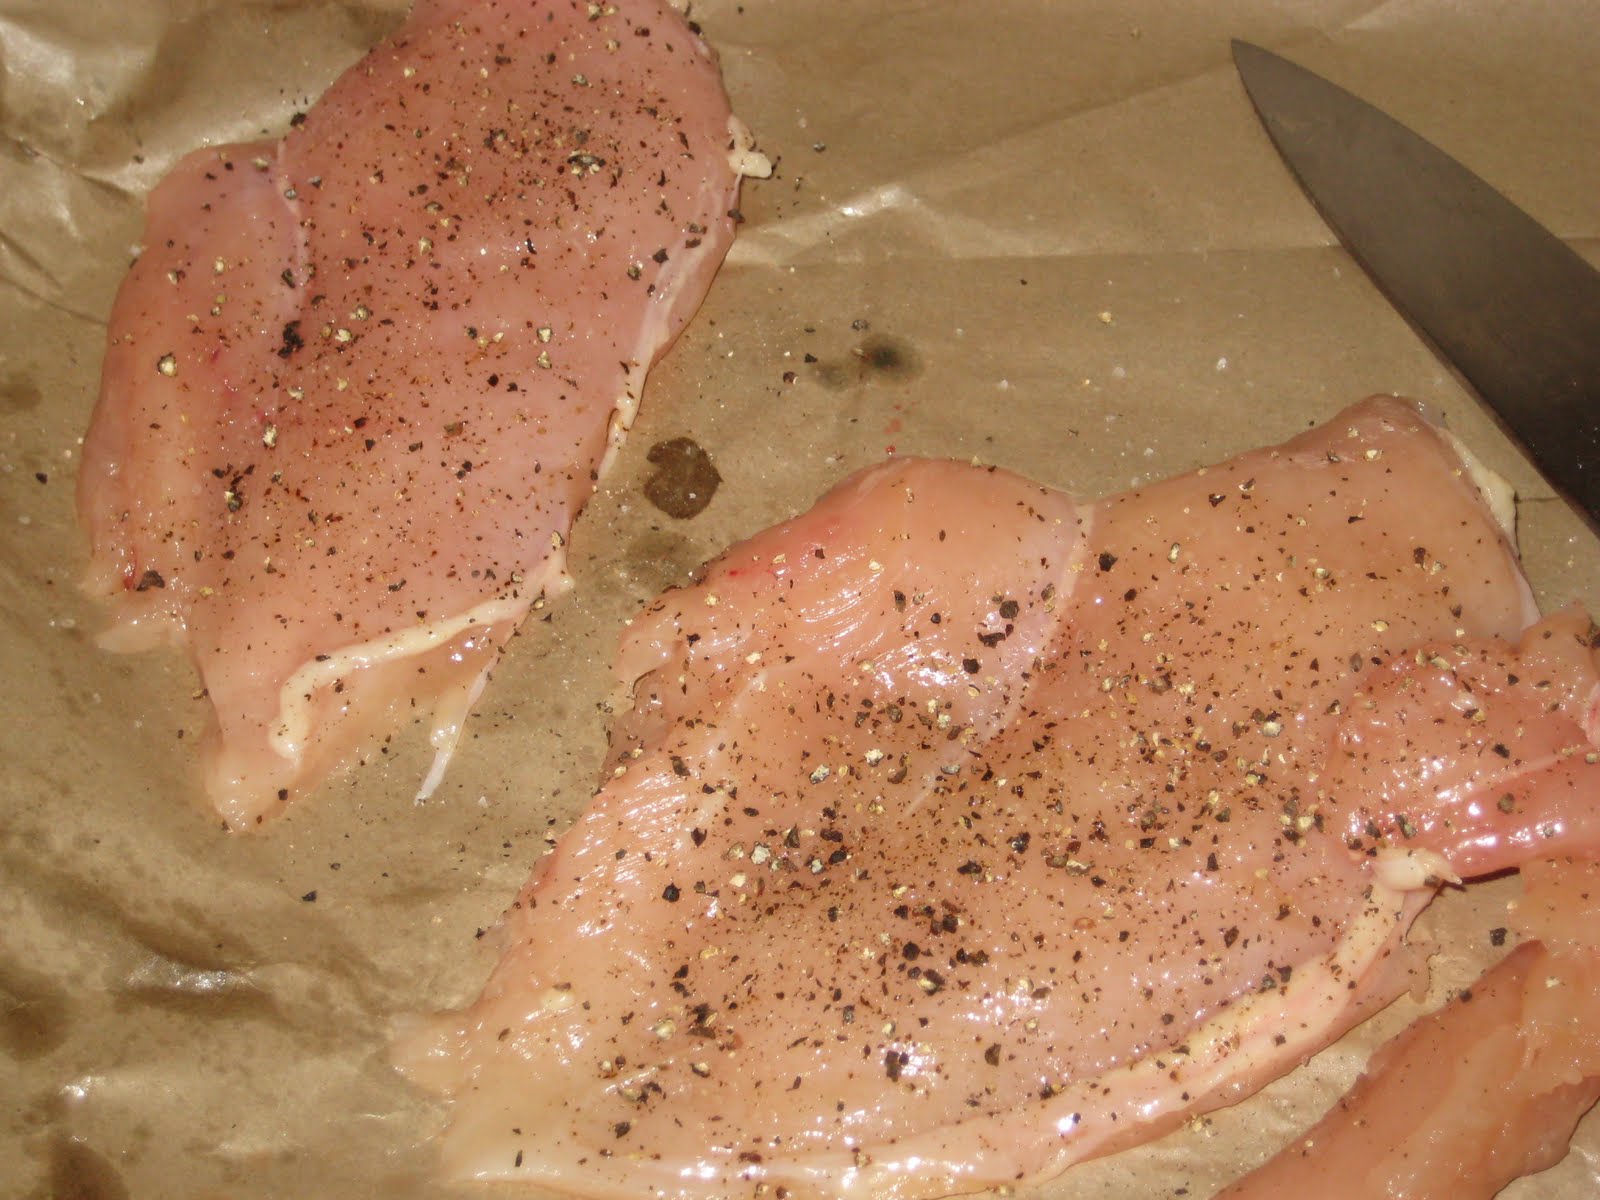
Step 2:  Remove the bone and skin from the chicken.  Then season with some salt and pepper.


Cook's note:  I prefer to purchase the bone-in, skin-on chicken breasts feeling that these help keep the chicken breasts nice and moist (not to mention being a little cheaper).  I also try and avoid freezing the chicken so that it doesn't lose any of the natural moisture.

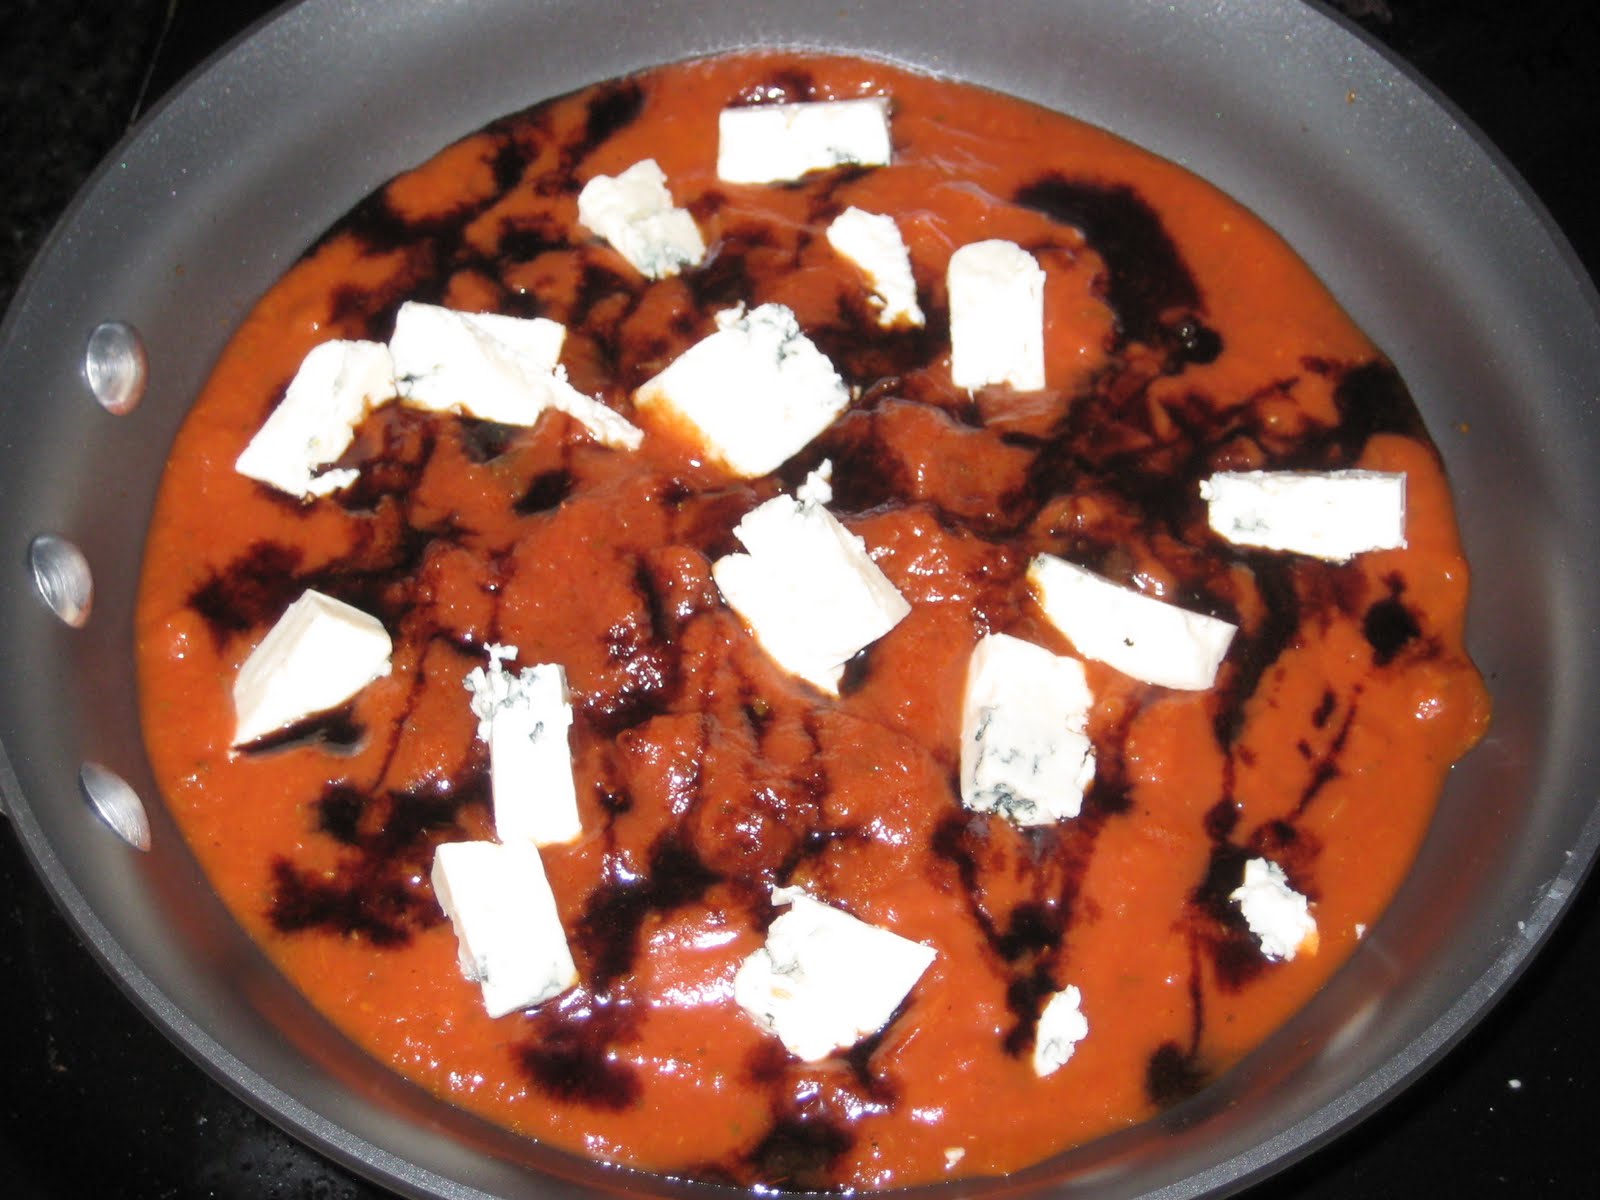
Step 3:  Melt the butter in a dish that will be big enough to lay the chicken breasts in.  While the butter is in the microwave, combine the blue cheese, balsamic vinegar and marinara sauce in a sauce pan over medium heat.  You can also add any type of herbs here (I prefer oregano and basil), as well as some fresh ground black pepper.


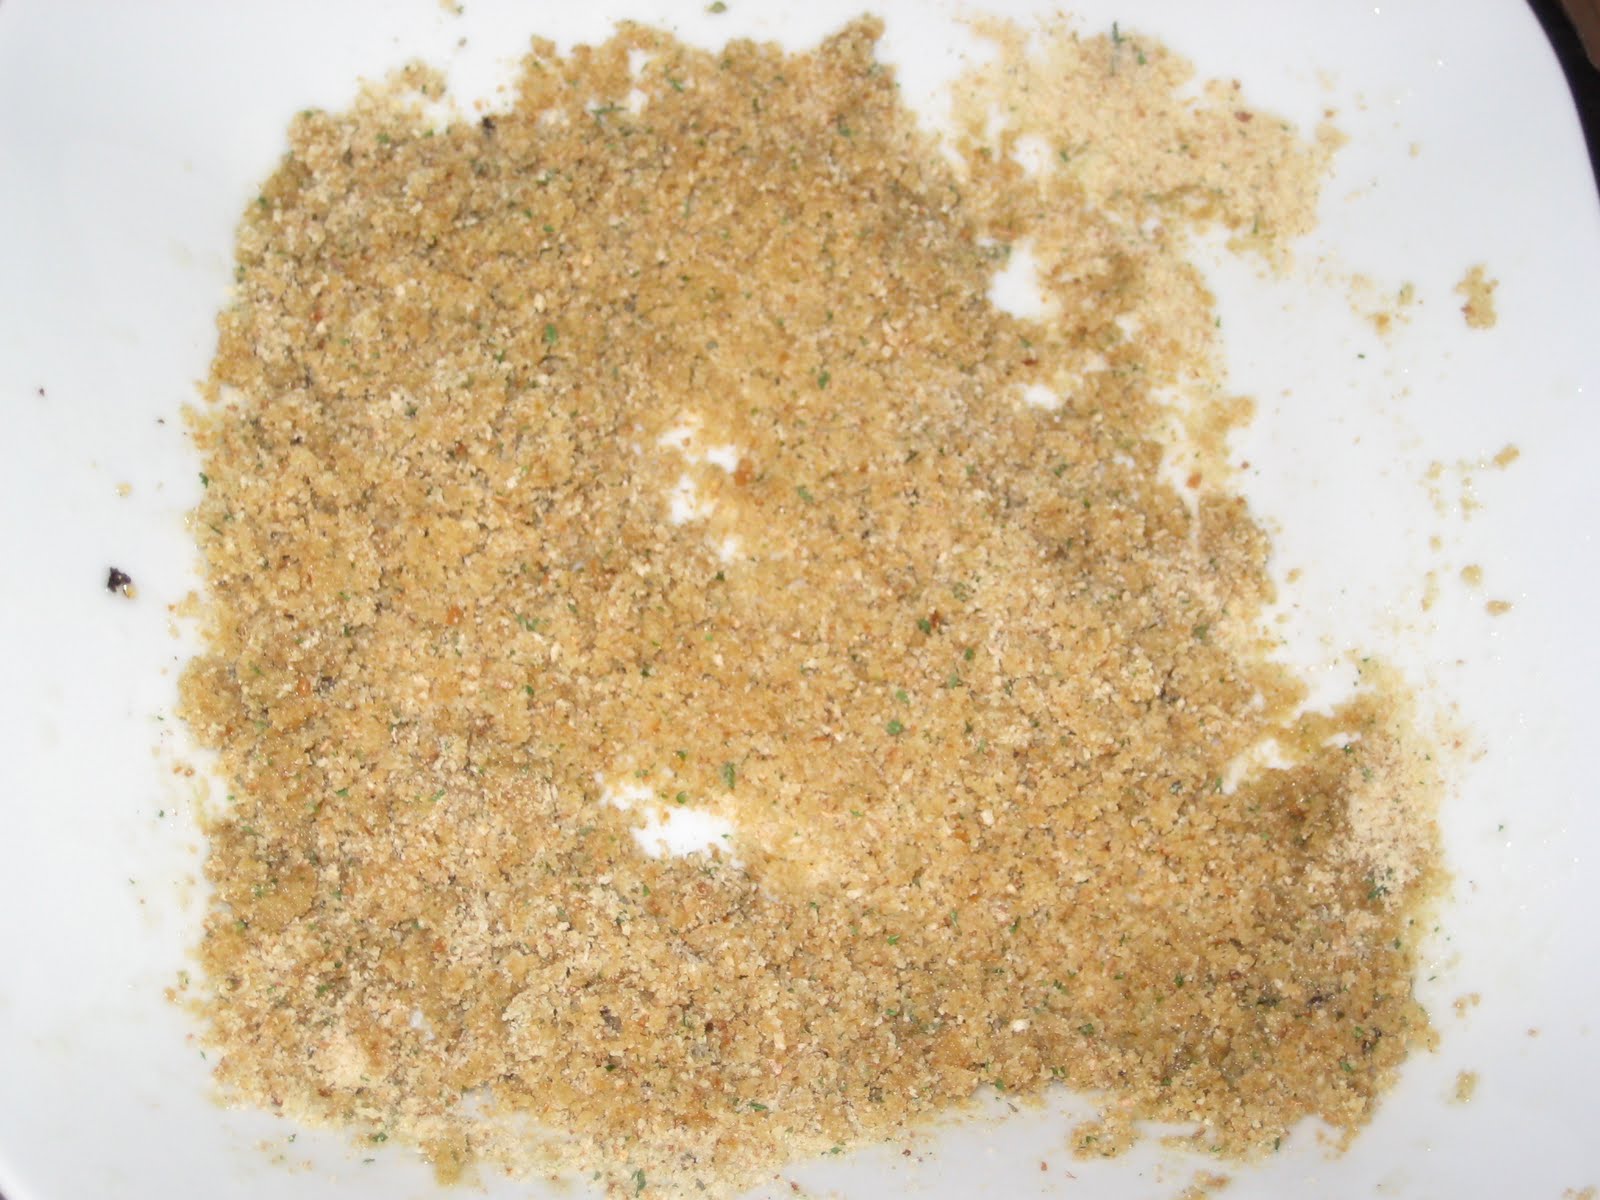
Step 4:  Brush a little bit of the melted butter on each side of the chicken breast.  You just want to put a thin layer on.  Add the bread crumbs to the remaining butter and mix together.


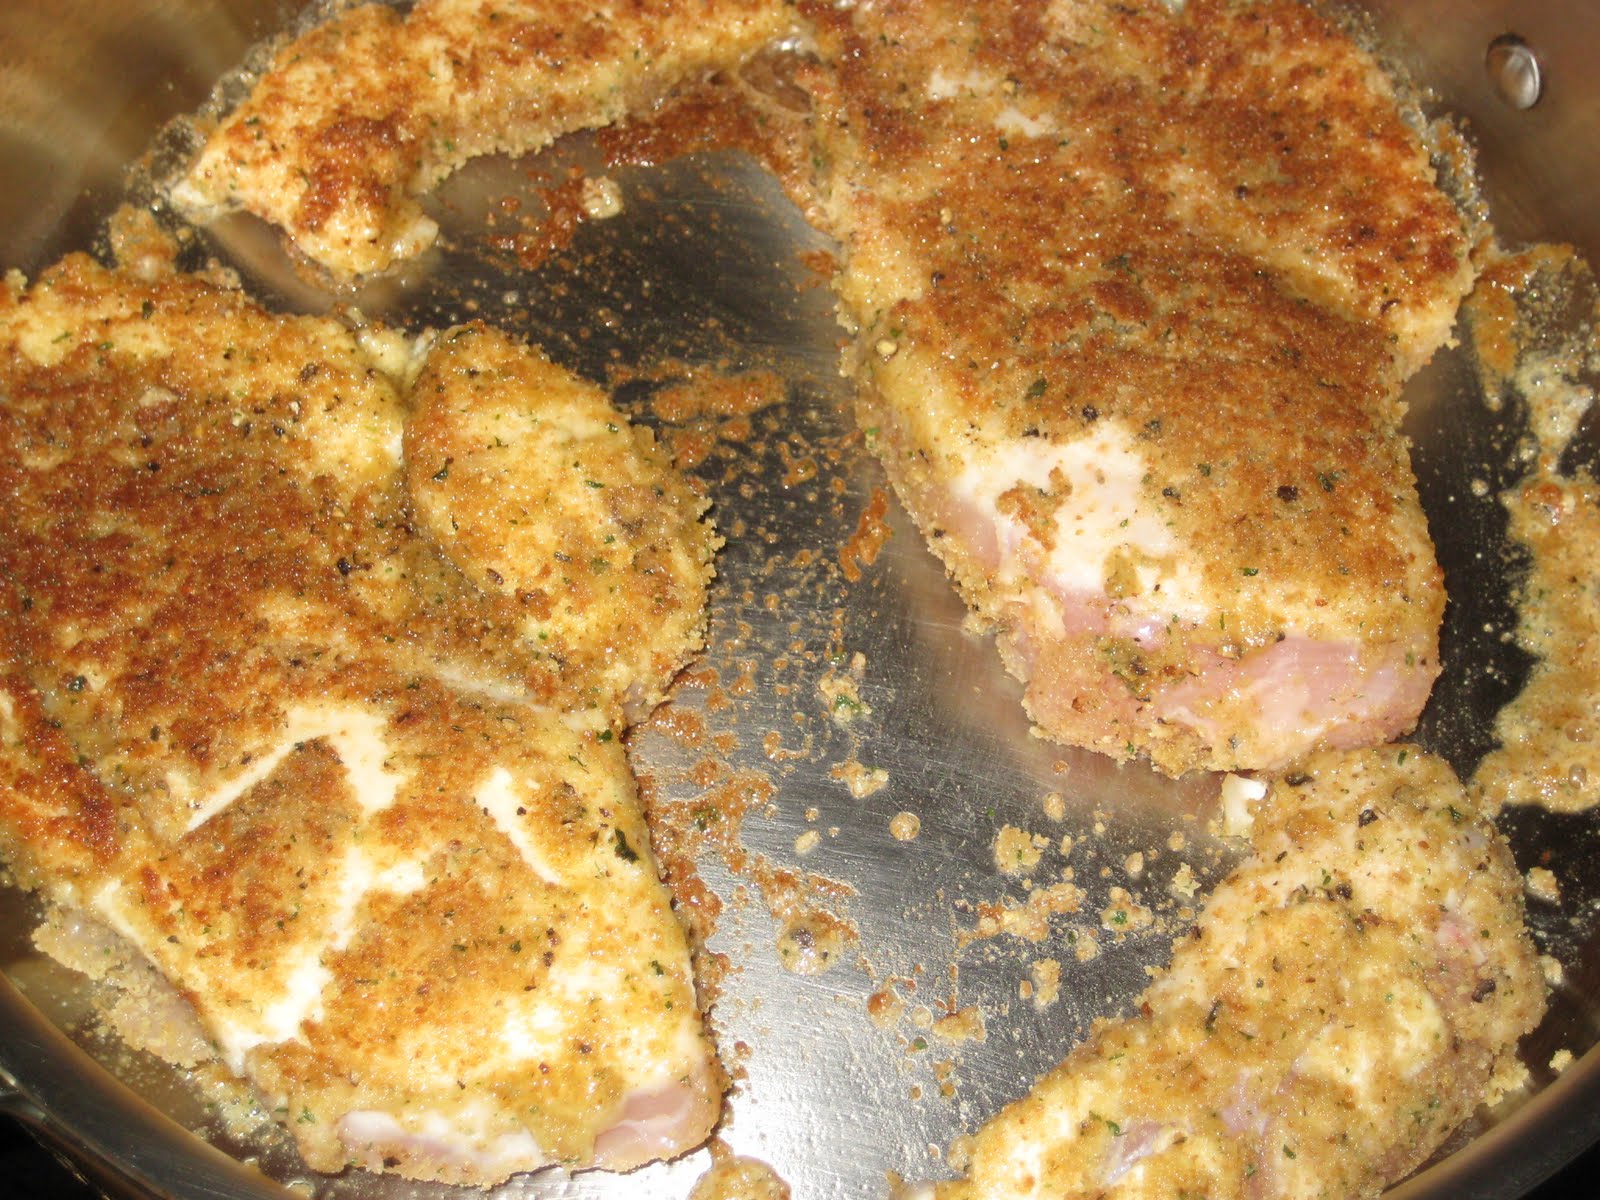
Step 5:  Coat the chicken breasts in the bread crumbs, and add to the heated oil.  Cook for about 2 minutes, and then flip over (you want to cook just long enough to brown the bread crumbs, but not cook all the way through).  Cook for another minute, and put directly into the pre-heated oven.

This would be a good time to put your pasta in the water as well.


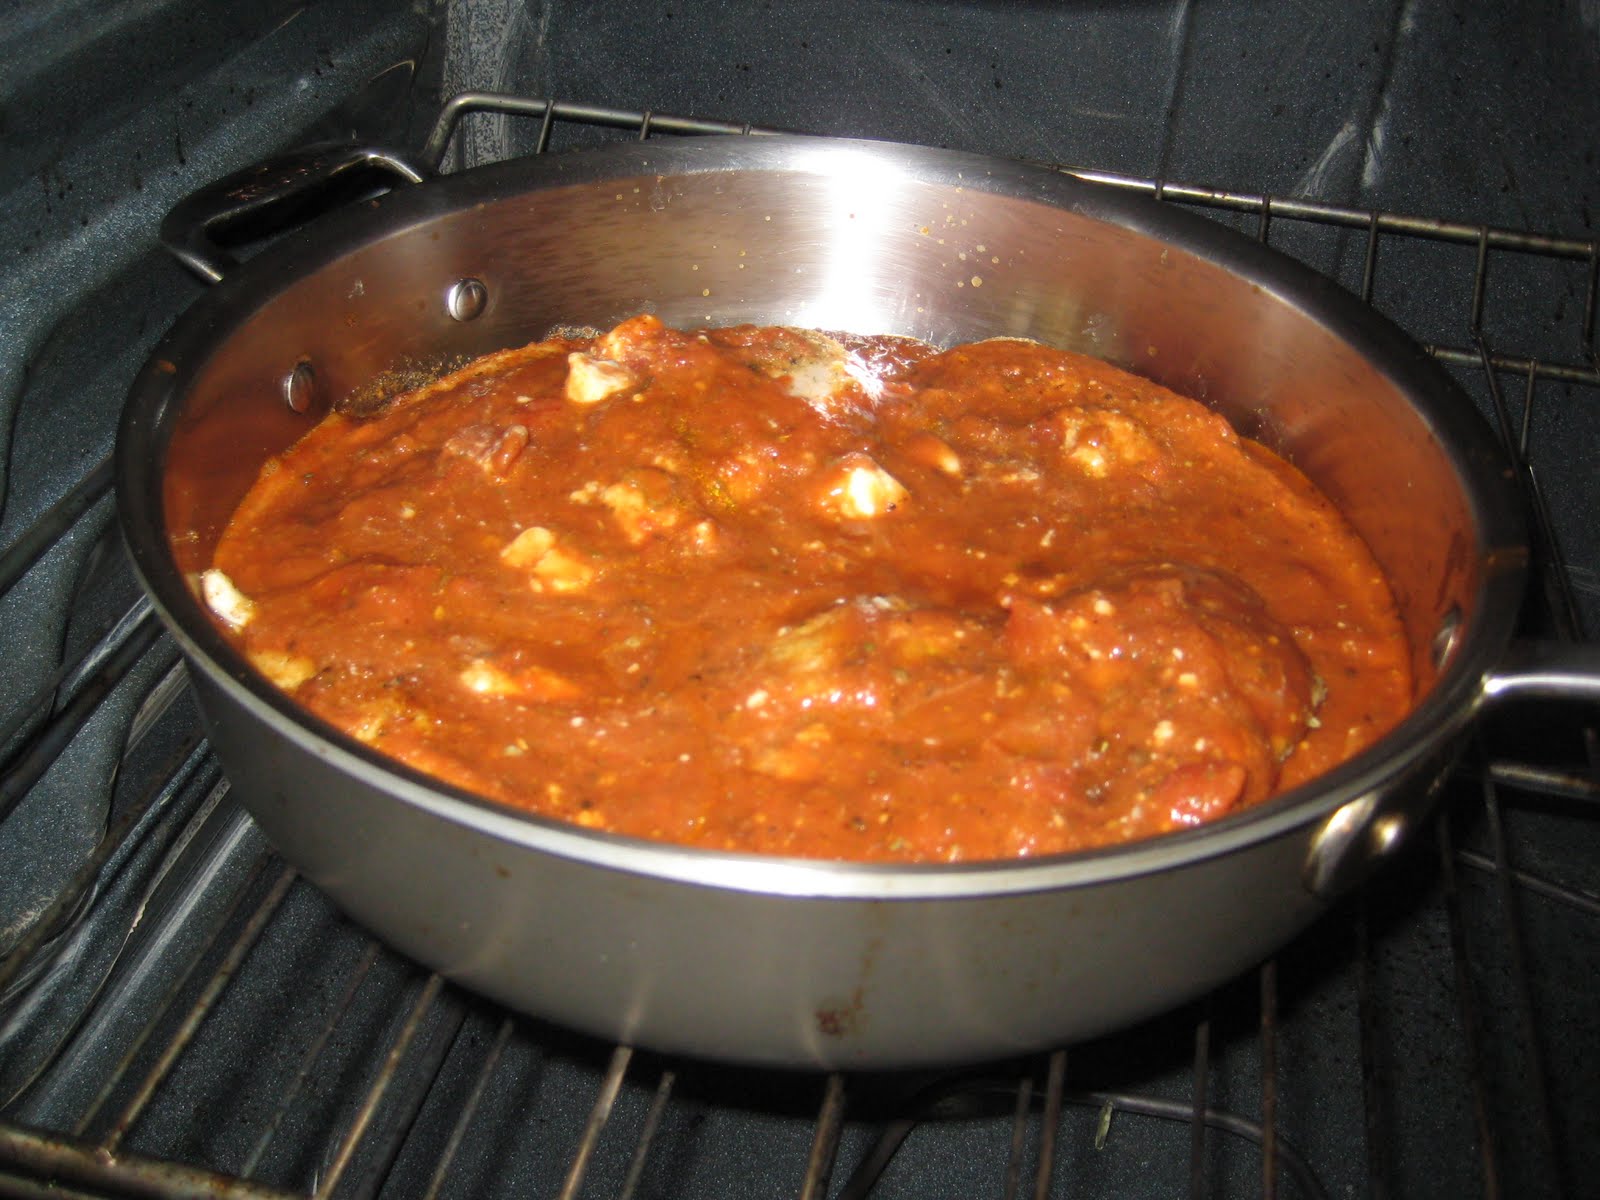
Step 6:  After about five minutes, pull the pan out of the oven, and pour the sauce directly over the chicken breasts.  Put the pan back in the oven.


Step 7:  After another 5 minutes, pull the pan out, add the cheese, and put back in the oven long enough to melt the cheese.

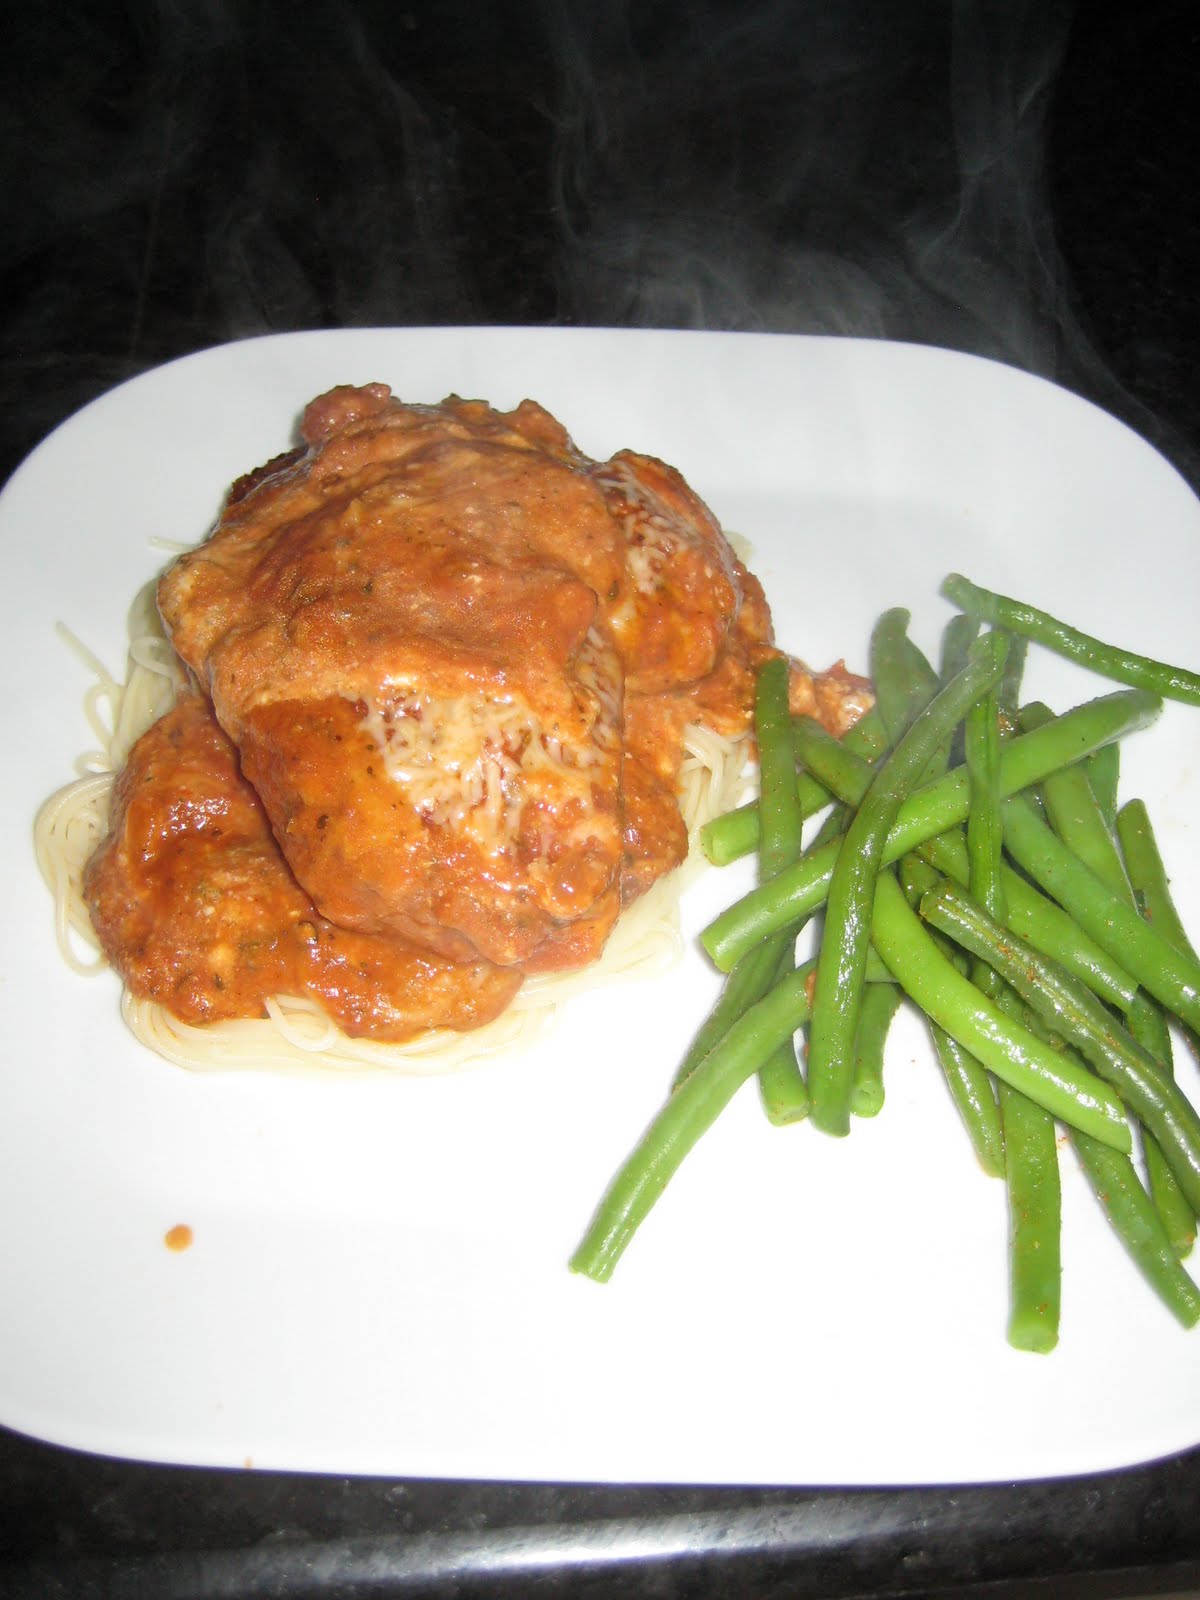
To serve:  Remove from the oven.  Put some of the pasta on the plate.  Add some of the sauce directly to the pasta.  Then place a chicken breast on top of the pasta, add cheese to your taste, and enjoy!

Sunday, May 9, 2010

Adventures with the deep fryer

There are many great things about getting married, one of which is the opportunity to re-outfit your kitchen with all kinds of new dishes and utensils and cooking gadgets.  For the last couple of weeks, I've been using our new pots and pans, serving food that looks beautiful (one person's slightly biased opinion) on our new dishes, and experimenting with some new gadgets.  Today I was excited to try something new, that I've never used before; a mini-deep fryer.  And I wanted to kick-off my deep-fried cooking with an absolute classic, fried chicken.

To start, I got up this morning put the chicken in a dish, and covered it in buttermilk.  I then left it to soak for 8 hours.  Then I took it out, rolled it in some seasoned flour, dipped it in an egg wash, rolled it in some blue corn meal, and stuck it in the fryer.  I did thighs first for about 15 minutes, then followed up with the drumsticks for about 12.  I served the chicken with a potato salad out of a Bobby Flay grilling cookbook with a slice of cornbread.

At this point you might be wondering why there are no pictures.  Hadn't I started to provide pictures of my cooking?  Doesn't it make a better story?  The answer is yes and yes.  But the reason there are no pictures is because when I bit into this beautiful chicken I created, I was disappointed.  It wasn't that it wasn't cooked through, or had a bad taste.  The first problem was that it had no taste.  It was incredibly bland.  The second was that the coating was just too thick.  It was like there was a tortilla chip over the chicken.  And the salad was much the same way.  I hadn't made enough of the vinaigrette and it was just fried potatoes on spinach with a little bit of bleu cheese.  Here is what it ended up looking like:


I was fully intended on sharing the recipe for what turned out to be a great looking dish.  I had taken pictures of all the steps along the way.  But in the end, there is no point in providing a recipe for something that I didn't enjoy.  So, I'm going back to the drawing board on the fried chicken.  In the next iteration, I won't be using the blue corn meal, and will instead do a double coating of the seasoned flour, but will be a little more heavy-handed with some of the spices.  I think I also need to dilute the egg wash a little further, possibly with the buttermilk, so it doesn't go on so heavy.

But, I couldn't let the night end on that note.  So I did what any good home cook would do; I made dessert.  The dessert was quite simple, but one that I knew would please.  I made strawberry shortcake.

Strawberry shortcake is incredibly simple.  For starters, you take fresh strawberries, and cut them into bite-sized pieces.  Cover them with a couple tablespoons of sugar.


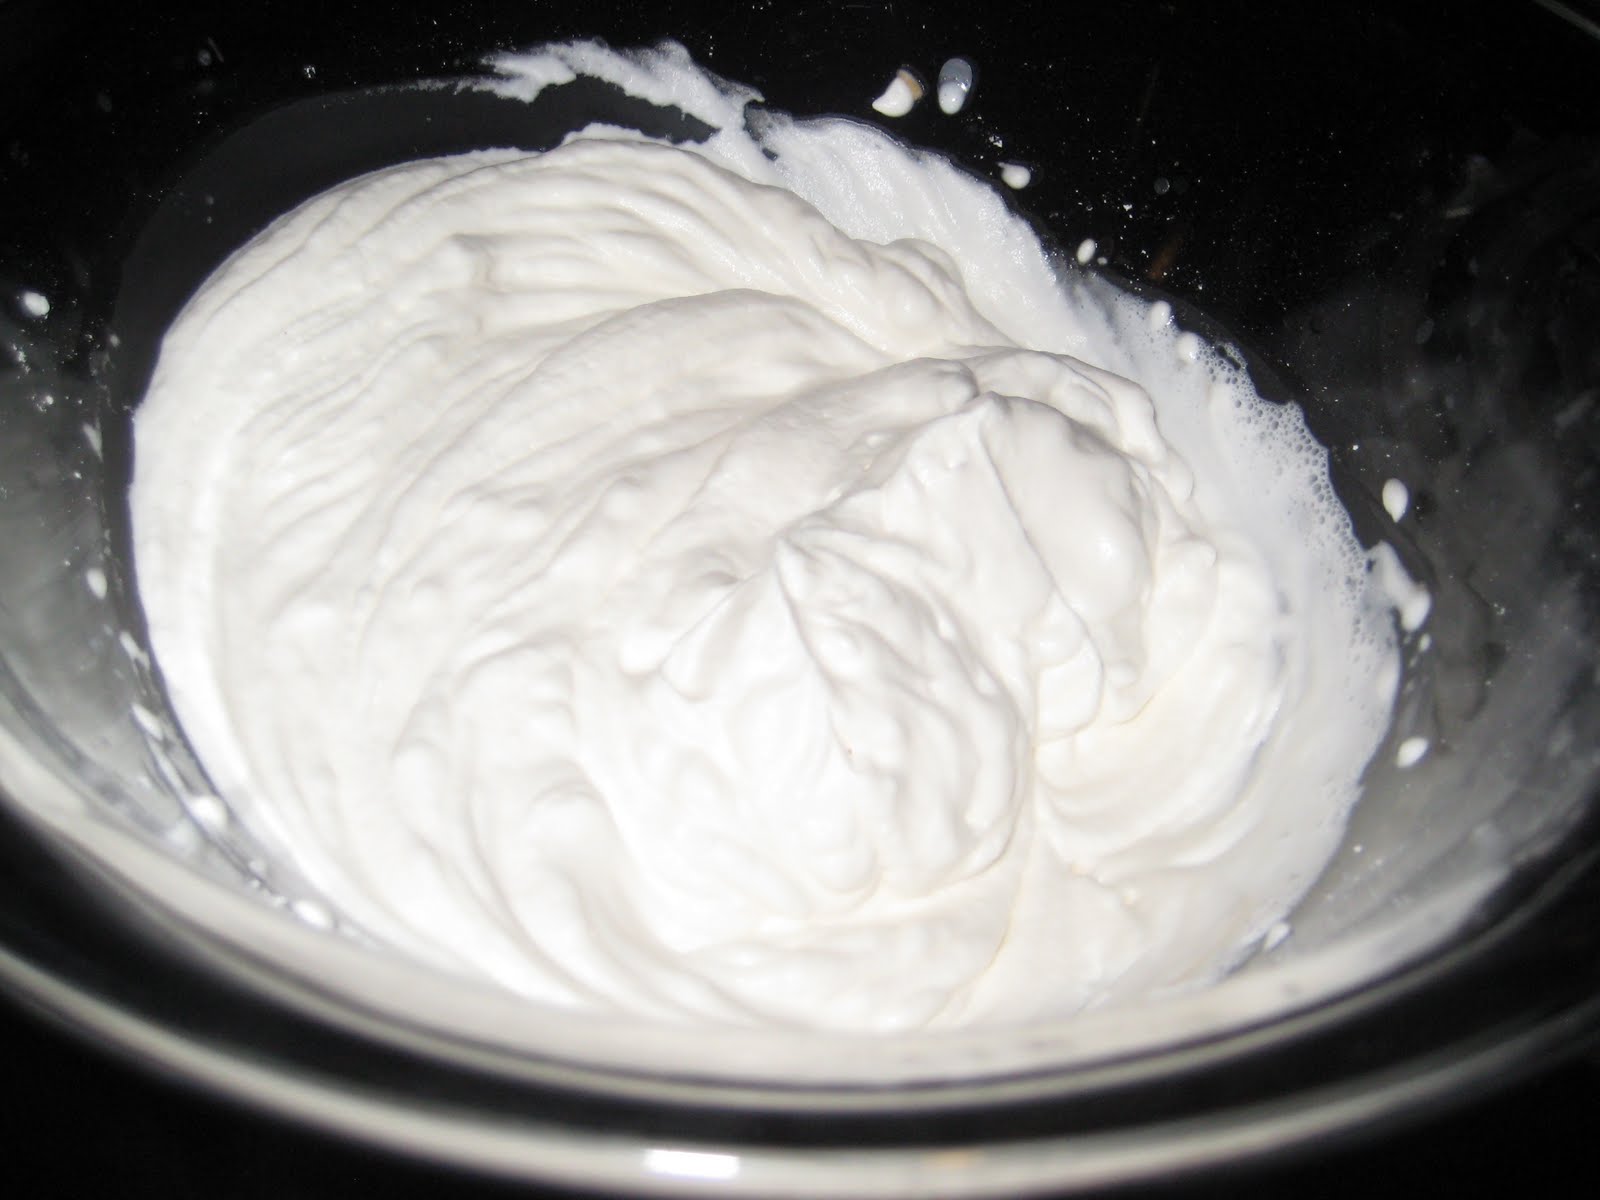
Next, make the whipped cream.  Put about half a cup of whipping cream in a mixing bowl.  Using an electric mixer, mix on low until it is just starting to get firm.  Add in a tablespoon of vanilla and a couple tablespoons of powdered sugar.  Continue to mix for about one more minute.


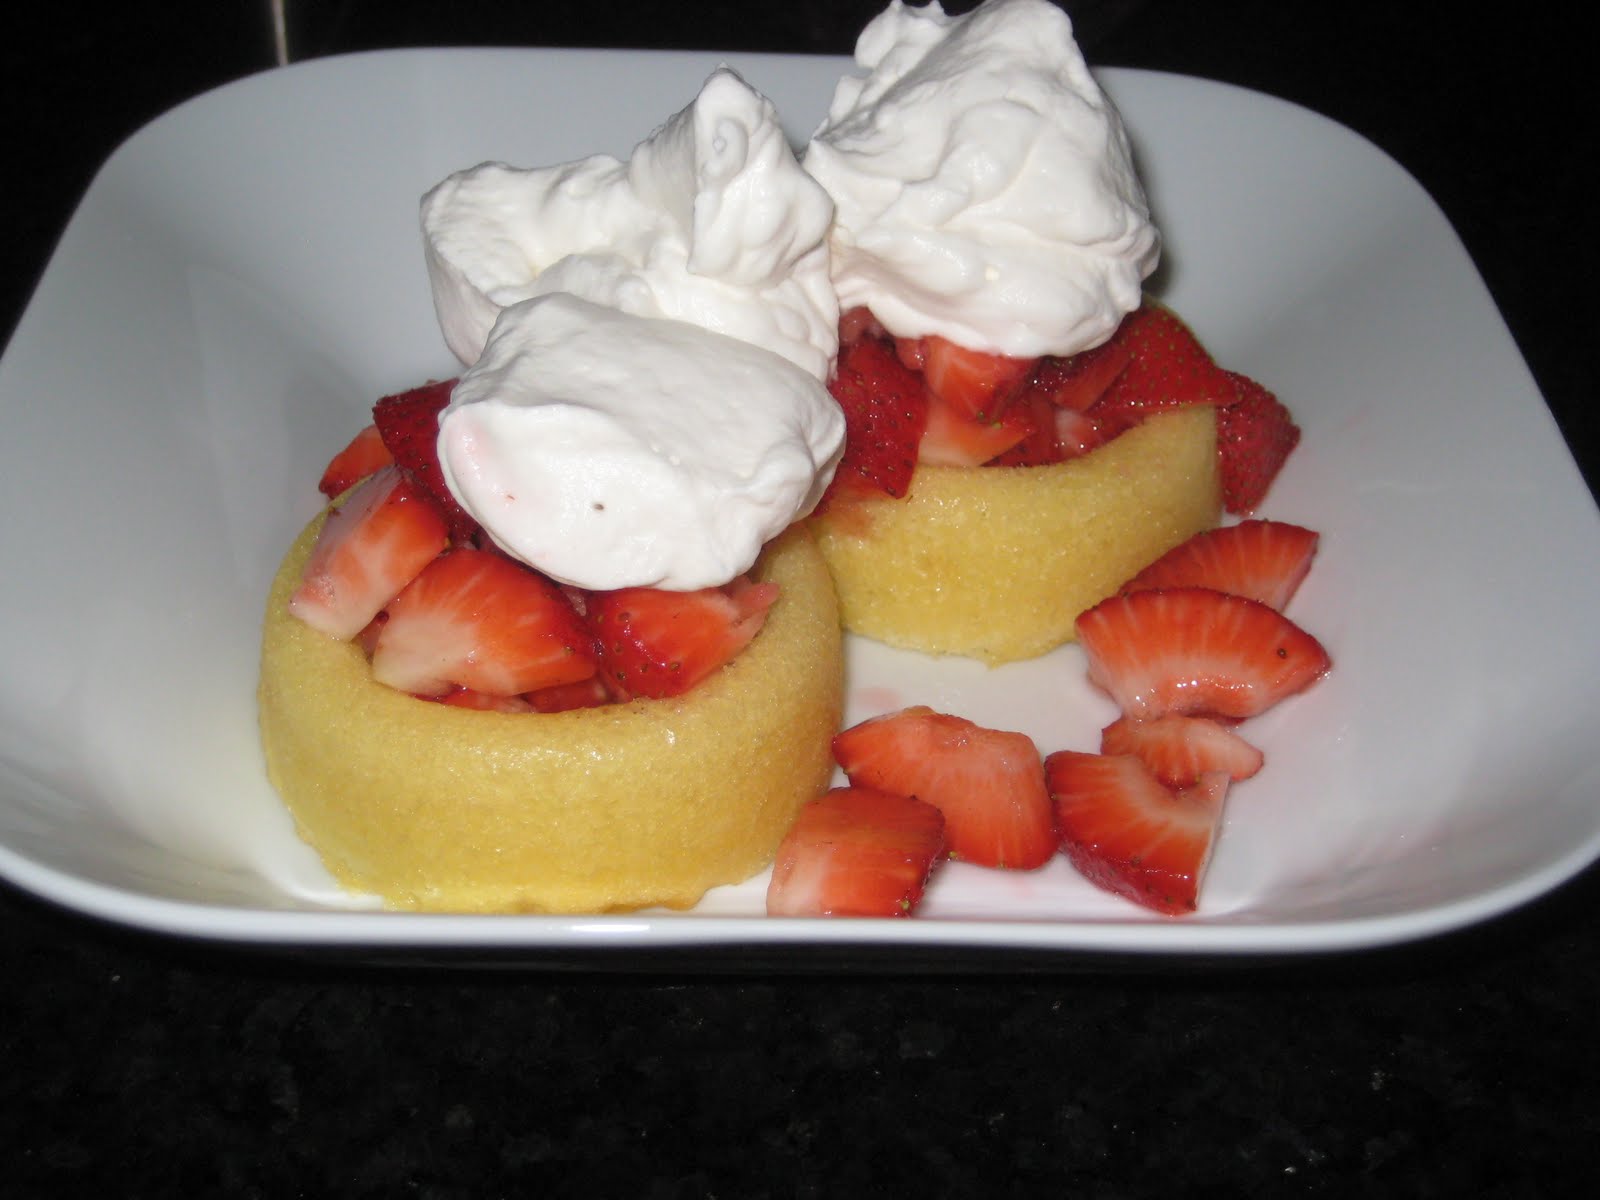
Take two store-bought angel food rounds (hey, I'm not a pastry chef).  Fill with the strawberry mixture, top with the whipped cream, and enjoy.


Yes, I just cheated a little on angel food cake.  And yes, I just gave you a recipe for whipped cream.  But it was one of those rough cooking days for an amateur chef, and I needed to finish on a strong note. 

There will be more deep frying in my future, complete with recipes for you.  Until then, enjoy your whipped cream.

Wednesday, May 5, 2010

Deck's Chicken Cordon Bleu with Honey Mustard Vinaigrette

Like many people out there, we are often busy, and get home late.  That doesn't leave a lot of time to cook in general, and it tends to leave even less time for creativity.  Usually I default to something like steak or stroganoff (which are good), but last night I wanted to try something different.  So, taking some ideas that I had seen on some cooking shows, I came up with my version of a Chicken Cordon Bleu.  I don't know if that's the actual name, but I'm going to go with it.  The meal turned out delicious, so I figured rather than writing a story I would share the recipe so you could make it yourself.  It's my first attempt at this, so hopefully it goes well.

Deck's Chicken Cordon Bleu with Honey Mustard Vinaigrette

Serves 2

Ingredients:

For Chicken
2 Bone-in Skin On Chicken Breasts
2 - 4 Pieces Pancetta (could substitute with Pancetta)
Cheese that melts easily (I used a Sheep's Milk Cheese)
1 egg for egg wash
2-3 Tbsp Butter
Italian Bread Crumbs
1-2 Tbsp EVOO

For Vinaigrette
3 Tbsp Red Wine Vinegar
1 1/2 Tbsp Dijon Mustard
1 Tbsp Honey
1/4 cup EVOO
1 Tbsp brown sugar
Salt and Pepper

Before getting started, preheat your oven to 350.

Step 1: The first step is to take the chicken breasts and remove the skin and bones.  The reason I usually buy bone-in, skin-on is because it tends to be cheaper and a little bit bigger than the boneless, skinless variety.  Also be sure after you remove the skin and bones you break the small tendon on the back.  It is especially important when you are cooking the breasts whole, as it keeps them from rolling up.

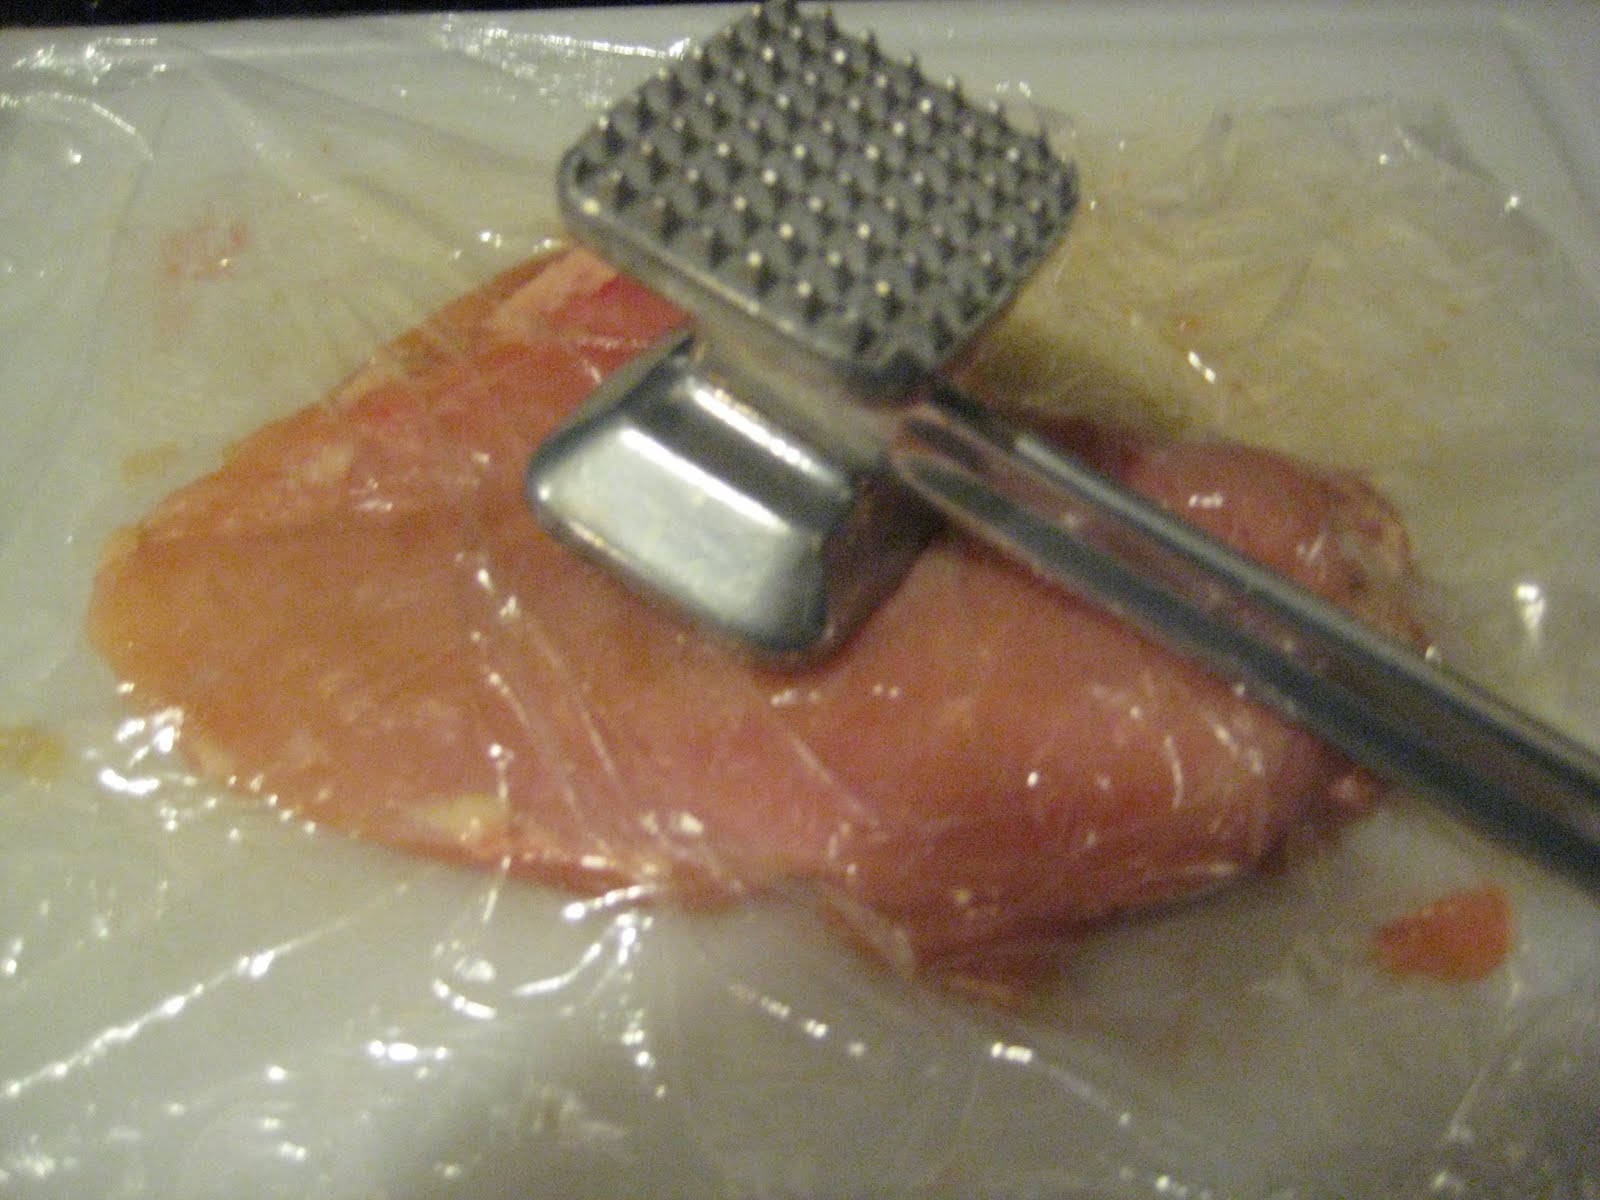
Step 2: After removing the skin and bone, you will need to pound the chicken flat.  To do this, place the chicken on a cutting board, cover with a piece of saran wrap, and pound out to about 1/4 of an inch.  Be careful not to pound them too thin as they will tear.

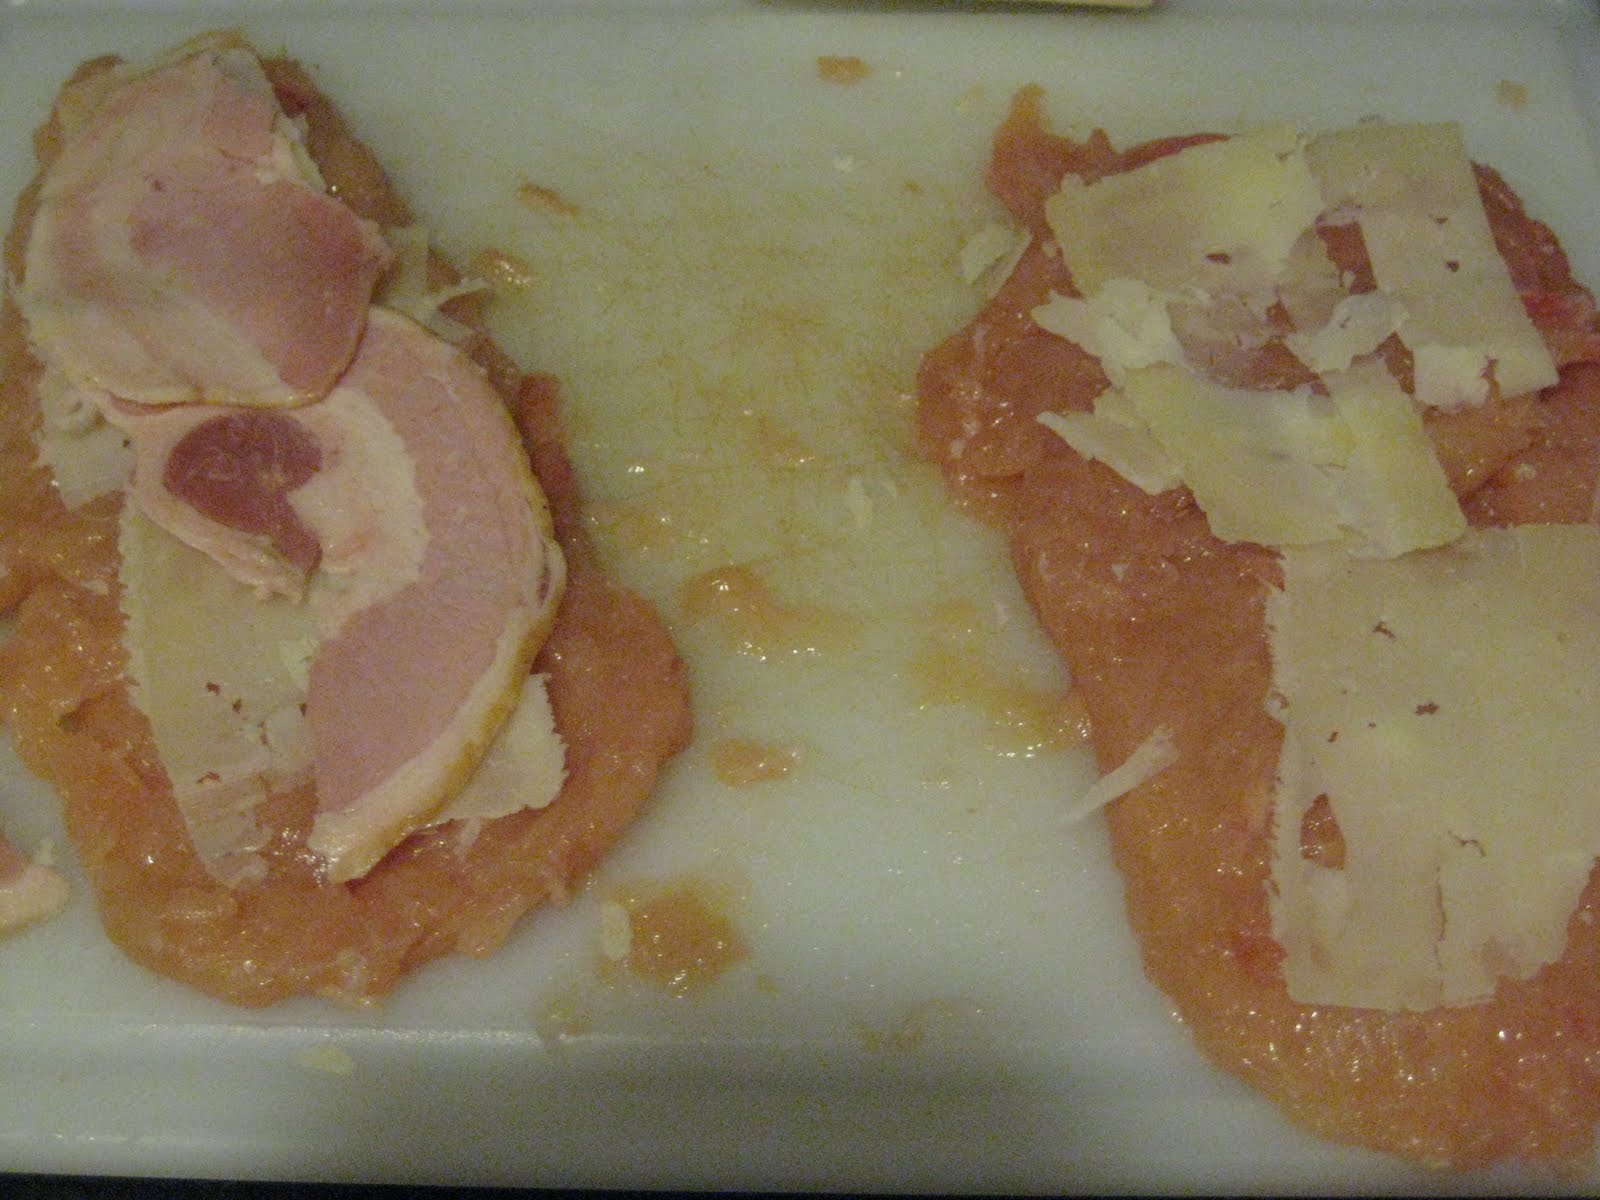
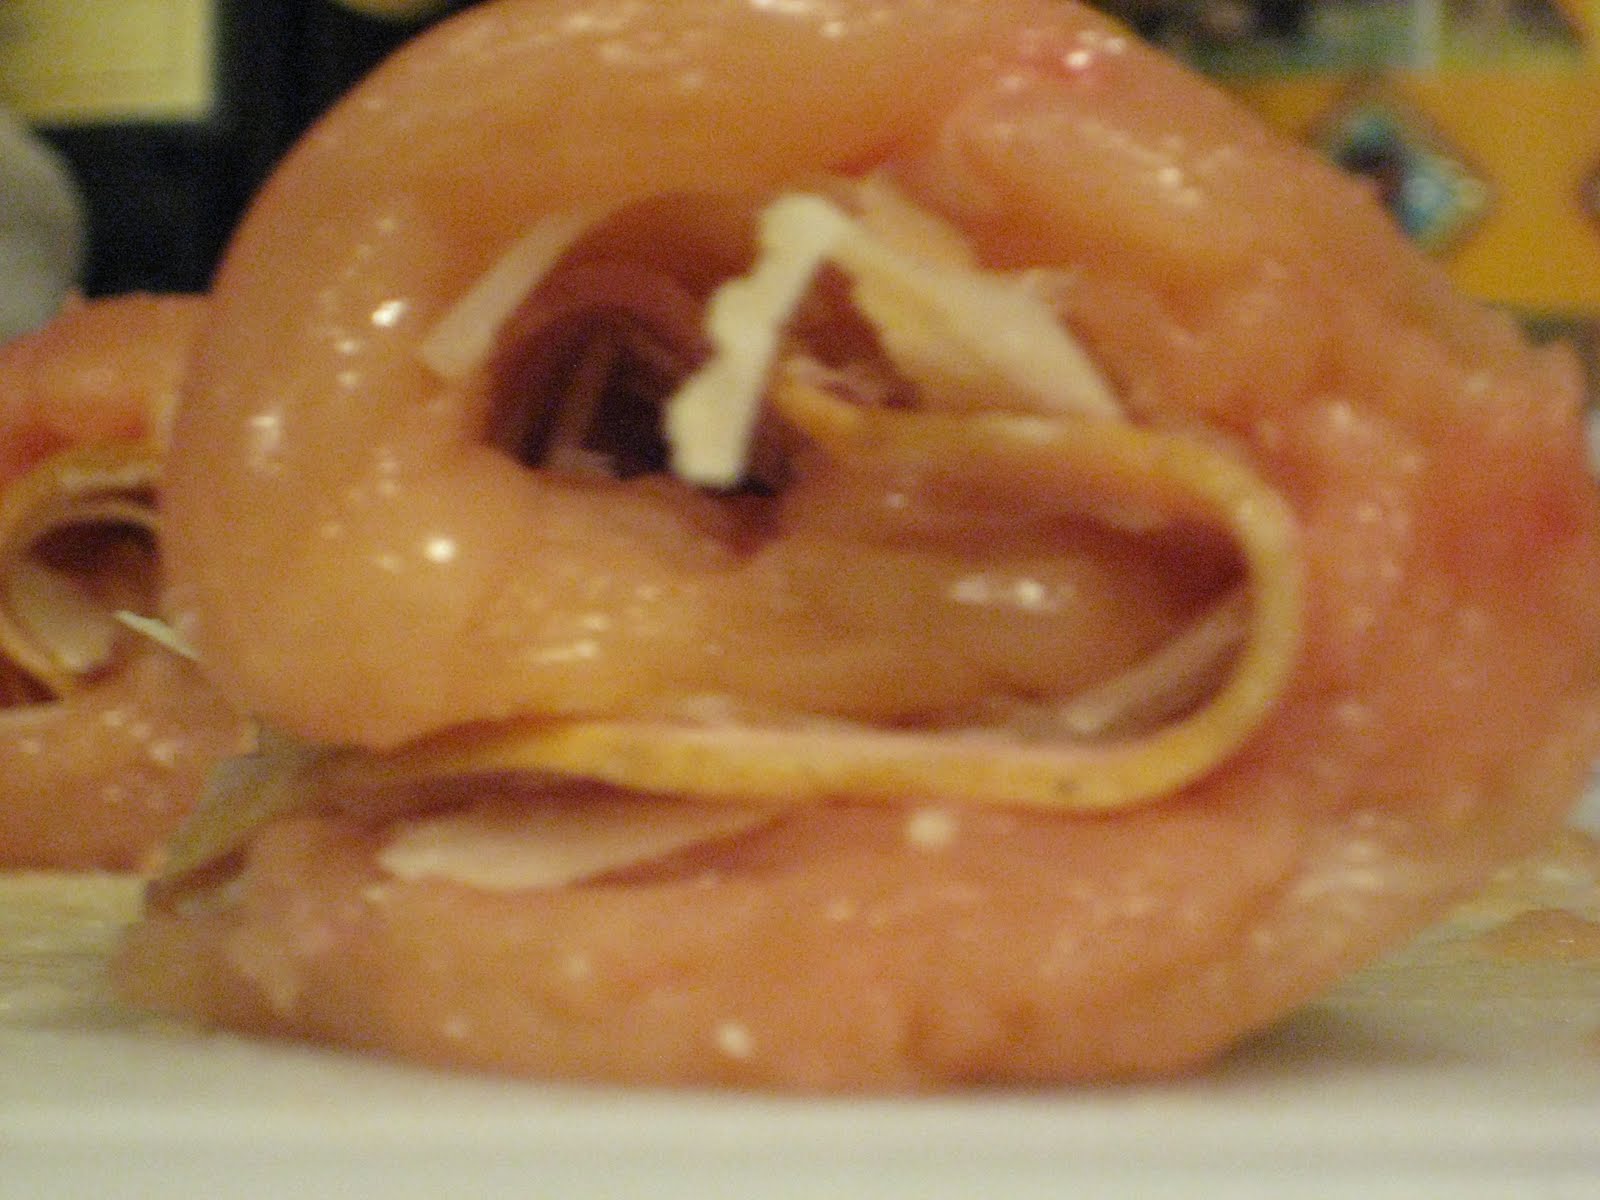
Step 3: Trim the chicken so they make nice rectangles which will be much easier to roll.  Then shave some thin slices of cheese to lay on the chicken breast.  Cover that with the pancetta, and then another layer of the cheese.  Keep the cheese layers thin so they will melt while cooking.  Then roll the chicken up as tight as possible.

Step 4: Make your egg wash.  Take the egg, put in a dish with 1-2 tablespoons of water and mix like you were making scrambled eggs.  

Step 5: Melt the butter in a dish, then add your breadcrumbs.  About 1/4 of a cup should be sufficient for the two chicken breasts.  Stir it up to make sure that the breadcrumbs absorb all of the melted butter.

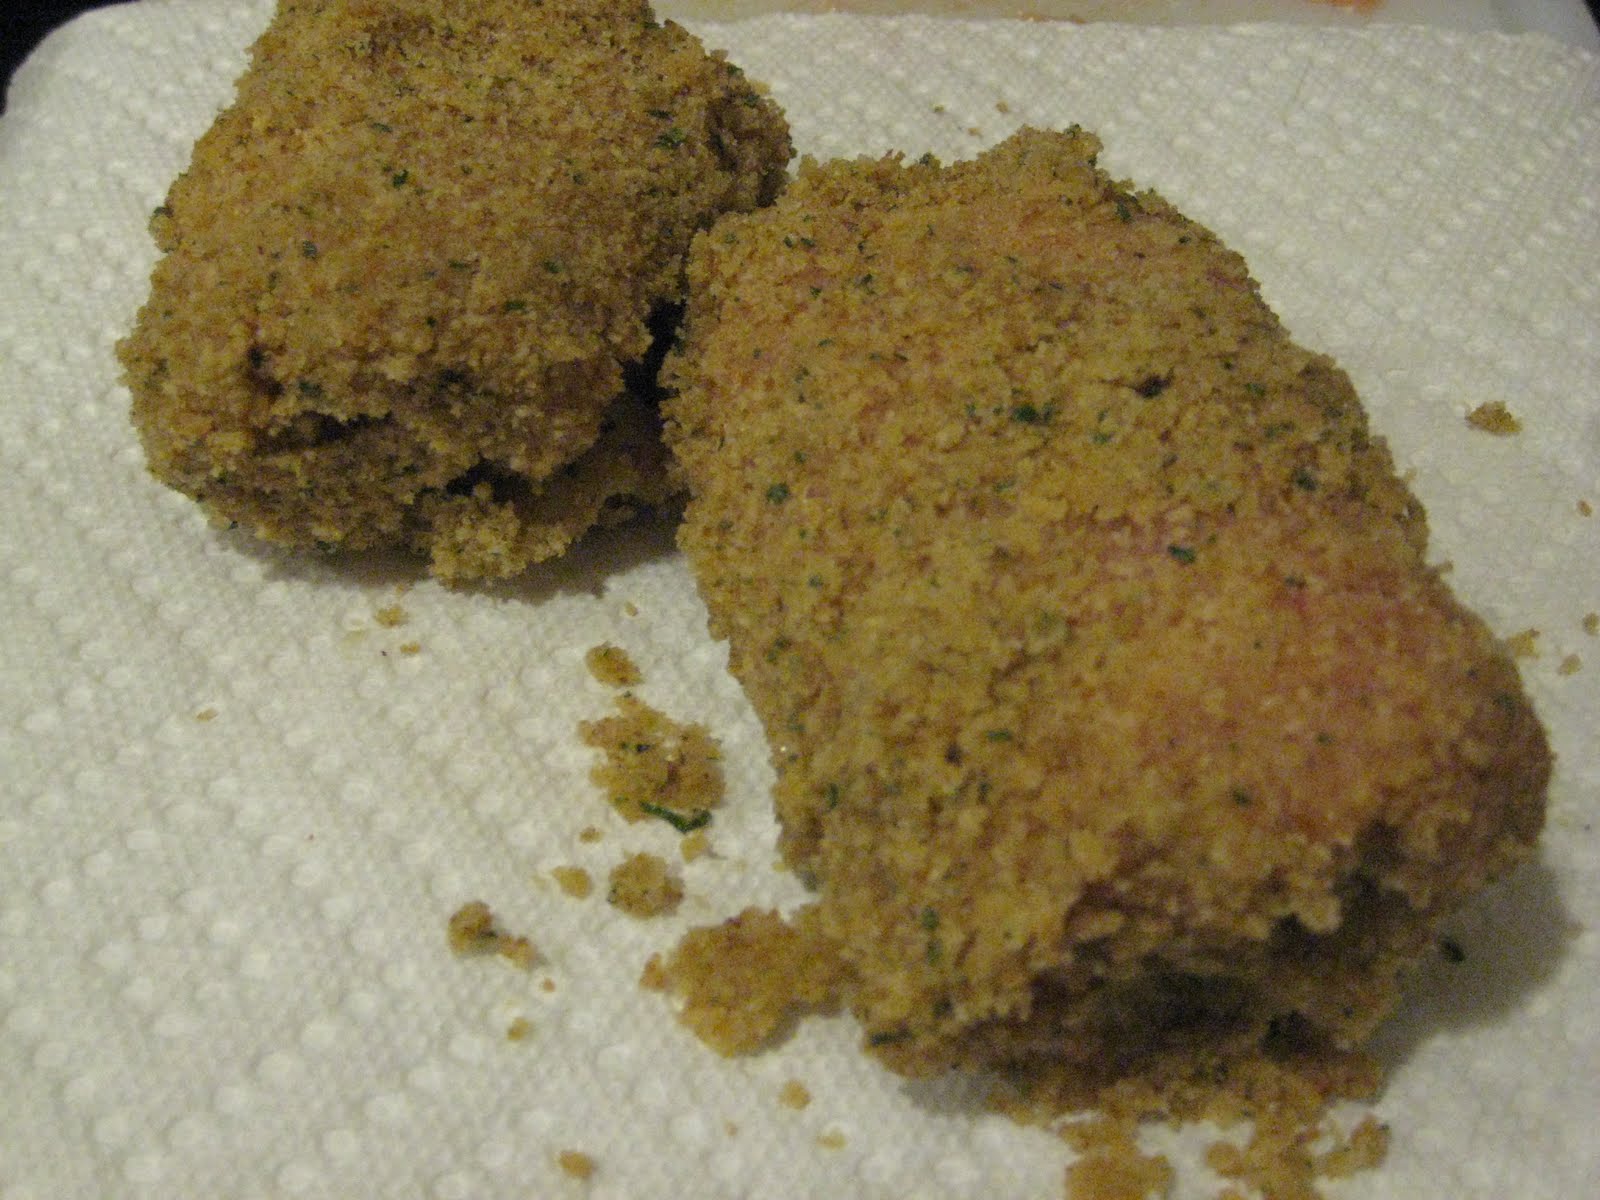
Step 6: Coat the chicken in the egg wash, and then put it in the breadcrumbs.  Make sure to coat all of the sides of the chicken in the breadcrumbs.  Set the chicken breasts to the side.

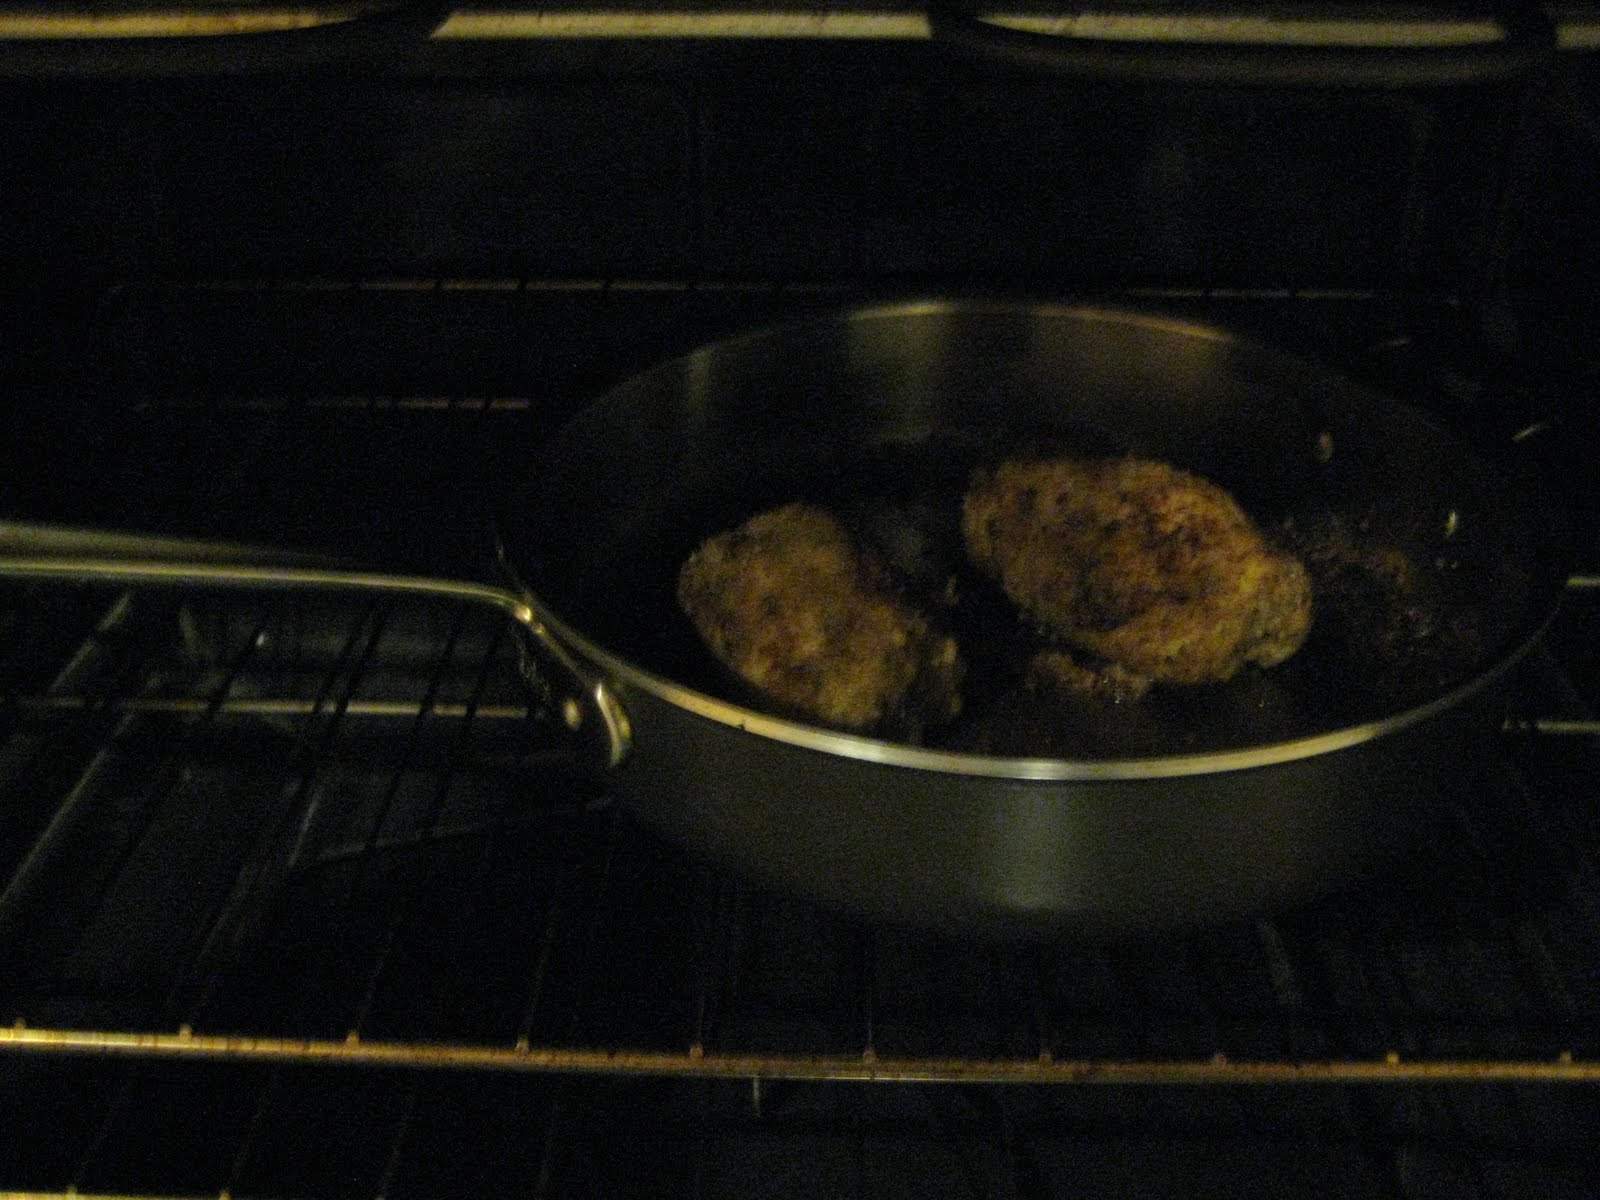
Step 7: Add the 1-2 Tbsp of olive oil to an oven proof pan.  Heat over medium-high heat on the stove.  When the oil is hot, add the chicken rolls.  The idea is to just brown each side, probably about 30-45 seconds.  Turn so you brown all four sides.  This will help keep the outside crispy.  After you have done each side, make sure the opening is facing down to keep the rolls from unrolling, and put the entire pan in the pre-heated oven.  It will need to cook for about 10-12 minutes.

Step 8: While the chicken is baking, you can make the vinaigrette.  Simply put all of the ingredients into a bowl and whisk together.  Add more vinegar if you like that flavor, or more honey if you like it more mild.  If the sauce is too thick, you can thin by adding a little more olive oil.

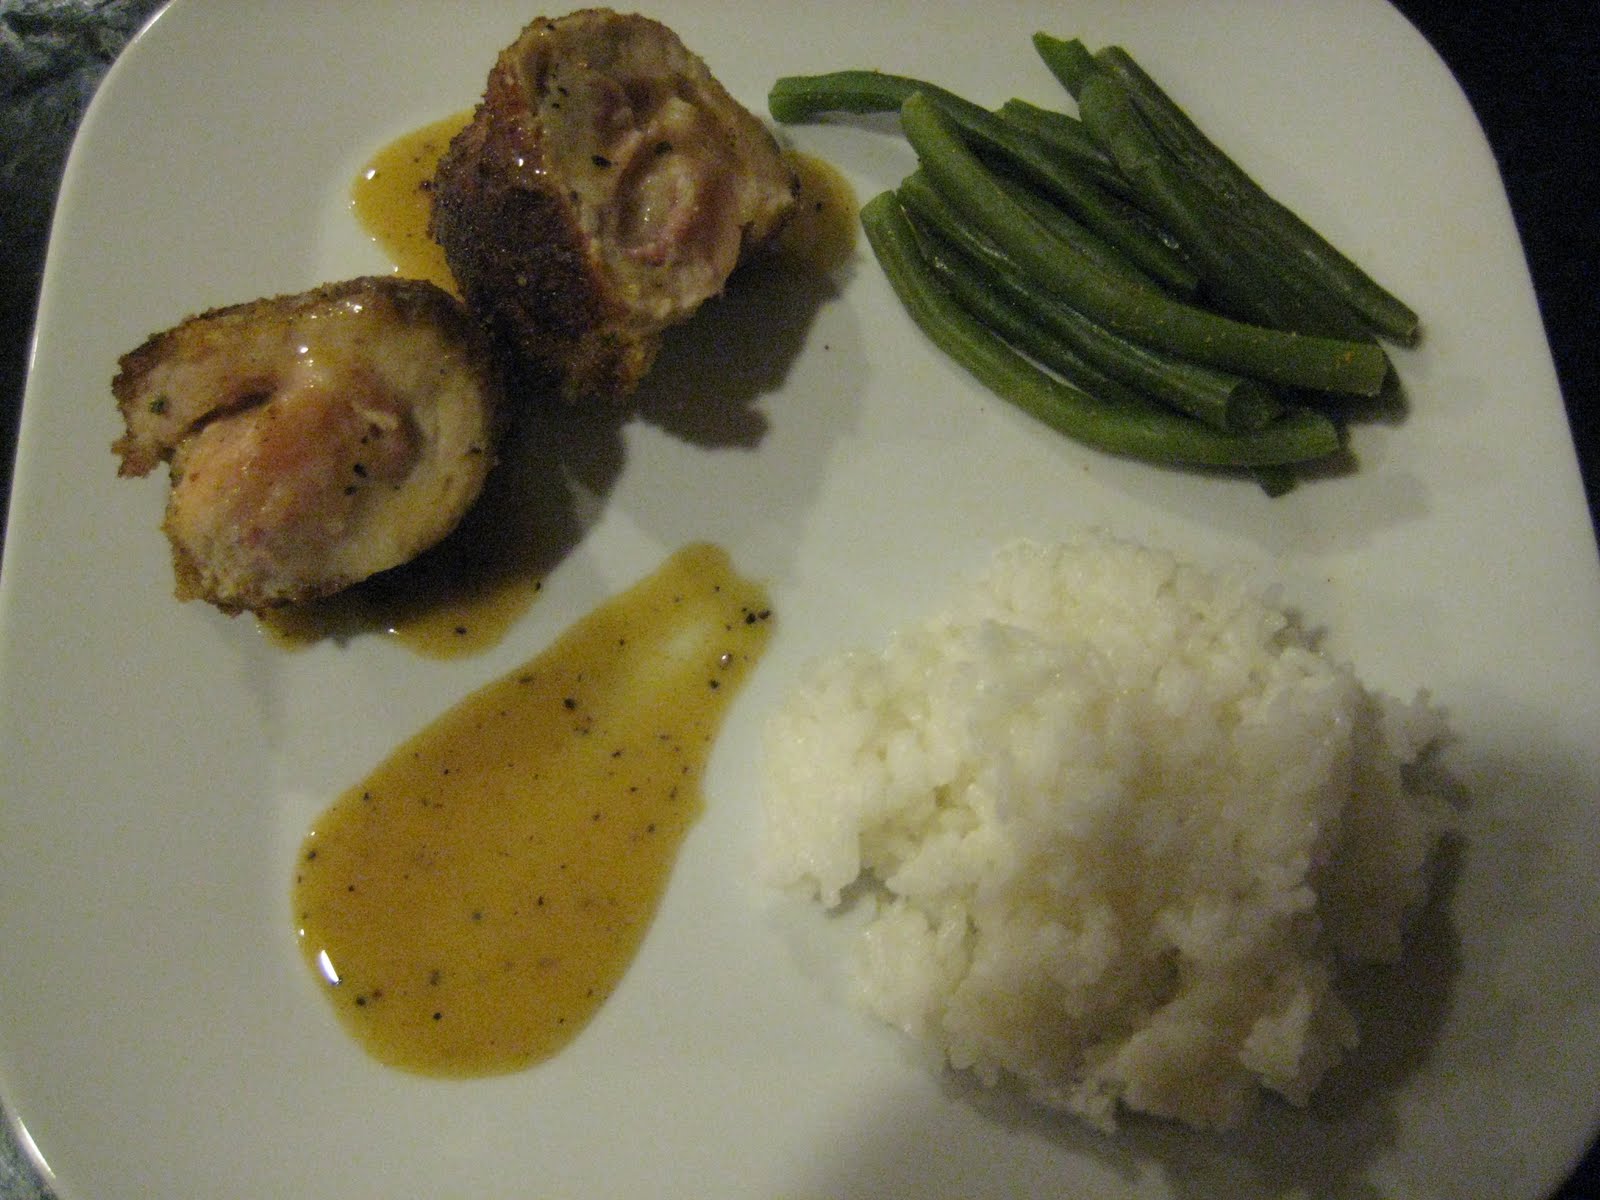
Step 9: Remove the chicken from the oven and let sit for about 3-5 minutes.  Then cut it in half, drizzle some of the honey mustard vinaigrette over the top and serve.