About Me

My Photo
Michael
This blog is about 3 things. First, eating out and telling you about it. Writing food reviews is fun and enjoyable. Second, making my own meals and sharing recipes. I'm all about simple, easy, and tasty. Third, tackling some challenges in my cookbooks. This way I learn techniques and flavors that I can add to my own cooking. And it all adds up to lots of talk about lots of food. I'm getting hungry just thinking about it.
View my complete profile
Deck On Food Seattle restaurants
Showing posts with label Michael Decklever. Show all posts

Sunday, June 27, 2010

Deck's Coca-Cola Braised Short Ribs

Every now and then a group of guys get together to watch sports and eat meat, a day known as Meat Day.  When I received my first invitation to a Meat Day, I knew I wanted to make something that would assure I got a second invitation.  After a bit of consideration, I decided that I wanted to do a Coca-Cola braised short rib; trying to infuse some sweet and some spice to my Meat Day offering.  However, after looking online for a recipe, I couldn't find anything that I really liked.  Many of them had a lot of different ingredients, or were braised at a high temperature.  After, a few different sites, I just decided to do it on my own and come up with a recipe.  I don't know if you would call this so much of a braise since I ended up using the slow cooker, and quite a few ribs were completely submerged, but it definitely produced the result I was looking for.

This recipe is very simple, but it does take a bit of prep time.  You start seasoning a minimum of 12 hours prior to placing the ribs in the slow cooker, and then let them cook for at least 6 hours.  But it's worth it when the meat develops a buttery texture that just falls off the bone!

Deck's Coca-Cola Braised Short Ribs

Serves 4-6

Ingredients:

4 lbs. Beef Short Ribs
2 Liter Coca-Cola
~30 Bing Cherries
1/2 lb. thick cut bacon
3 Fresno chiles
1 small onion
1 cup chicken stock
2 tablespoons Worchestershire Sauce

Dry Rub:
1 Tbsp Cinnamon
1 Tbsp Ground Nutmeg
2 Tbsp Light Brown Sugar
1 Tbsp Paprika
1 Tbsp Garlic Powder
1 tsp Jalepeno Pepper
2 tsp Ancho Chile Pepper
1 Tbsp Black Pepper


Step 1 - About 12-24 hours prior to cooking, salt and pepper the ribs.  Leave them out at room temperature for about 30 minutes before recovering and putting back into the refrigerator. 


Step 2 - 6 to 12 hours after salting, pull the ribs back out of the refrigerator, and liberally coat with the dry rub.  Again, allow the ribs to sit out for about 30 minutes before returning them to the refrigerator.

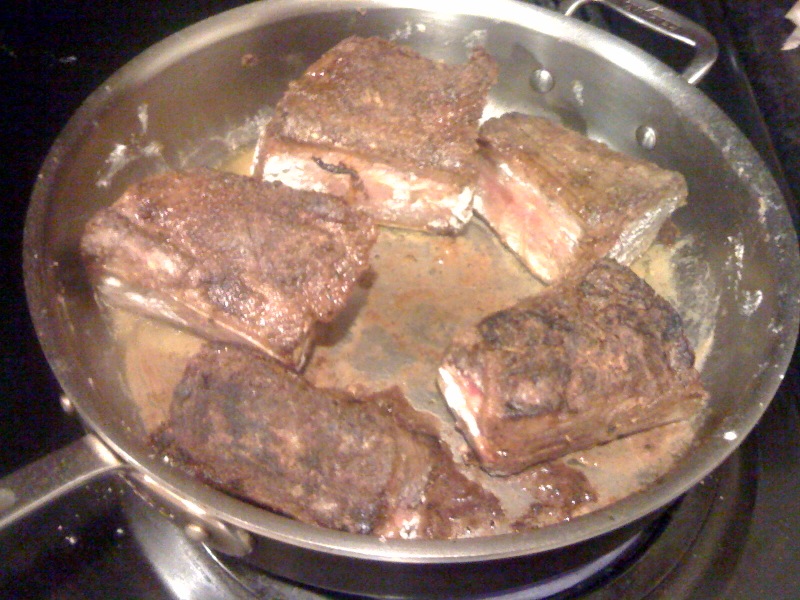
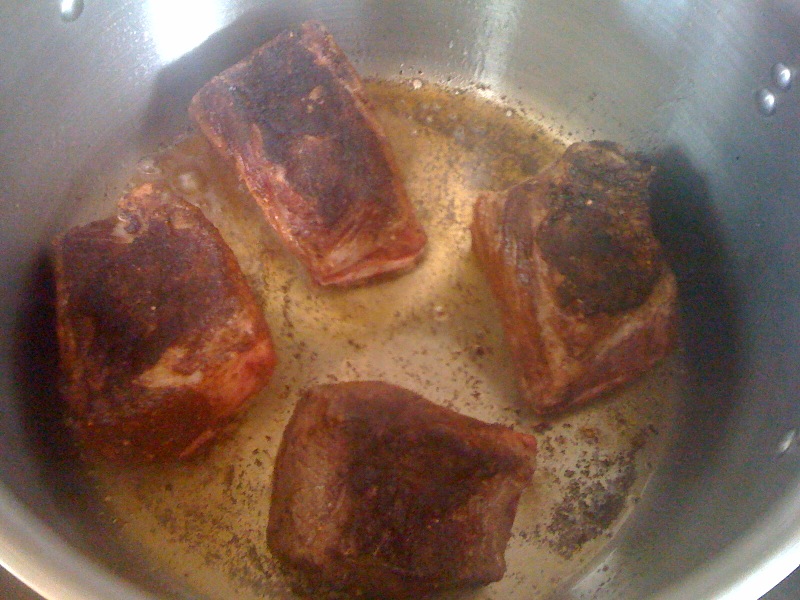
Step 3 - After the ribs have had time to absorb the flavors from the spice rub, they will need to be browned before adding to the slow cooker.  Heat a couple tablespoons of oil in a sauce pan.  Lightly dredge the ribs in some flour.  Then quickly brown all sides, about 1-2 minutes per side.  Add the browned ribs to the slow cooker.


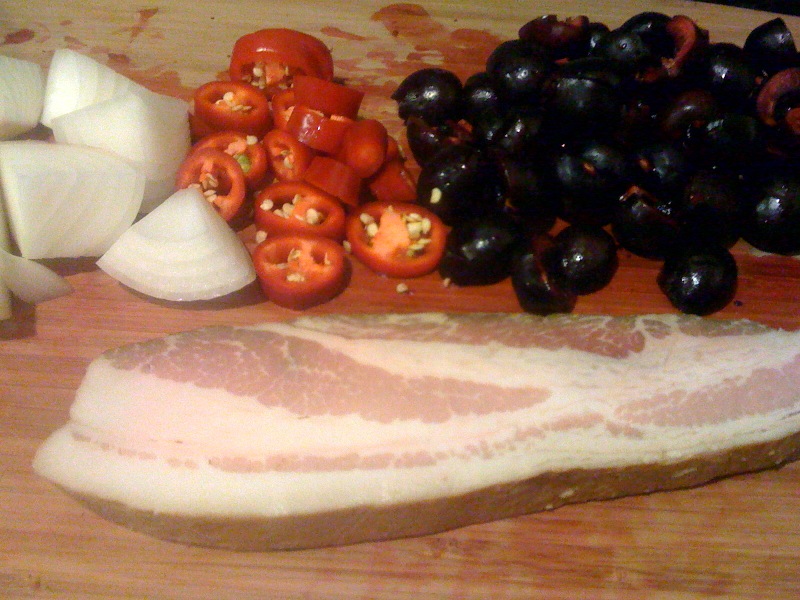
Step 4 - While the ribs are browning, pit and cut the cherries in half.  Also slice the Fresno chiles, cut the onion into 8 pieces, and cut the bacon into large chunks.  All of this can be put into the slow cooker at this point.


Step 5 - Once all of the ingredients have been added to the slow cooker, add the braising liquids.  Start by adding about a cup of the Coca-Cola first.  Then add the chicken stock and the Worchestershire Sauce.  Finish by adding enough Coca-Cola to have the pot just more than 3/4 full.  All of the ribs should be at least 1/2 covered by the liquid.

Step 6 - Set your slow cooker to low, and set the timer for 6 hours, and let it go.  At the end of the cooking time, you can leave it in the pot on warm for up to 6 hours before putting it into the refrigerator.  At this point, you can also pour some of the liquid into a sauce pan to reduce and make a sauce.  Be sure to skim off the fat from the sauce.


That's all.  The ribs should be very tender and succulent with just a bit of heat, and pull right away from the bone.

Thursday, June 24, 2010

Pescado con Rajas y Crema - A simply delicious Rick Bayless recipe


Even though I can't eat at his restaurants very often, Chef Rick Bayless is quickly becoming one of my favorite chefs.  It's enjoyable reading his tweets everyday and seeing him on various Food Network shows.  I also enjoy breaking out one of his cookbooks, and trying some of the incredible sounding and looking dishes which also allow me to try techniques and flavors that are definitely different than what I typically work with.  The only thing is that usually the recipes are pretty involved and take a while, well at least for the amateur cook.  When I made a mole for the first time (which turned out fantastic), it ended up taking me something like four hours.  So, I usually don't take on a Rick Bayless recipe during the week.  But, in flipping through the cookbook, I found something I figured I could pull off; Pescado con Rajas y Crema.  Not only does it feature halibut, which happens to be fresh and in season right now (one of the perks of living in Seattle), but it looked like it would only take me an hour and a half which just fits into my after work cooking schedule.

Pescado con Rajas y Crema is a pretty simple dish.  It features a quick fried fish with a poblano pepper cream sauce.  To start, I seasoned the halibut with a little bit of salt and the juice of one lime.  I left it to marinate for about an hour.  From there, I turned to the sauce.  Ok, I actually went and watched baseball for half an hour, then turned to the sauce.  I roasted the poblano to remove the skin and bring out a bit of flavor.  While it was roasting, I sliced some Vidalia onion using my new mandoline, which is far and away one of the greatest little tools that I never knew I needed!!  I put the onion in a small sauce pan with a little bit of olive oil, and cooked until it was lightly browned.  Then I added the poblano (after removing the skin and slicing thinly), and some garlic.  After a couple minutes, I poured in the heavy cream and brought it to a simmer to allow it to thicken.

While the sauce was thickening, I pulled the halibut back out, took it out of the lime juice marinade, and patted it dry.  Then I started getting some green beans ready as a nice side vegetable.  The thing is I wasn't paying that much attention to the sauce when I suddenly heard some sizzling coming from the stove.  I looked and it had boiled over.  So I quickly ran over, pulled it off the heat, cleaned it up and returned it to the heat.  This would be an ongoing battle for the next 10 minutes...


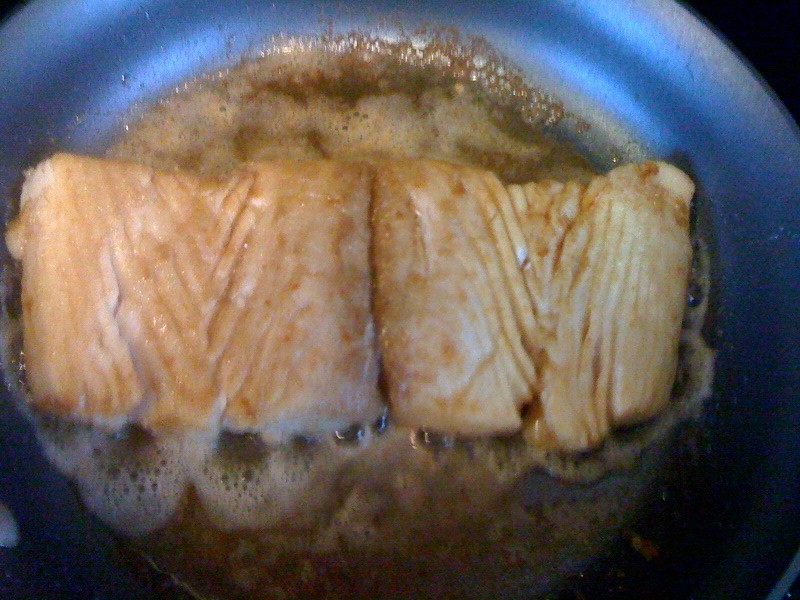
Finally, after conceding the battle to the sauce, and turning down the heat, I got the fish ready.  I added a little butter and oil to a skillet, and let that heat until the butter started to brown.  At that point, I quickly dredged the fish in flour, and put it in the oil/butter mixture.  After a minute and a half, I flipped it over, cooked for another minute and a half, then added the sauce.  The whole thing then simmered for a couple more minutes, before I took it off the heat and added it to a plate with some rice.  Then I added a bit of parmesan cheese (that was a total ad lib, but it seemed like it needed it) and some scallions, and it was ready to go!


The flavors were great.  It was a little mild which is what I usually like when cooking for the two of us (if it was just me, I might have gone for a bit spicier pepper like a jalepeno or serrano with some bell pepper).  The cream sauce was rich, but accompanied the fish very well.  I made quick work of mine, and had to fight to urge to polish off Jennifer's leftovers (one of the trick's to staying in shape while eating well is to stop eating).

I can't wait until my next trip to Chicago when I can hit up Topolobampo or Frontera Grill or Xoco, but in the meantime, I'll keep making the delicious dishes in Rick Bayless' cookbook, hoping to do them the justice that they deserve.

For the actual recipe, check out Rick Bayless' cookbook Authentic Mexican.


Wednesday, June 23, 2010

My first attempt at Pasta from scratch

As I started to get into doing more of my own cooking, and moving beyond some of the simple things, I thought a lot about making things from scratch.  When you go out to eat it's obvious the places that make their own pasta or their own tomato sauce or tortillas.  The flavor is just different in a good way; with a freshness and taste that just can't be matched by mass produced versions.  So this week, I decided to take on a couple of "made-from-scratch" foods.  The first was bacon, which I wrote about here.  The second was pasta, which was a completely different experience.


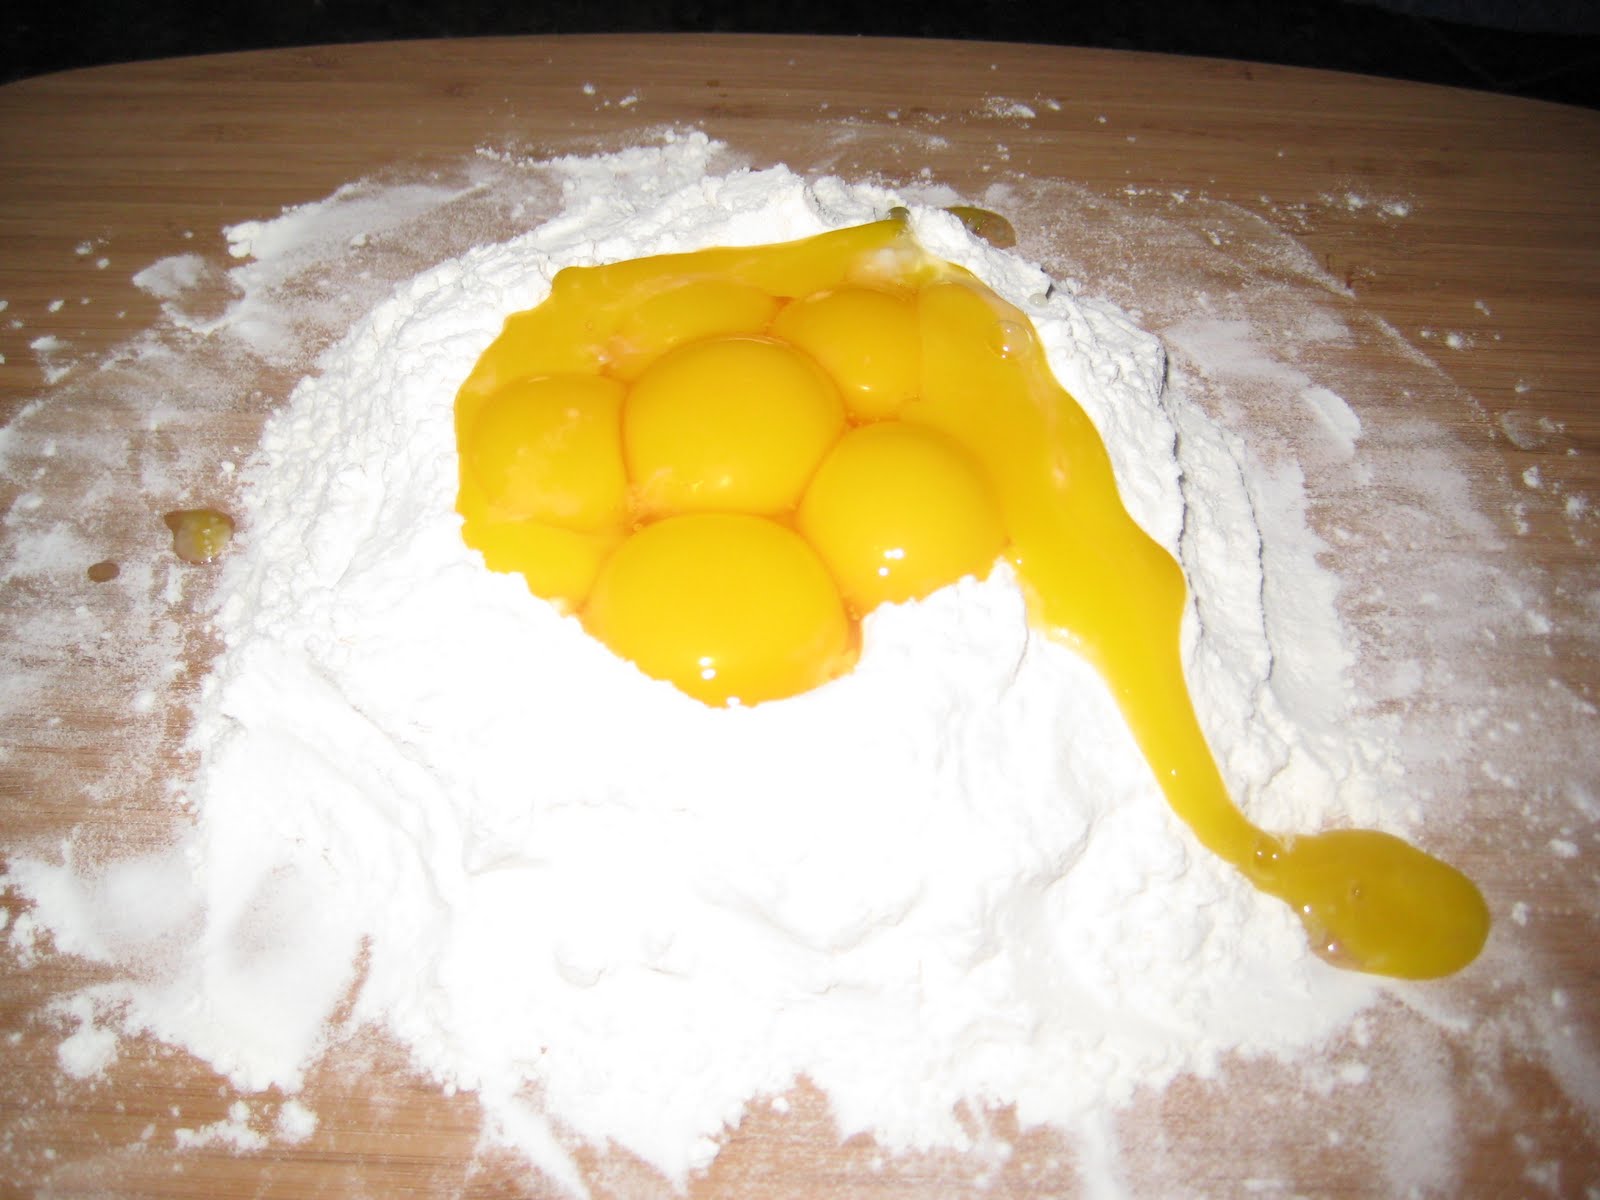
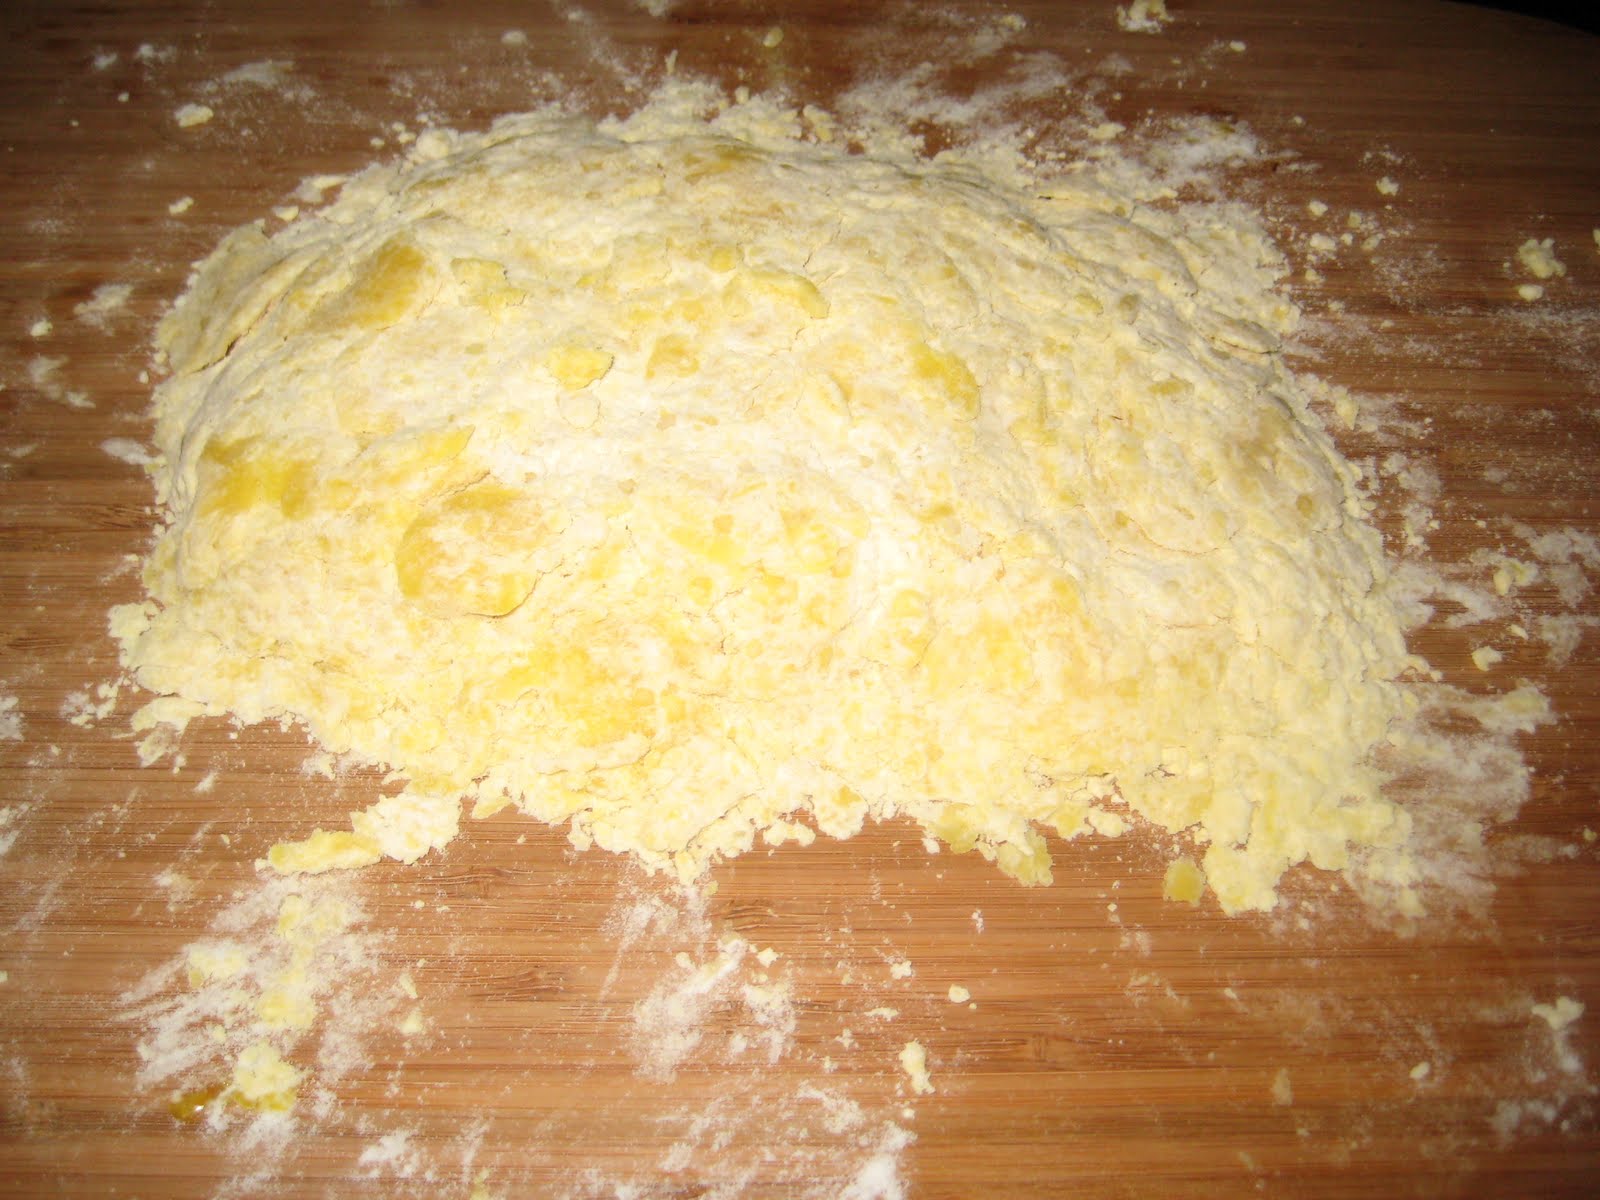
I decided to go with the Michael Symon pasta recipe for my first attempt at homemade pasta, primarily because there was a ravioli recipe that I wanted to try.  The recipe itself is easy.  You start with a cup and a half of flour that you build into a well.  Inside the well you add nine egg yolks, and a little bit of olive oil.  Then mix everything together, and let it rest for about 30 minutes.  Then you cut it into 4 pieces, run it through the pasta machine, and it out comes pasta.  Seemed easy, but this is where things started to fall apart, literally.


When I cut the dough to begin to run through the pasta maker, it completely fell apart.  I looked at the recipe and it said it was supposed to be flaky and crumbly, so I tried to run it through the pasta machine.  It didn't work so well, as it just fell apart as it went through.  I went back to the recipe and it said I could add a little water.  I sprinkled some on, and tried again, but it still fell apart.  So I put on some more, and got a little overzealous.  The top was almost soupy, and the bottom dry.  I mixed it together the best I could and started running it through, but now it was too hard.  The whole thing was just a mess.  That piece was totally scrapped, and I pulled out the second.  I again added some water, and ran it through the pasta machine at it's widest setting and it started to work!  I narrowed the setting, and ran it through again, slowly thinning out the dough.  It was still an adventure as I had trouble getting it to do in straight, or I would drop one end and it would tear.  I ended up working that piece of dough through the machine at least a dozen times.  But, I finally wound up with a sheet of pasta that seemed to be the consistency and thickness I was looking for.

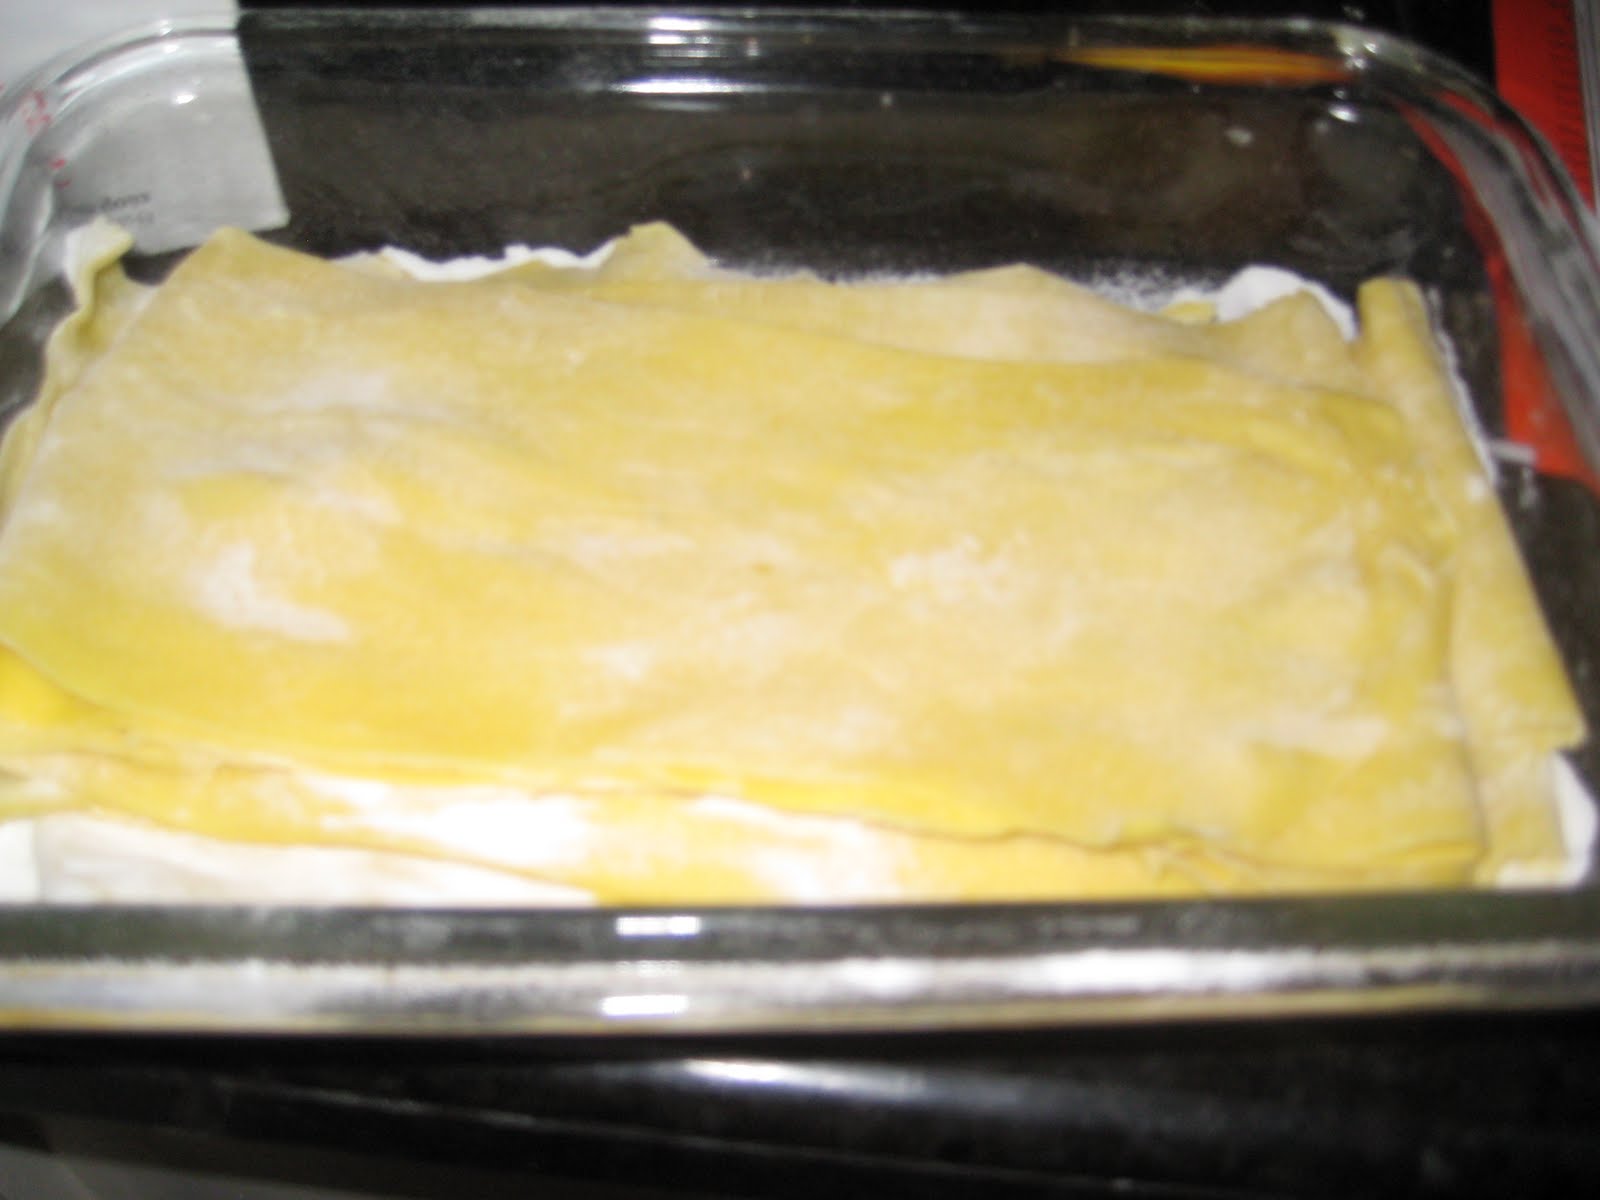
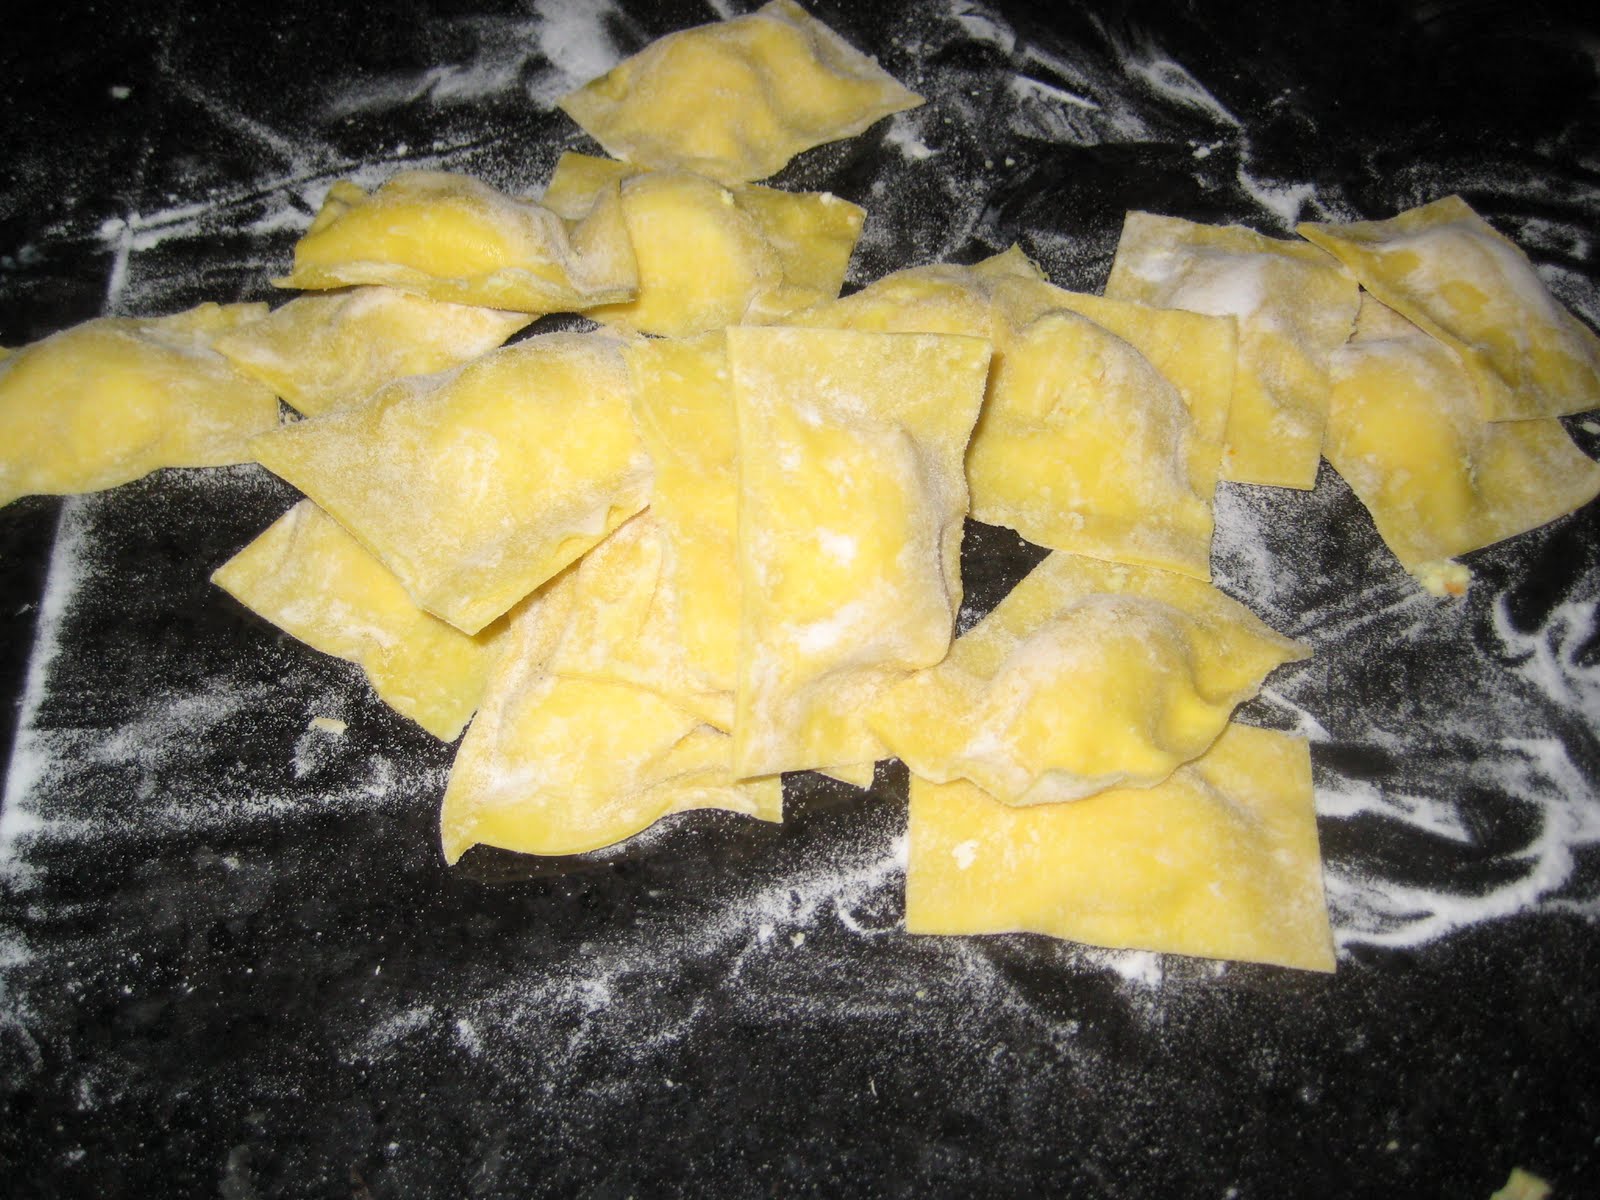
Over the next 15-20 minutes, I was able to generate a couple more sheets of pasta.  I then tore them in half and coated them in some rice flour to keep them from sticking together, and turned my attention to the filling.  The thought was that these would be a simple ricotta cheese filled ravioli.  I put the ricotta in the refrigerator over night to let some of the liquid drain out, except when I pulled it out the next day, there was no liquid.  That had me feeling a little nervous.  I took that ricotta, added some fresh parmesan and a little orange zest, and put it in the food processor to try and make a nice creamy mixture.  I pulled out the sheets of pasta and put a few dollops of the mixture on half of the ravioli.  I folded it over, and formed some square raviolis that actually looked like ravioli.  Now all that was left was the sauce.


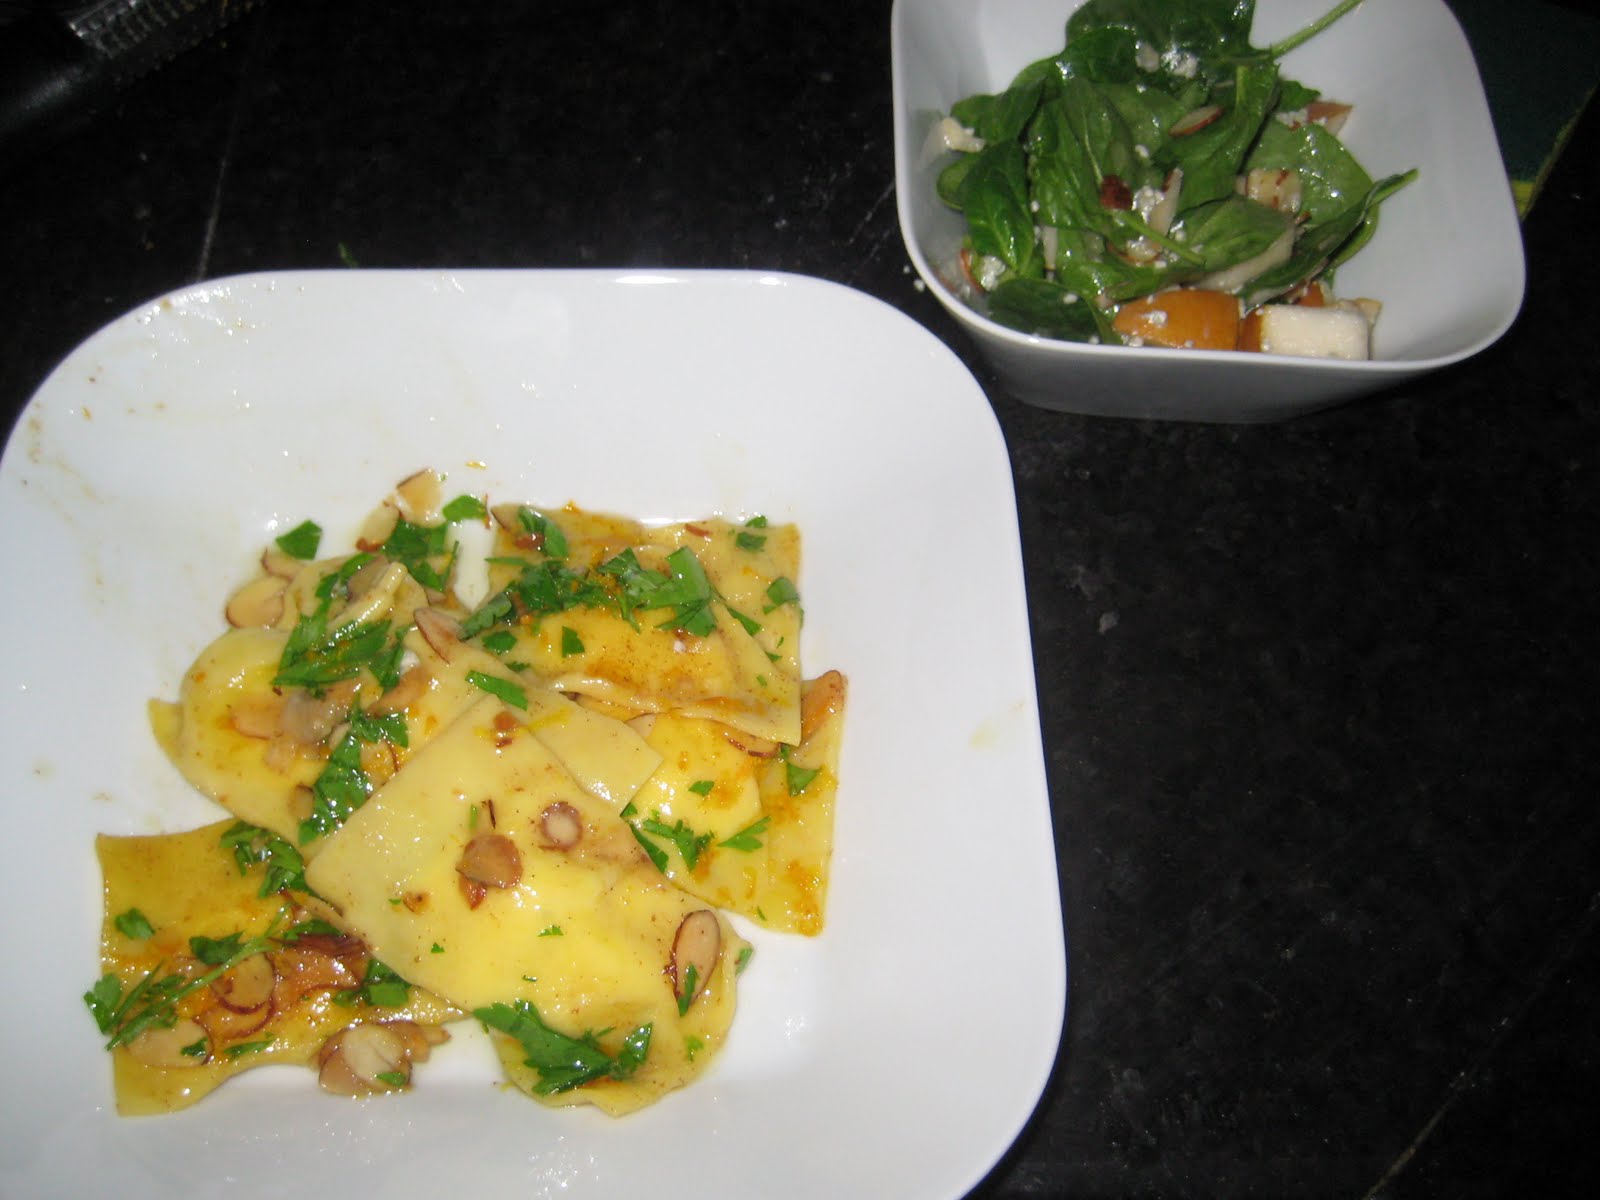
This recipe called for a brown butter sauce with almonds, orange, and parsley.  Again, something seemingly simple with only a couple steps.  Starting with 3/4 cup of butter, I melted it until it started to get foamy, then added the almonds.  A couple minutes later, I added to orange zest and parsely, then tossed in the ravioli which had been boiling during this time.  Everything was poured into a bowl and served with a roll.


The end result probably isn't what Chef Symon is capable of producing, or would be expecting based on the recipe.  The ricotta filling seemed a little dry and just off tasting.  I haven't quite figured out how to pick out a good ricotta.  And the sauce didn't quite get to a "brown" butter state.  I know there is a fine line between brown and burned, and I definitely erred on the side of not cooking long enough.  It left the whole dish feeling a little overly rich.  But, there was one bright spot; the pasta.  It was actually light and delicious, and I was definitely surprised.  I think the biggest problem was that even though I used "Large" eggs, the yolks were actually pretty small, and I probably should have used a full dozen.  I ended up compensating with water which was ok.  The nice thing is that I now know that I can make pasta, and will probably make a lot more of my own when I do pasta meals like chicken parmesan.  It really doesn't take that long, and with all things, practice makes perfect!  And then I can start adding different flavors to the pasta like spinach or sun-dried tomato or any number of things... :-)

Monday, June 21, 2010

Bringing home the bacon...Literally

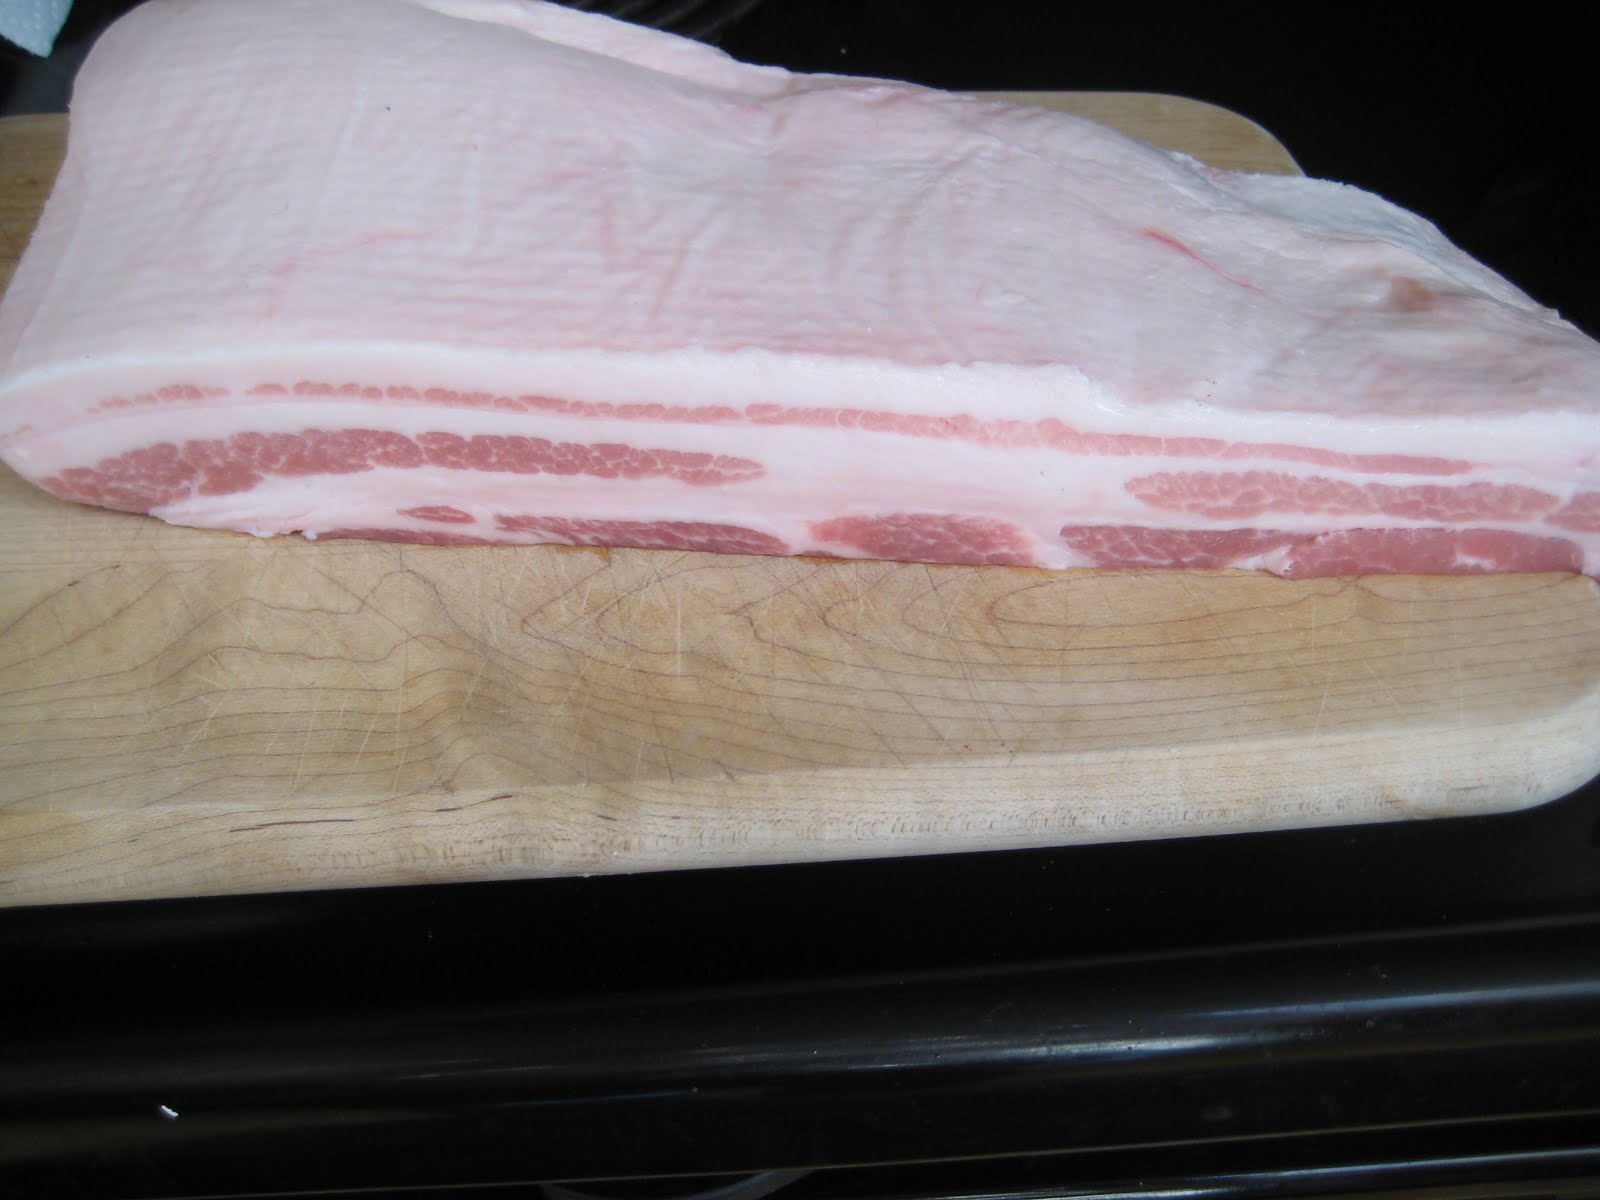
When I purchased Michael Symon's cookbook a few weeks ago, I was casually flipping through it when something caught my eye.  I stopped, and checked out the recipe and knew that it was something I just had to make.  It was Bacon!  That's right, a recipe for making bacon at home.  Considering I enjoy eating bacon and cooking with bacon, and I purchase it every time I go to the store, it only seemed logical that some day I go ahead and make it myself.  I started looking through the recipe and realizing just how simple it was until I hit a small problem; bacon is lightly cured and then smoked, and unfortunately I didn't have a smoker.  So, I put the idea of making bacon on the back burner until the day I got a smoker.  

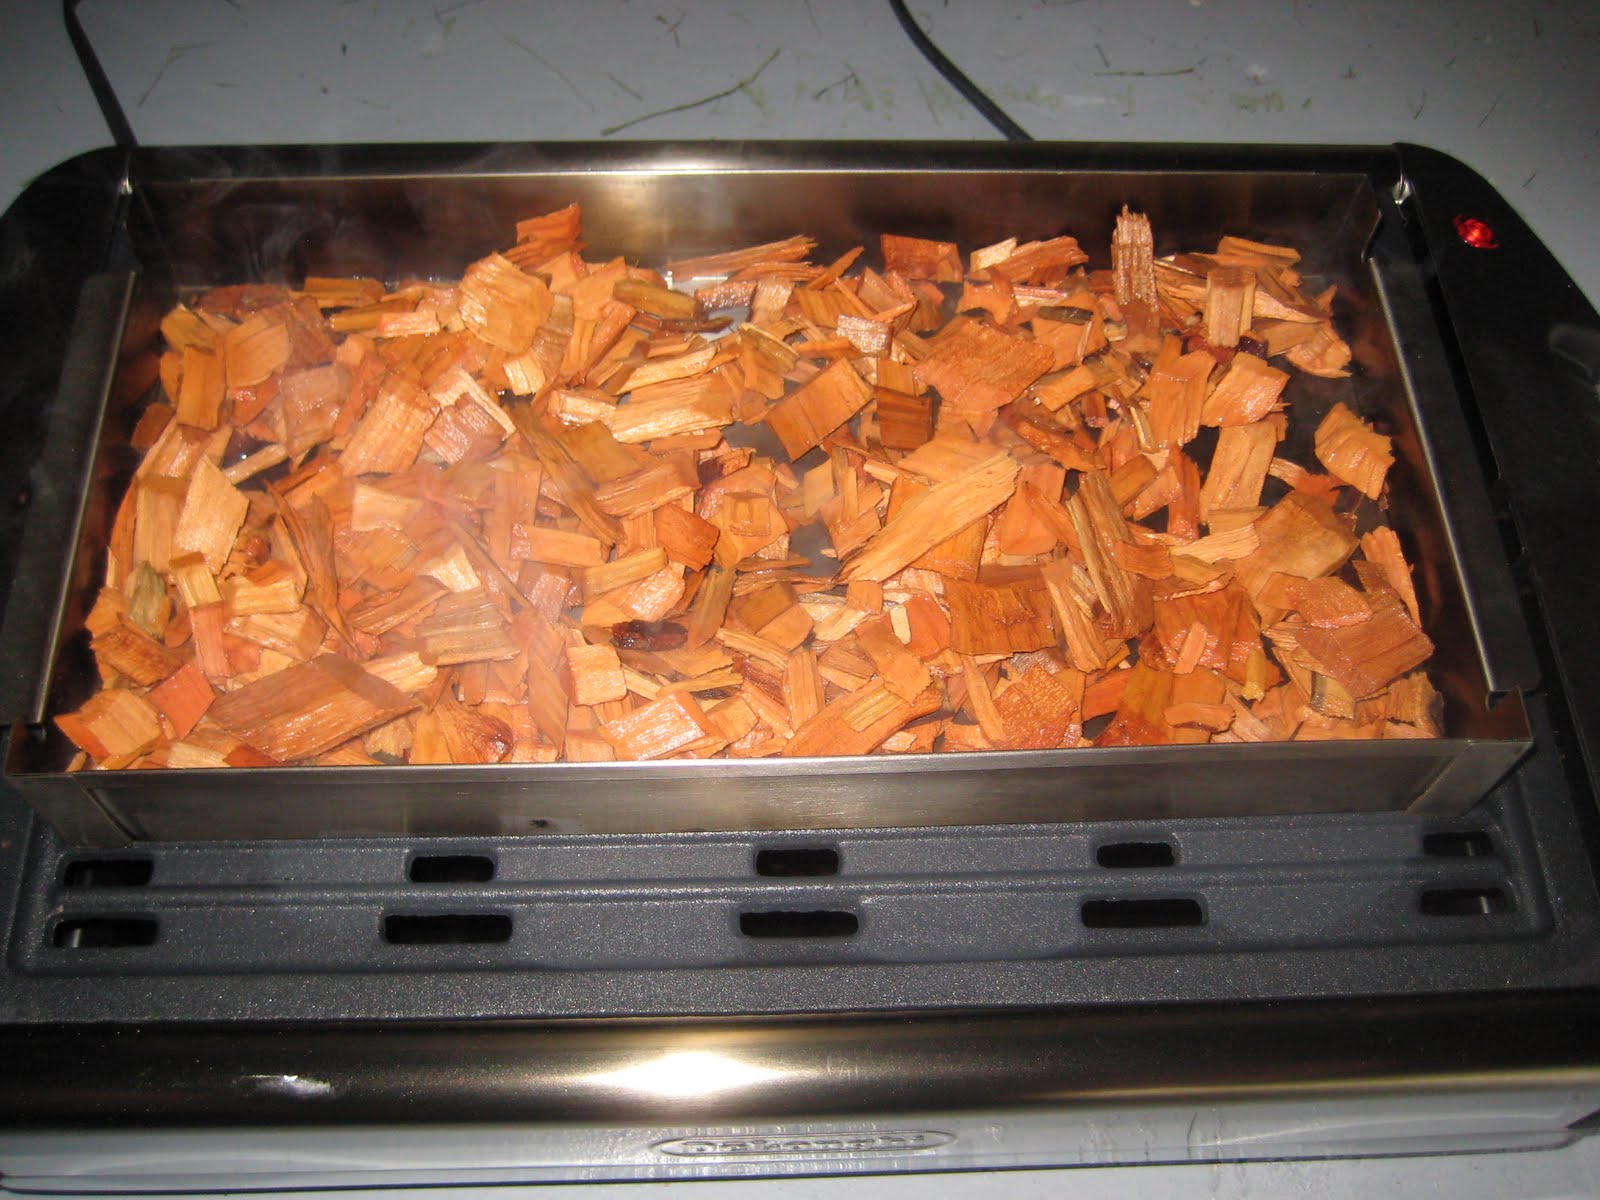
Then, a couple of weeks ago I was at Williams-Sonoma spending some of our wedding money when I noticed a little metal box.  Upon closer inspection I realized it was a smoker!  This small box is designed to sit on top of a gas grill with wood chips in the bottom.  As the box heats, it slowly heats the wood chips as well, causing them to char and smoke without actually igniting.  It's a fantastic little contraption that sits right on top of the DeLonghi indoor grill that we received as a gift, and it is just big enough to allow me to smoke something like a half rack of ribs, a couple of salmon filets, or bacon!  I bought it that day, fully intending to make bacon as soon as I had a chance.

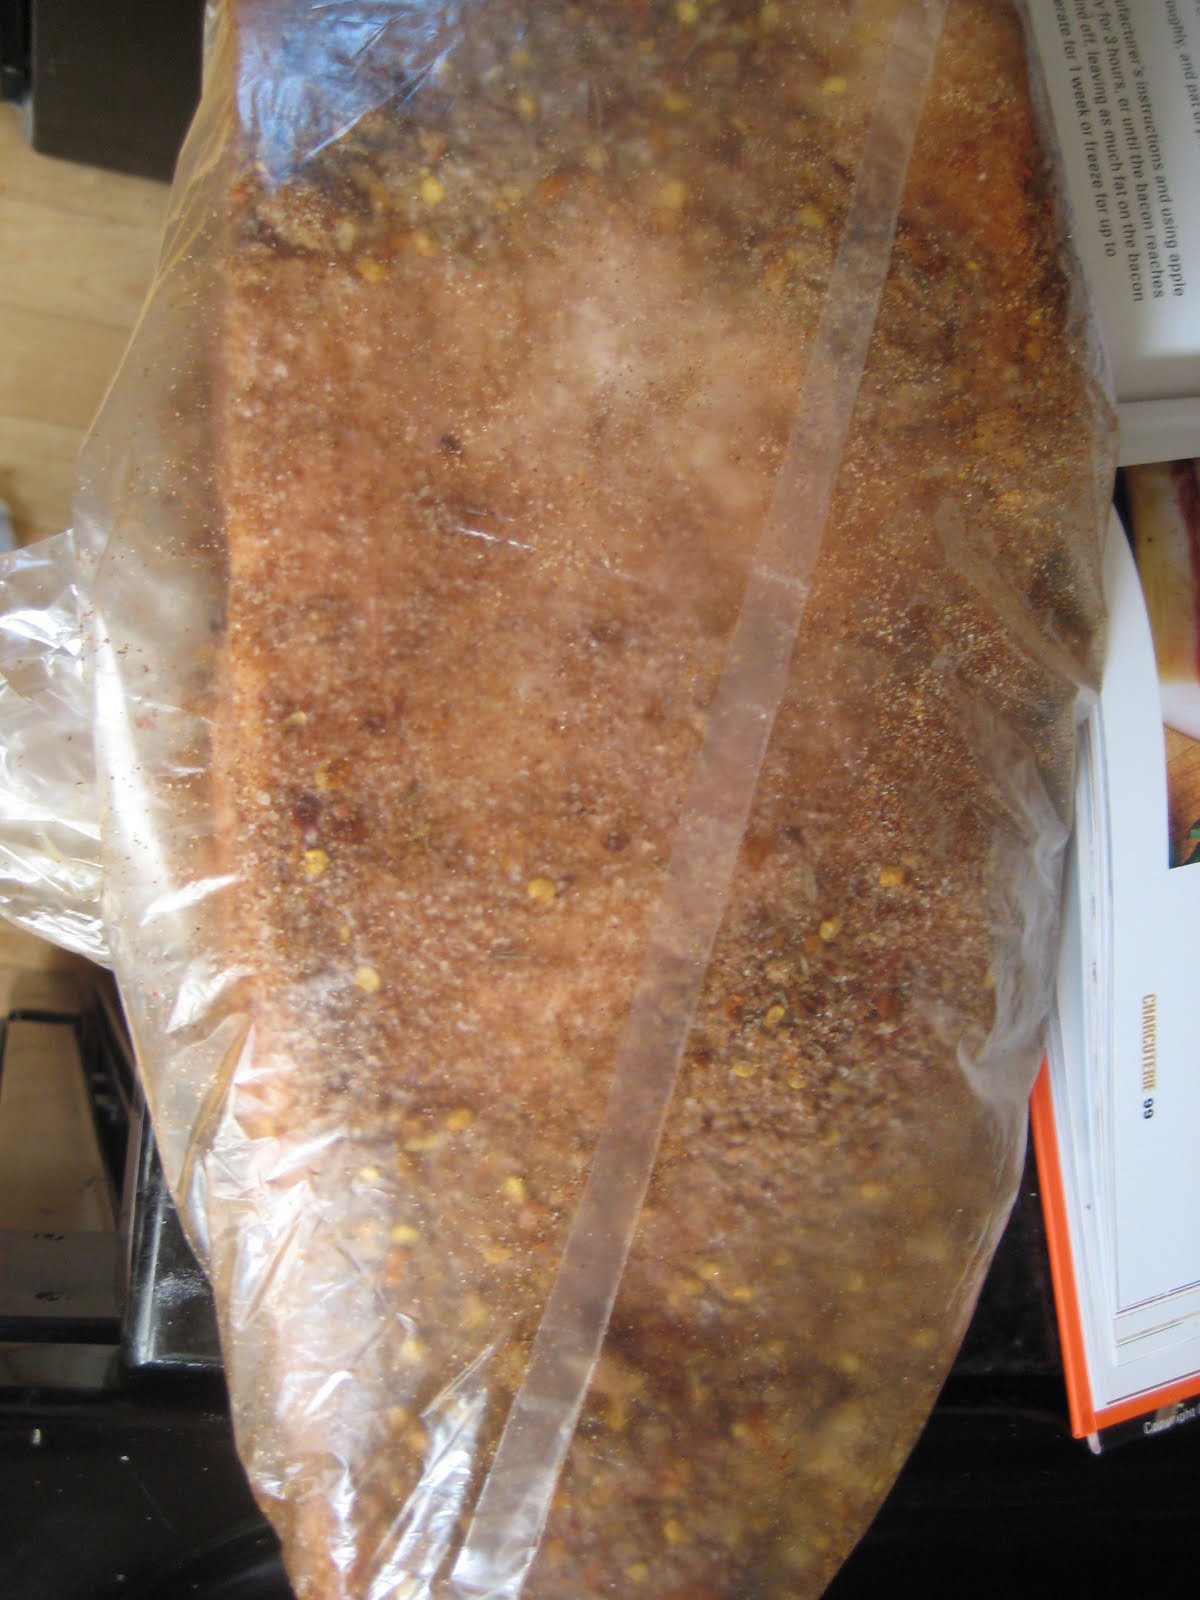
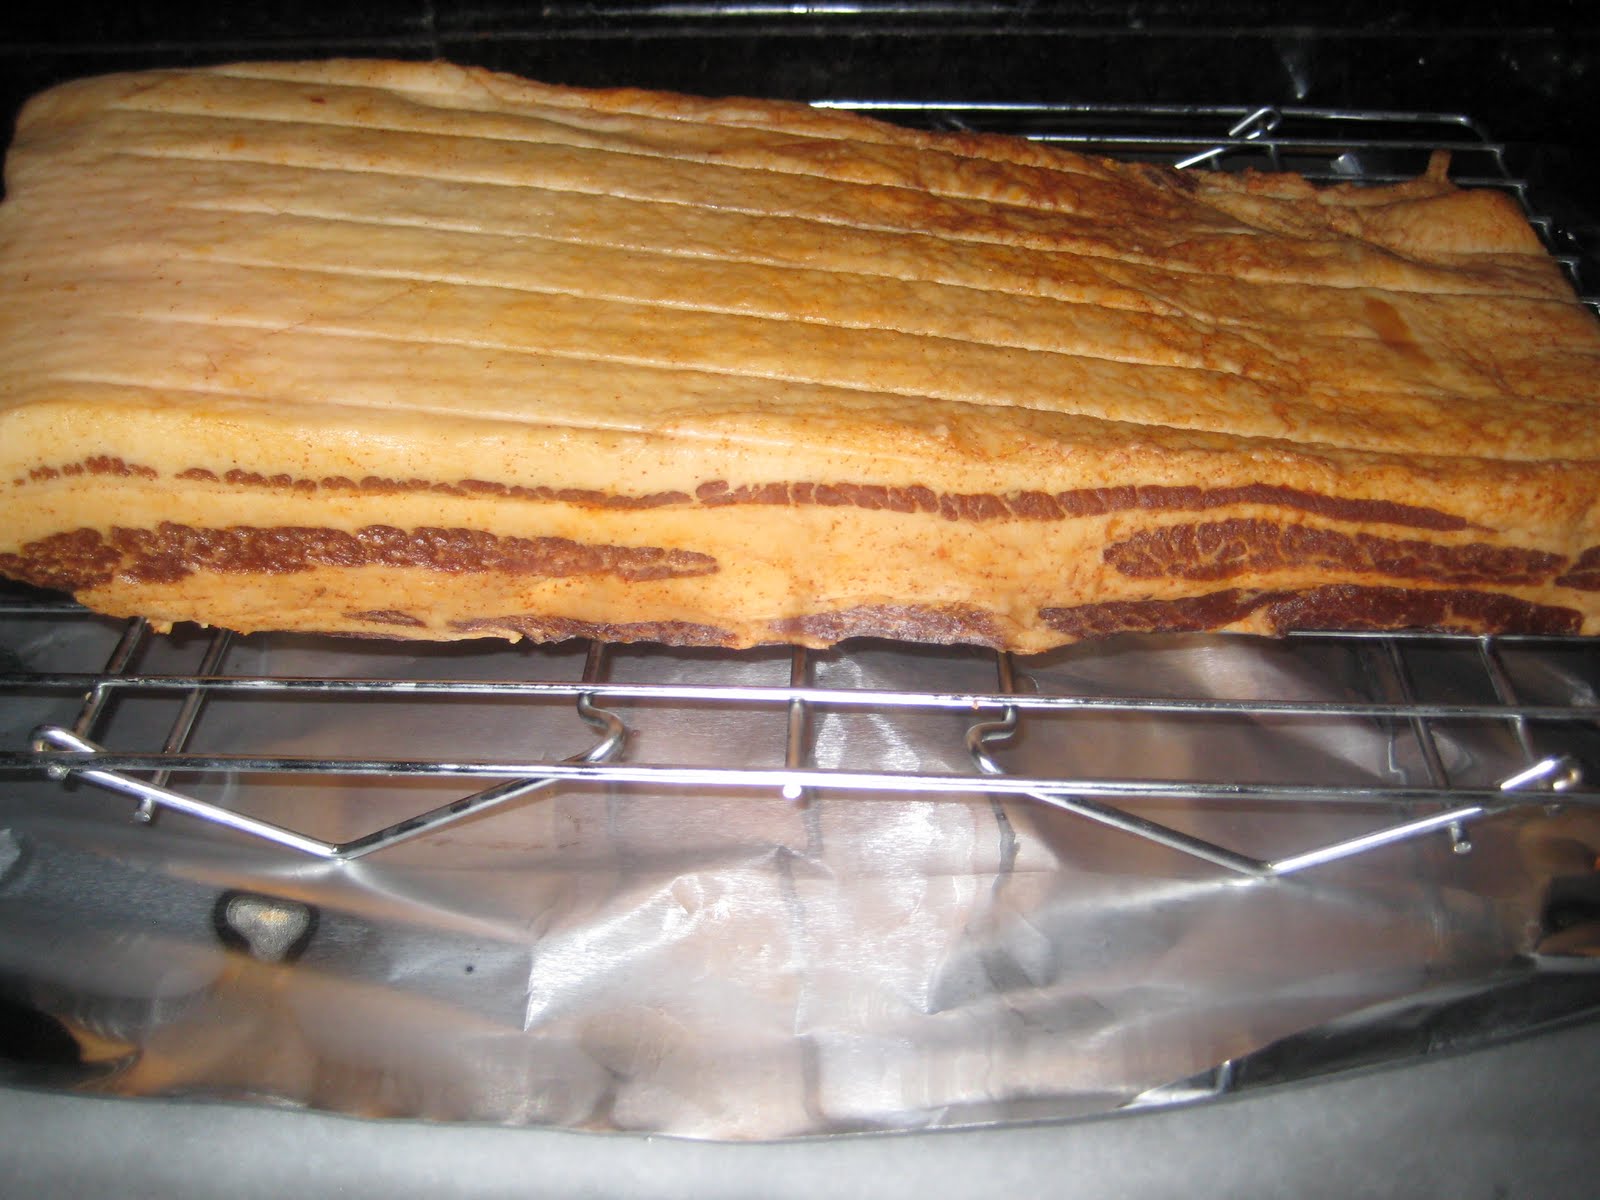
The bacon making process is quite simple, but takes a bit of time.  It starts with a piece of pork belly.  Following Michael Symon's recipe, you then add some kosher salt, a bit of pink salt, some paprika, red pepper flakes, brown sugar, honey and cumin.  All of this is spread over the pork belly, and then put in a big bag.  Then for the next week the bag gets flipped daily as the salt pulls out some of the moisture, and the flavors are incorporated into the meat.  After a week, the pork belly is removed from the bag, rinsed, and then put on a rack in the refrigerator to continue drying.  A couple days later you simply smoke it for a couple hours until it is cooked through, and that's it.

When I pulled it out of the smoker, I cut off a small piece to try.  The flavor was pretty strong and pretty smokey, and I was a little nervous that it wasn't going to taste that great.  But, I let it rest on the counter, and then put it in the refrigerator to finish cooling down.  I thought I would wait another day and then put it to the ultimate test; BLTs!  So, tonight after work, I came home and got started on a nice, simple dinner of BLTs and Tomato Soup; not just any tomato soup, but the Michael Symon Spicy Tomato soup that I made a couple weeks ago.  


The soup was easy, it was something that I had made before, and knew that it would be good.  However, I was a little nervous about the BLTs.  I pulled out the bacon and cut off for thick slabs.  The good news was that it definitely looked like bacon.  Then I put it in the frying pan and it sizzled and cooked like bacon, throwing off great smells and lots of grease.  Finally I pulled it off the heat and put it on some paper towels before cutting it up and putting it into the BLTs.  The results were great.  It had a nice smokey bacon flavor, and crisped up nicely.  Plus, I still have more than 2 pounds of bacon that I can cut up however I need it!


This was definitely something that was a new and fun experience, and lends itself to a lot of variation.  I don't think I will mess with the salt mixture, at least at first, but I can try and mess with some of the other ingredients.  Adding more brown sugar or maple syrup to make it sweeter, or maybe some chile powders.  And then smoking it with different woods.  For this one I used cherry, but there is the more traditional Applewood or Hickory as well.  So many different mixtures, so many different woods, and never having to buy my own bacon any more!

Sunday, June 20, 2010

Deck's Roasted Rosemary Chicken Breast

One of my biggest complaints about chicken breasts is too often they are dried out, and I'm sure there are a few of you that feel the same way.  And it doesn't usually matter if I make it, or I order it, there is a better than good chance that it will be dry.  So, I have been trying different things to make sure that when I make a chicken breast, it comes out moist and juicy.  I have been successful with the breaded breast (see my Chicken Parmesan recipe), but was still working on a roasted variety.  After a bit of experimentation, and a little inspiration from a Bobby Flay recipe, I have come up with this simple recipe that delivers good flavor and a very moist chicken breast.  The key to this recipe is both the bone-in, skin-on chicken breasts and the fresh rosemary.  I like to serve it with rice and some sauteed peppers, but it would be great cut up in a salad, with fresh corn, or any number of ways.

Deck's Roasted Rosemary Chicken Breast


Serves 2


Ingredients:

2 skin-on, bone-in chicken breasts
1 cup of olive oil
6 sprigs fresh rosemary
3 cloves garlic, coarsely chopped
1/2 lemon, juiced
Salt and Pepper

Step 1 - Prepare the marinade by combining the olive oil, rosemary, garlic and lemon juice in a gallon sized ziploc bag or shallow baking dish.  Salt and Pepper the chicken and then add to marinade and coat completely.  Refrigerate for at least 8 hours.  This can be prepared the night before and marinated overnight.  If possible, flip the bag halfway through the marinating time.

Step 2 - Pre-heat an oven-proof skillet over medium-high heat.  Also, pre-heat the oven to 350 degrees.  Remove the chicken from the marinade, and pour the remaining marinade into the preheated skillet.  Allow the oil to get up to temperature, about 2-3 minutes.

Step 3 - Place the chicken in the heated oil skin-side down and cook until brown and crispy, about 5-7 minutes depending on the size of the chicken breast.  Flip the chicken over, and cook for about 2 more minutes, then place the pan in the oven.

Step 4 - Roast the chicken in the oven for about 20 minutes, or until just cooked through.  If you have a leave-in thermometer, you'll want to cook it to 145 degrees.  When it is done, take it out of the oven, and let it rest for about 5 minutes on a cutting board.  Serve and enjoy!

Friday, June 18, 2010

Deck on Wilde Rover - Kirkland Restaurant Review


Earlier this week, we had some people in town for work from the East Coast.  The first night, we had a big group dinner at the hotel everyone was staying at in Bothell.  It definitely wasn't anything to write about.  So for the second night, the "locals" decided to change things up, and make sure that anyone that wanted to was able to get out.  Since we were in Bothell for the training, downtown Seattle was pretty much out of the question, so for me, the only acceptable solution was Kirkland.  After debating for a little bit, we decided on the Wilde Rover as a place with a good location, outdoor seating (we were hoping for sun), and a casual atmosphere.  We could move on for dinner, but we would at least start at the Rover.

For me, this was my first trip to the Wilde Rover.  I knew where it was, and had been by a couple times, but had never stopped in.  I really don't go out that much on the Eastside; like a lot of people that live in the city.  But I was eager and excited to check out a new place.

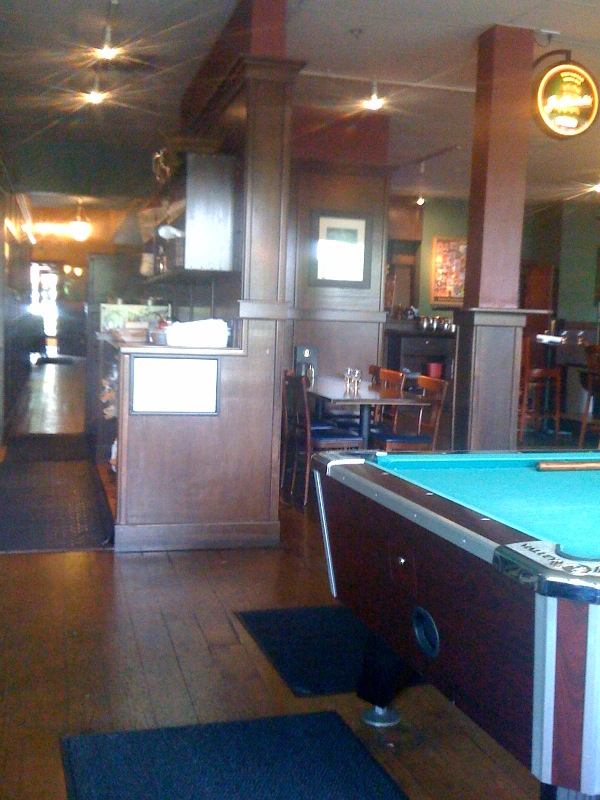
The first thing that struck me when I walked in was how big it was there is a large bar in the center, with a dining room in the front and more of an open bar area in the back that leads out to a deck.  There are two pool tables, lots of open floor space for standing, and even a  separate room with a  stage for private functions.  We got a table in the back, big enough to easily seat 11 and started looking through the menus.  It was still happy hour time, but unfortunately there are no happy hour drink specials (a bit disappointing from an Irish pub).  But there were happy hour food specials, so I thought that I would partake. 

My first choice was the Guiness lamb stew which I thought would be a nice compliment to the black and tans I was drinking.  It didn't take long for the stew to arrive, and it looked and smelled pretty good when it was placed in front of me.  I grabbed my spoon, took a bite, and was pleasantly surprised.  It was a nice, robust stew, perfect for the cloudy and dreary day it ended up being. It was full of carrots and potatoes and celery, all of that good stew filling.  It was a bit under seasoned; needing some salt and pepper, though those are things I can add (and seems to be pretty much par for the course with Irish pub food).  The lamb was good, though a little dry.  But, all in all, it was better then I had anticipated, and was good enough that I decided that I wanted to order at least one other item off the menu before Happy Hour had come to an end.  This time, I went for the Meatloaf Sliders.

I'm not entirely sure what it was about the Sliders that drew me in, as they aren't a "traditional" Irish fare, at least as far as I know.  They are made with a blend of ground chuck and ground pork, and served with some slaw and a bit of bacon.  Nothing too fancy at all, but they were delicious.  The meat was incredibly tender and just kind of fell apart.  The bacon was in a sweet, barbecue sauce that worked really well with the meat.  And the slaw was very lightly dressed, which was actually perfect because a sweet slaw and sweet bacon would have been too much.  It offered a bit of a crunch which was a much needed textural balance.  It didn't take me very long at all to make my way through them.

Wilde Rover on UrbanspoonWhen I walked into the Wilde Rover, my expectation was to have a couple of black and tans, maybe a small bite to eat, and then go somewhere else for real food.  When I left, I felt happy and content, and interested in trying a couple of other things on the menu like the Fish and Chips.  In fact, the only thing that I really found disappointing in the experience was that there was no drink specials as part of the happy hour, which will ultimately keep it from being an Eastside Happy Hour destination.  But if you are in downtown Kirkland, and are in the mood for some Irish food, you really can't go wrong.

Final Verdict - 4 Stars

Wednesday, June 16, 2010

Cooking Clams...with a little help from Tyler Florence

During my most recent Whole Foods shopping experience, I decided to go in with less of a plan and more of an open mind to see what I could find.  As usual, I ended up spending most of my time in the protein section looking at seafood and meat.  In the seafood section, I decided that I wanted to do something different than I'd done before.  Initially this was going to be mussels, but in looking at the mussels, they had started to open, and didn't look that great.  So, I opted for littleneck clams instead.

Getting home, I was excited to make clams.  They are an ingredient that I've never prepared before.  But, I'm not quite at the point in my cooking where I can look at an ingredient, figure out how to cook it, and make something delicious.  I'm still a little apprehensive about putting together something that doesn't taste that great, and I still haven't fully figured out how to meld flavors, even though I know the flavors that I like to work with and try and incorporate.  So, when I was ready to make the clams, I still needed to seek out a recipe.  Naturally the first place I went was FoodNetwork.com.  I was sorting through various recipes, looking at things like paella and cioppino (too many other ingredients needed), and pasta dishes (too heavy for a nice late spring evening).  Then I stumbled across a recipe by Tyler Florence for Orecchiette with Broccoli Rabe, Clams and Sweet Italian Sausage.  I was sold!  I had all of the ingredients at home except for the sausage which I could grab on the way home.


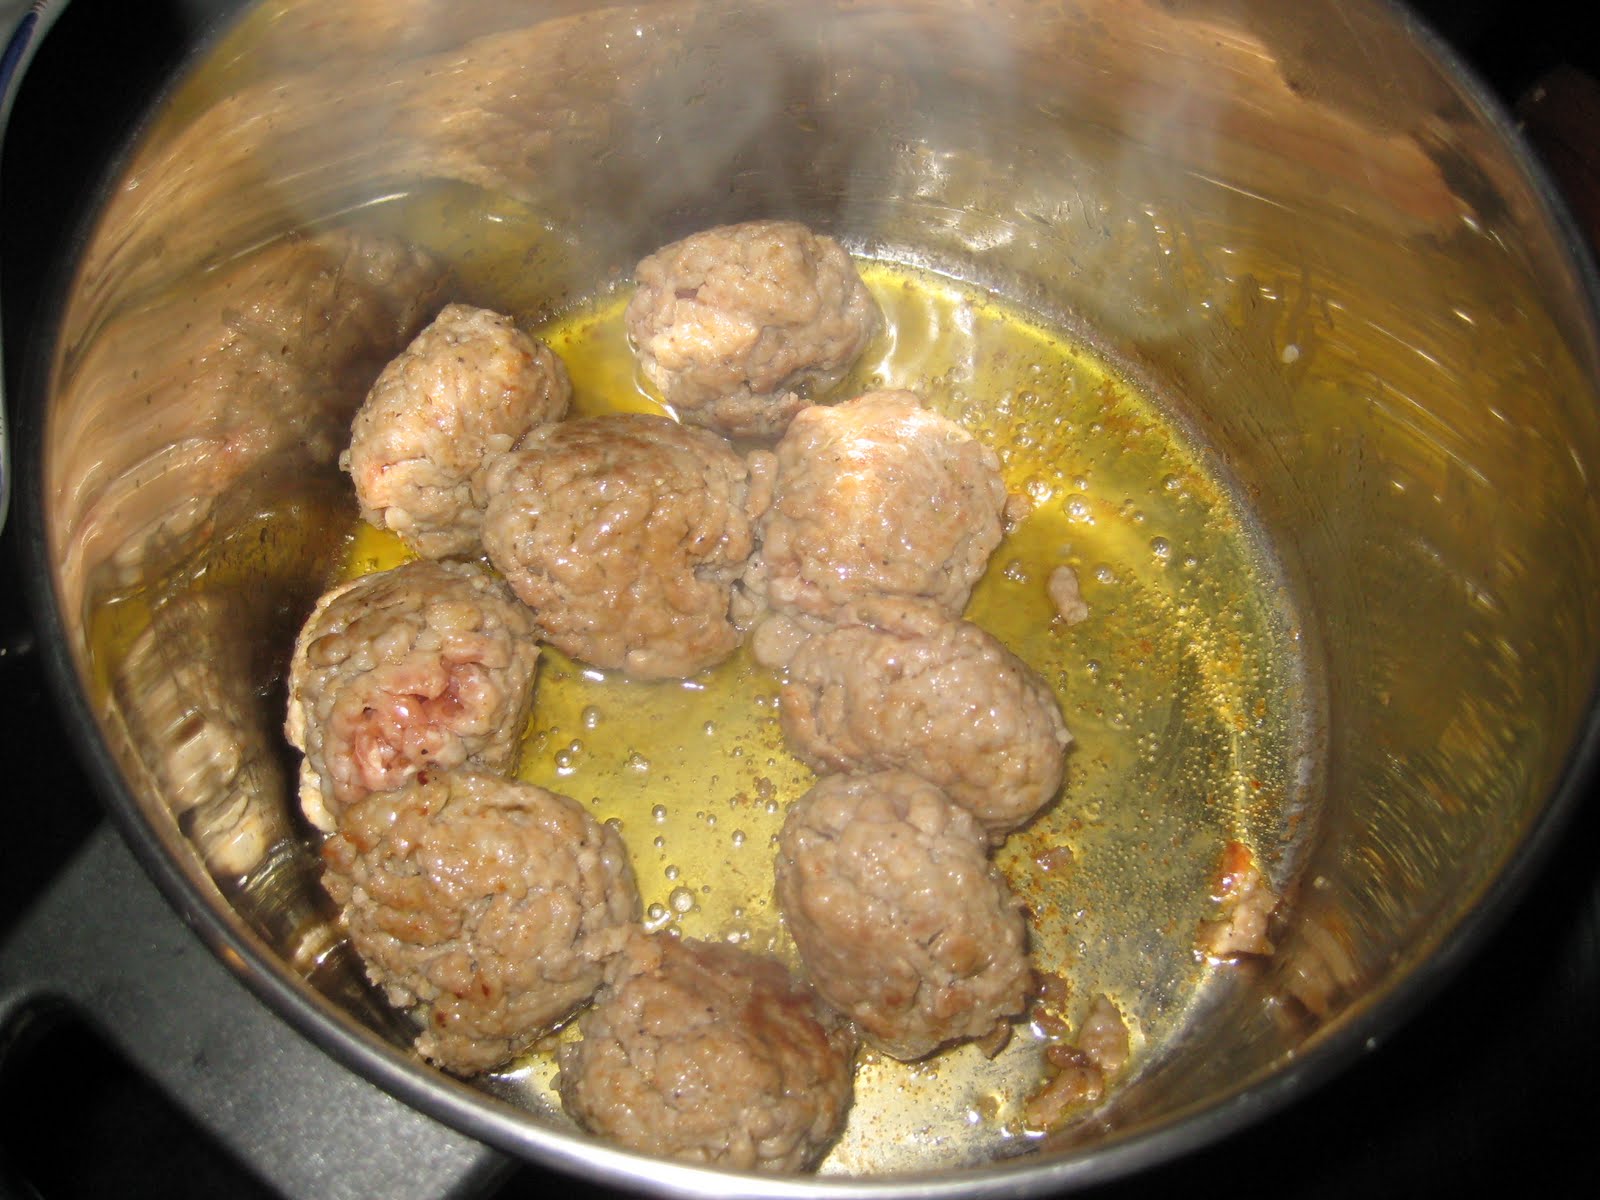
The recipe was one that was quite easy and quite quick, perfect for the busy professional (I type this phrase a lot, but that's because it's the reality of our lifestyle, and I'm sure many others out there).  It starts by putting on a pot of salted water for the pasta.  Then you make mini meatballs out of the sausage and heat them up until they are browned on each side.  After removing them to the side, simply add a little bit of fresh garlic, red pepper and thyme to the remaining oil.  Once those ingredients start to release their aroma, throw in the white wine and clams, put a lid on top, and let them steam for about 10 minutes or so.  
One thing to note is that it is important to scrub the outside of the clams.  Since these were farm raised clams, they were pretty clean on the inside and did not need to be placed in a bucket of water to clean.  However, there was plenty of sand and grit on the outside that needed to be removed so it wouldn't wind up in the final dish.

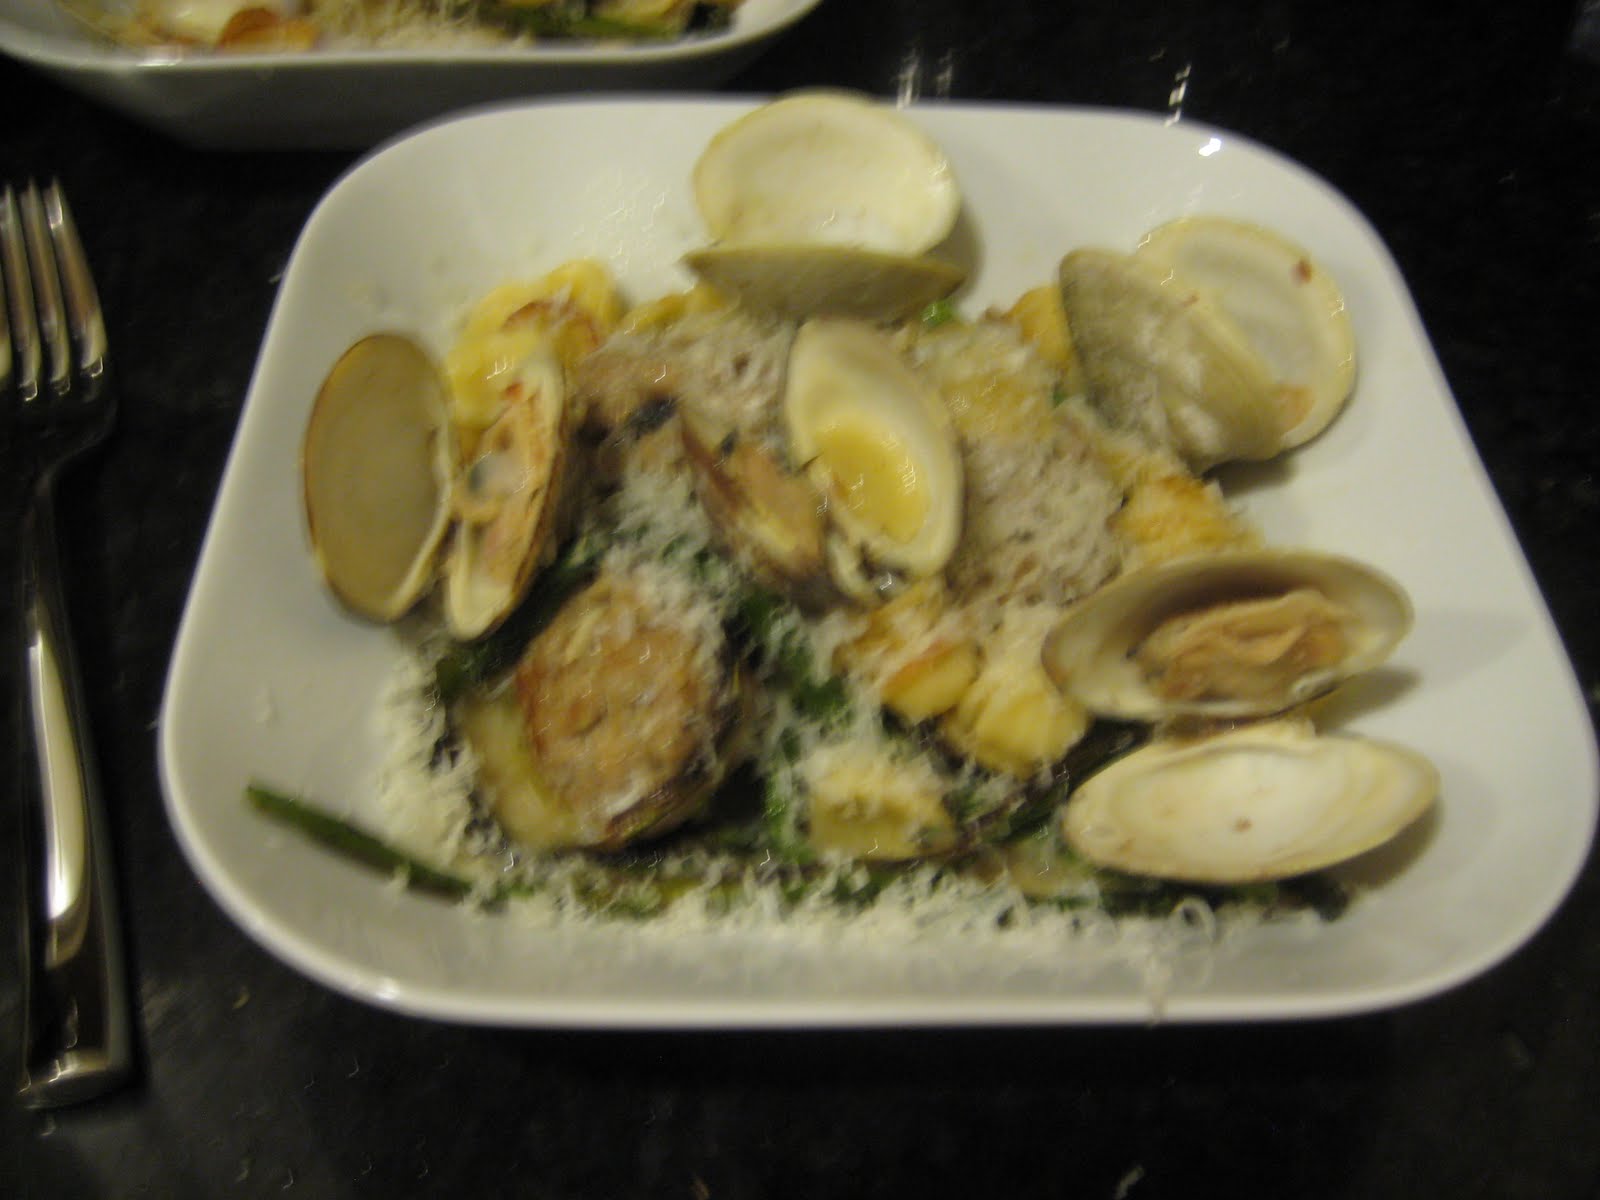
While the clams are steaming, the pasta can be thrown in the water since it takes about 7-8 minutes to get to a nice al dente level of doneness.  If I was doing broccoli rabe, I would add it toward the end to finish.  However, I didn't have broccoli rabe, and forgot to look at the store.  What I did have was some very thin asparagus.  I sauteed it in a little olive oil with some salt and pepper and a table spoon of butter.  Then, when the pasta was done, I added it to the pan with the asparagus, as well as the sausage meatballs to finish cooking them through.  Then I returned to the clams.  They had all steamed open nicely.  I then added a bit of butter and a little bit of my good, flavorful olive oil to make a little bit of a sauce.  All of this was poured over the pasta and asparagus mixture and mixed up.  I finished by putting it all in a bowl, and shredding some nice parmesan cheese over the top of it.


The finished product was good.  I was told that the clams were cooked very well and were very delicious, which was definitely an accomplishment!  However, the rest was a bit oversalted, which I think owed to me not fully paying attention to all of the ingredients I used.  Not only did I salt the water for the pasta, I added salt and pepper to the asparagus, as well as salted butter.  Then I finished the white wine sauce with salted butter as well; not to mention the salt from the pork sausage.  All of this ended up being just a bit too overwhelming.  The biggest thing I think would be to reduce the amount of salt that I added to the water, as as well as making sure I use unsalted and not the sweet cream butter when I incorporate it into the recipe.  But, in the end, I gained some confidence in my ability to cook clams, and realized that pork is a good pairing for it, especially sausage.  Next time I think I will be able to improvise and experiment a little bit more.  Thank you Tyler Florence for helping me put together a great dinner and gaining some confidence in my ability to cook clams!


Quick Bites from Vancouver - Deck on Boathouse and Sunset Grill

One of the nice things about living in Seattle is that Canada is really close.  This means that in the winter it's not too far to drive to hit Whistler, and in the summer we can check out the ever-growing beach volleyball scene (can you say "loose" setting?).  It also means an opportunity to check out even more restaurants.  On this most recent trip, I was definitely looking forward to checking out a couple places, especially since I had heard some really good things about a couple of recently visited spots.  This ended up being a quick trip, so we only ended up hitting two places; The Boathouse beachside cafe and the Sunset Grill.

Deck on the Boathouse beachside cafe
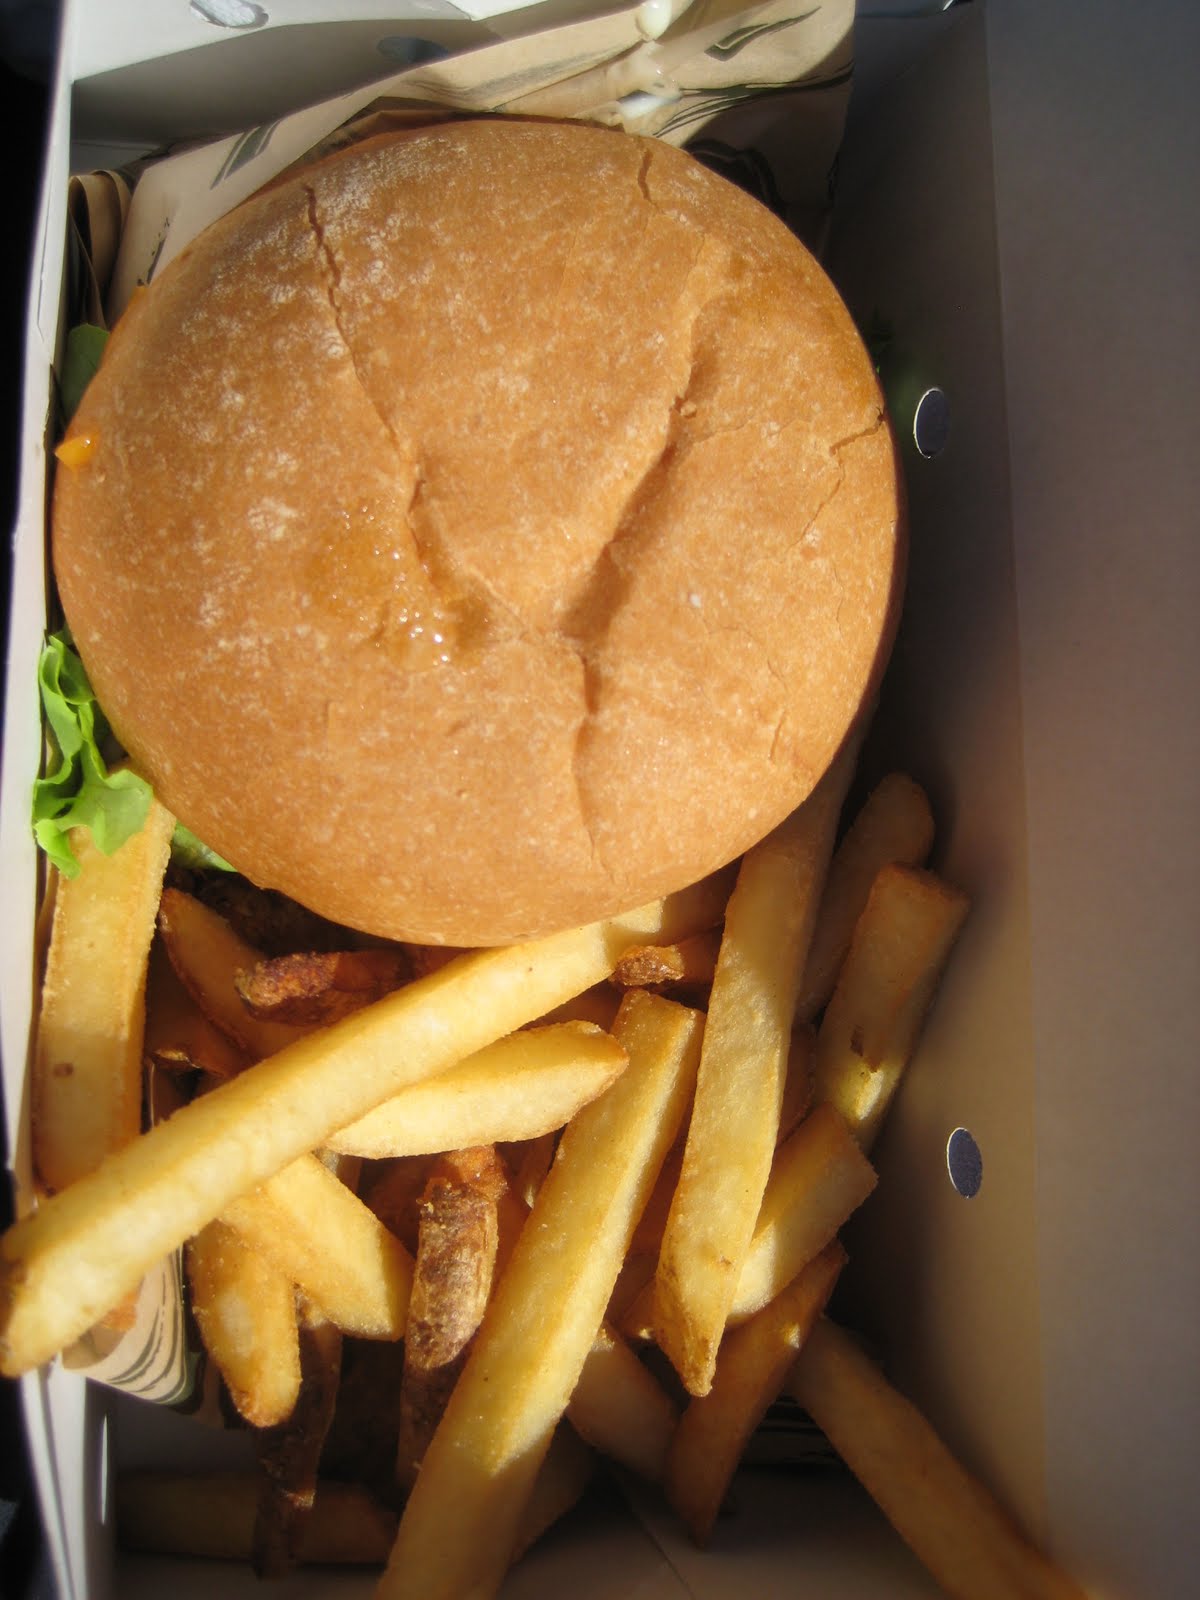
After sitting on the beach all morning, watching volleyball, I started to get hungry, and headed up to The Boathouse.  On the bottom is a beach cafe that serves a pretty simple menu.  It's definitely a quick serve style with a couple registers and a grab and go bar, very reminiscent of what you would find in an airport.   I decided to go with the bacon cheeseburger and sea salt seasoned french fries figuring that since it was associated with The Boathouse (which has some pretty good reviews), I would get something pretty good in return.  The whole thing was a little pricey at $15 Canadian for a burger and fries, but it was on par for what I would pay at a place like Sport, so I wasn't entirely turned off.

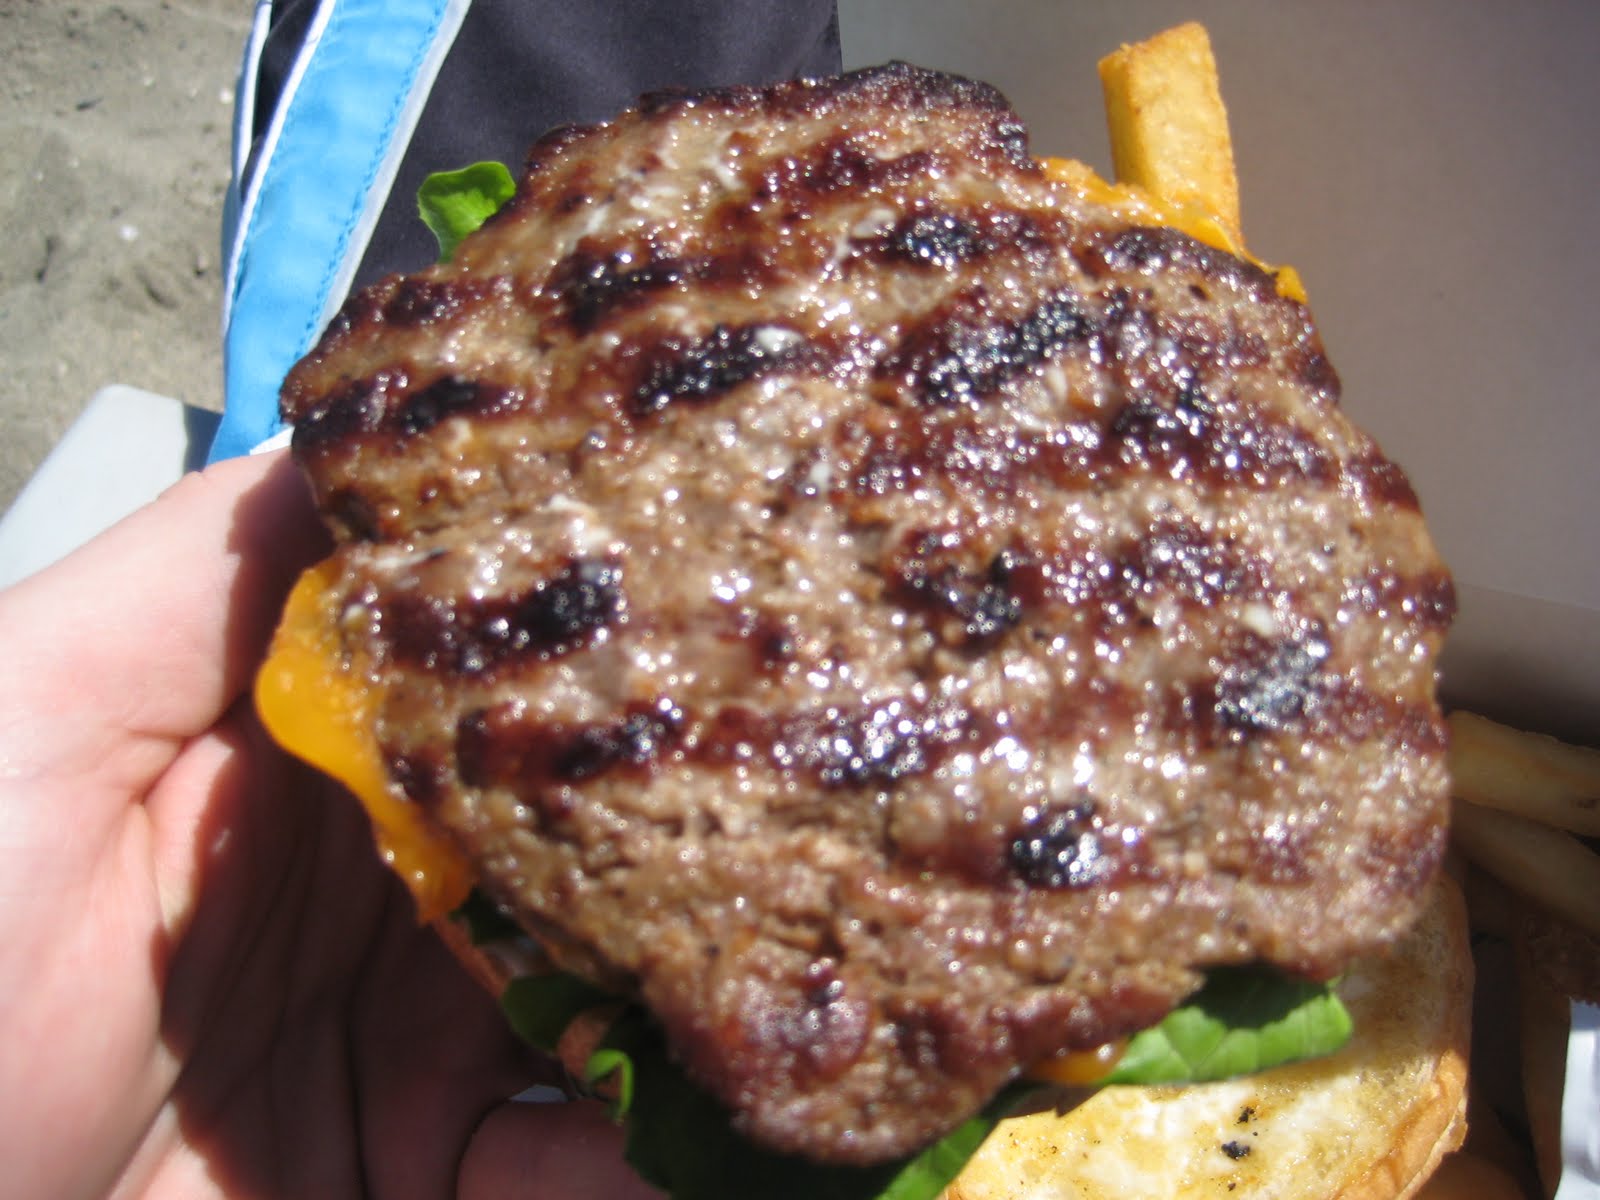
I ended up waiting for my order for about 10-15 minutes, so figured I was getting a nice fresh cooked meal.  When I finally got it, I grabbed a little ketchup for the fries, and headed back to the beach.  Sitting down, I looked into the box, and was a little disappointed as the cost-to-quantity ratio seemed a bit lower than expected.  But, I thought that a good burger would make up for it.  I pulled the bun off the top to check out the burger to see how it was cooked, and immediately realized that it wasn't going to be good. The burger was in the shape of what could best be described as a snowflake, with six obvious points.  It's not the type of burger that is hand made; it's the type of burger that's pre-cooked, frozen, and reheated.  And when I bit in, it was clear that it was not a real burger.  The bacon was soft, not crispy, and lacked flavor.  The burger was not at all juicy, and was not flavorful.  In fact, I wondered if it had been cooked in a microwave rather than a flat top.  The fries were lifeless and flavorless, as if they had been sitting under a heat lamp for quite some time.  There was no crisp, just a bit of staleness.  And the sea salt?  Maybe they were afraid there wasn't enough salt in the sea and they needed to conserve as there was scarcely any to be found.  This ended up being the type of meal that not only did I not finish, but I was actually a little upset at myself for having eaten in the first place.
Boathouse (Kitsilano) on Urbanspoon
I will say that again, it was a cafe that was below The Boathouse, so it may not be an accurate reflection on the restaurant.  But, if you are going to put your name on it, you should know what is going out.  This was a pretty disappointing experience to say the least.


Final Verdict - 0.5 Stars


Deck on Sunset Grill


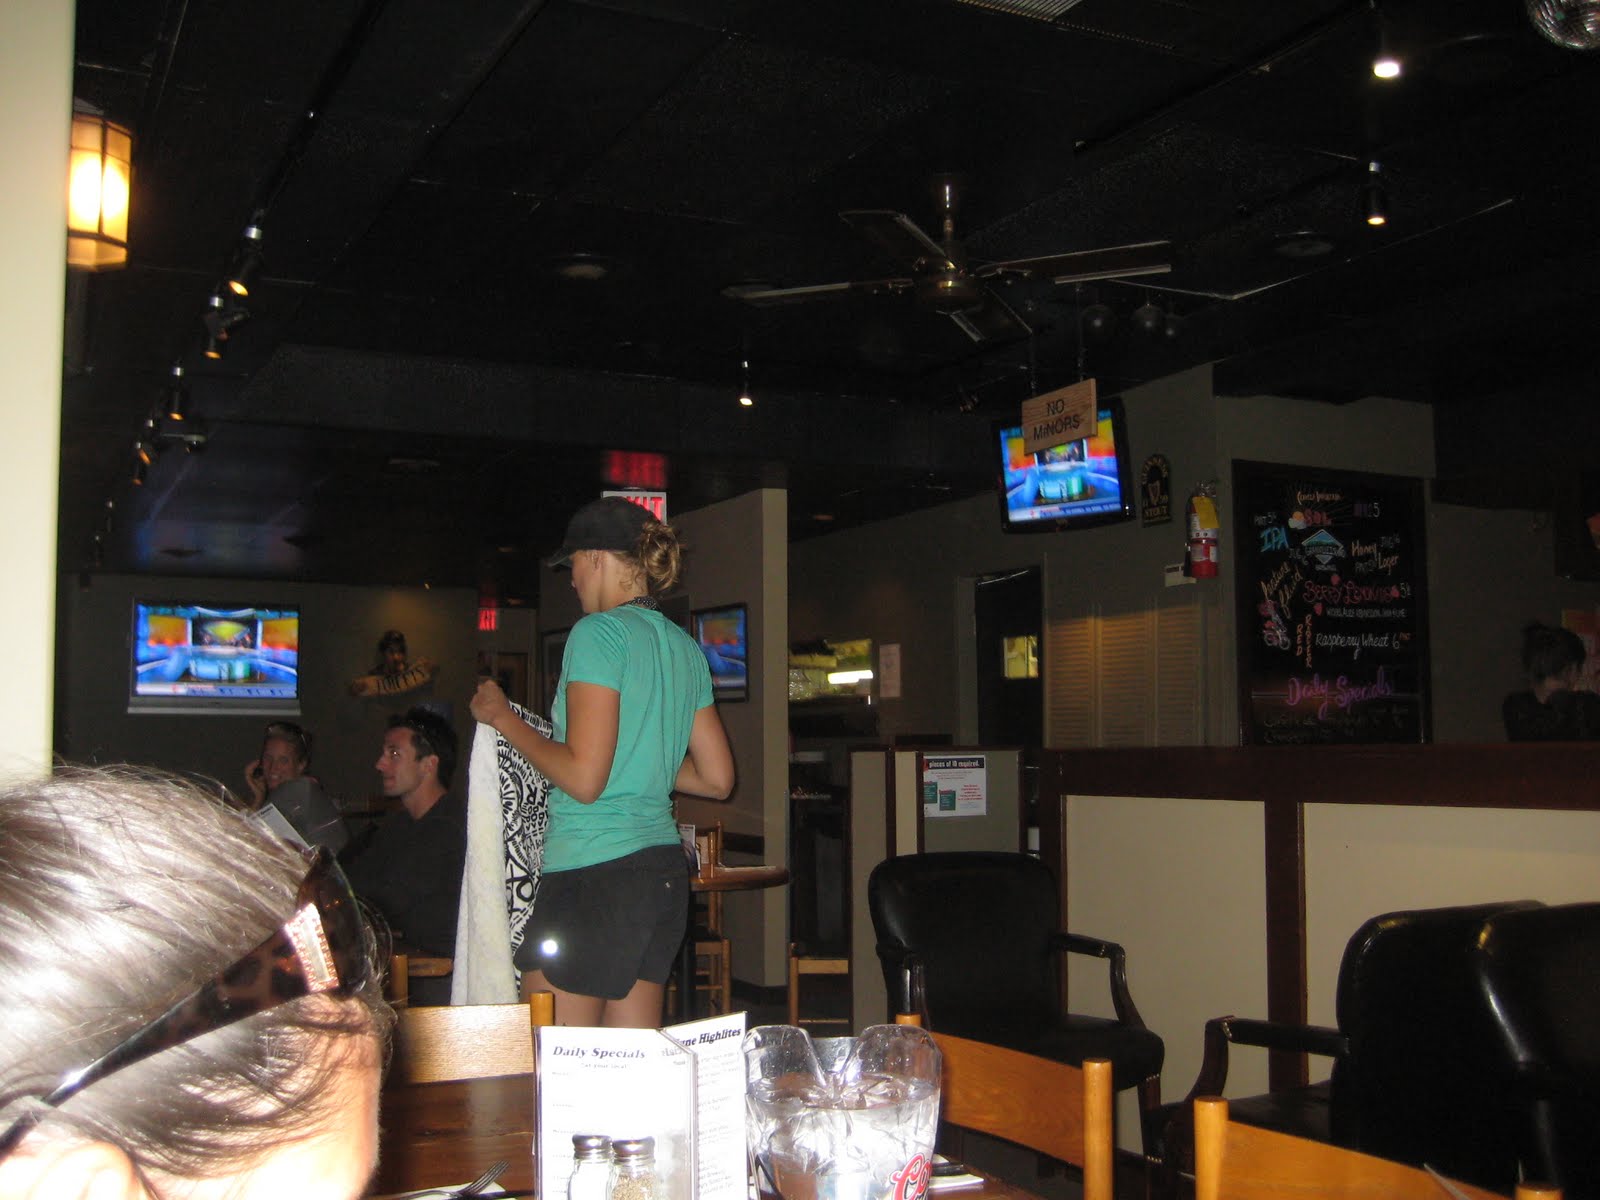
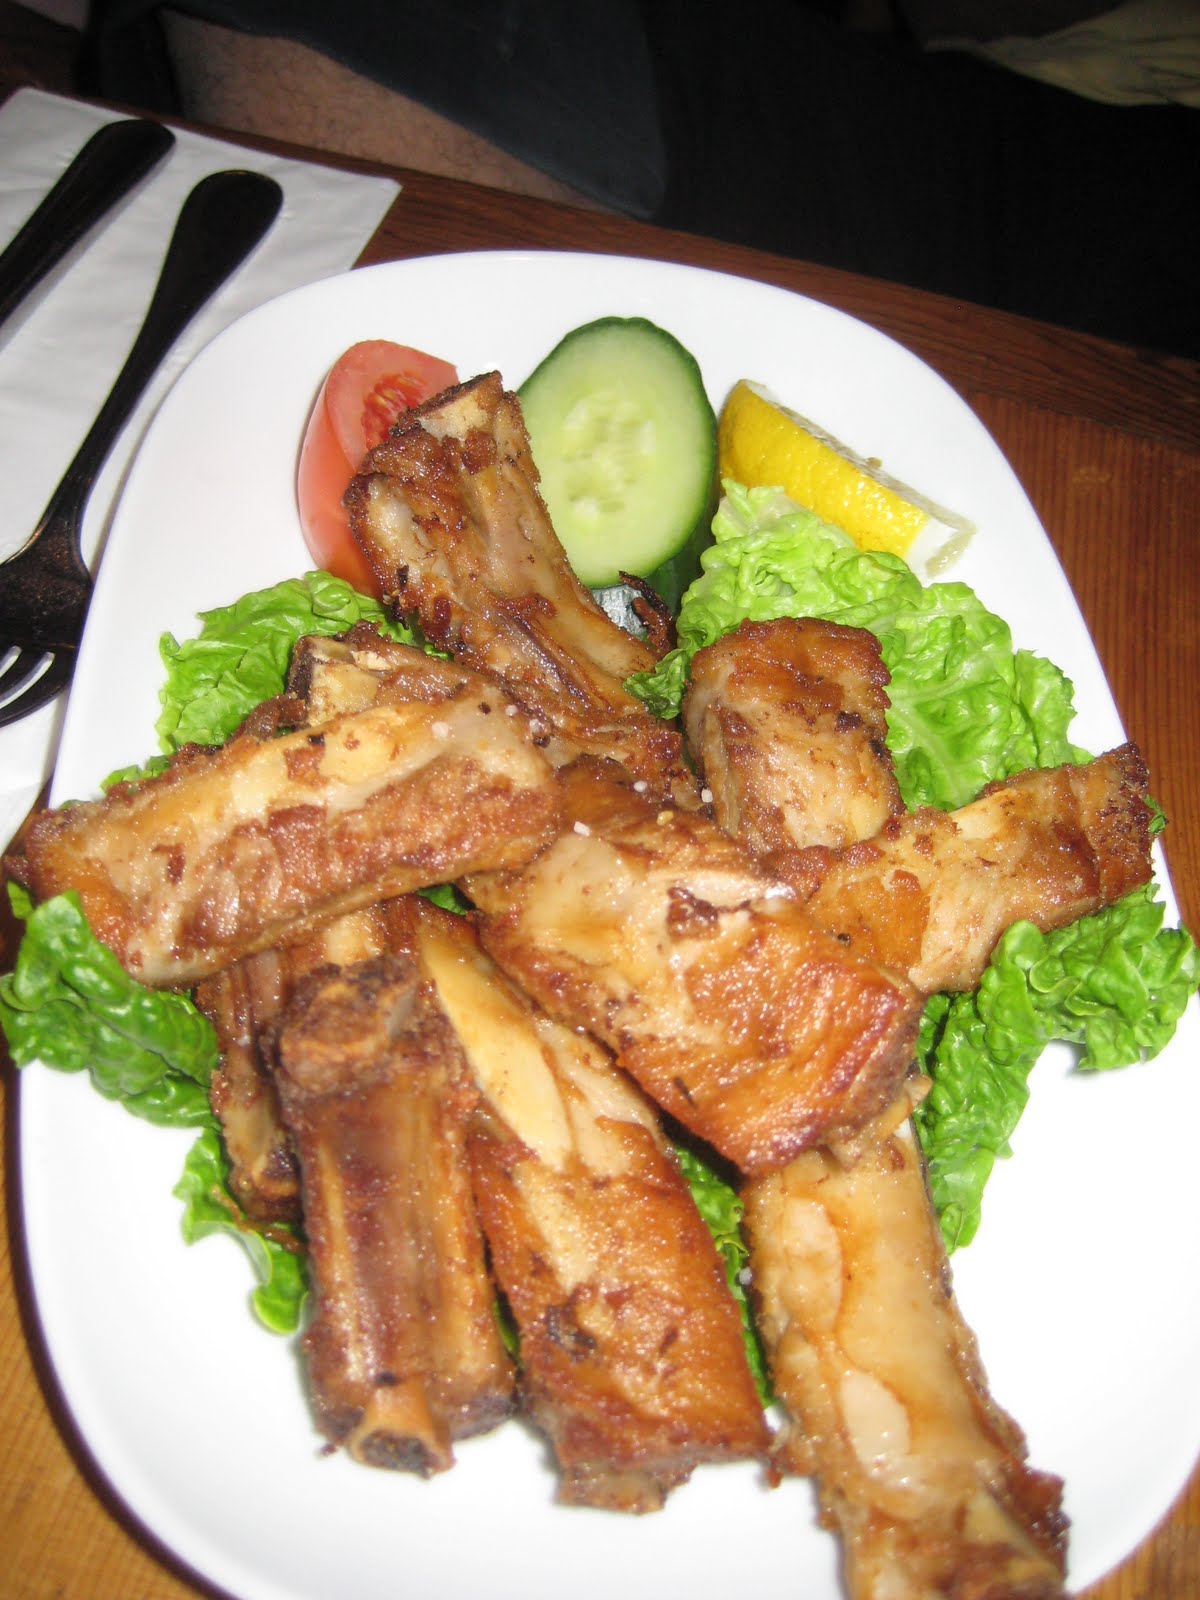
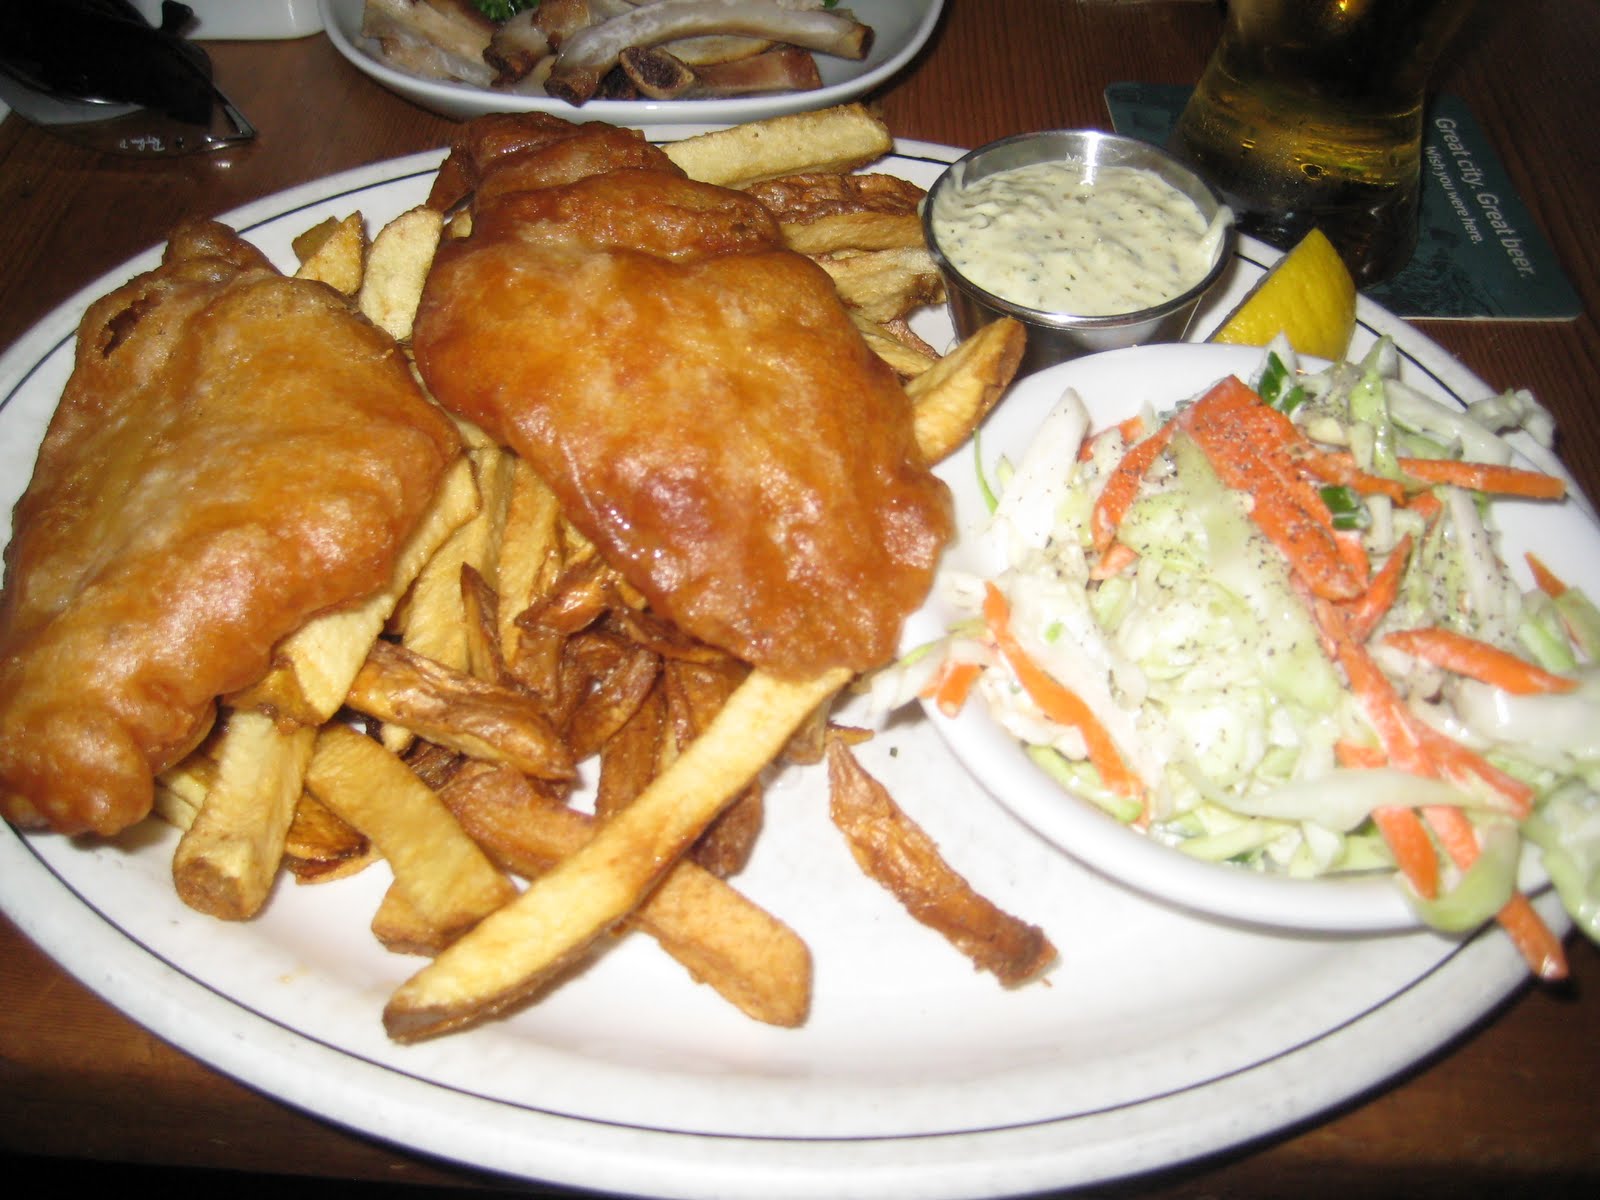
At the end of the day, after the tournament was over, the volleyball crowd packed everything up and headed to the Sunset Grill for a post tournament dinner and brew.  It is apparently a Vancouver/Kits Beach tradition, and who are we to break with tradition?  Walking in, there was a spot reserved and set aside for the volleyball players.  The place itself is a simple Irish-themed sports bar with flat screen TVs and Irish flags.  We ordered a pitcher of Molson (we were in Canada after all) and an order of Cumin Pork Ribs before perusing the Irish menu.  I was debating between a few different options, but ended up asking the waitress her recommendation.  She started with the pot roast, but after two days of having my own (which was damn good by the way), I decided I wanted something different.  So, I opted for the prime rib stuffed with Yorkshire pudding, only to found out that they were out.  Finally, I ended up going with the fish (basa) and chips.

Before we'd finished our first glass, the ribs arrived.  I learned that they are the rib tips off the end of the pork spare ribs that are normally discarded that are rubbed and then cooked in the deep fryer.  They were pretty good, nice and juicy, and bite off the bone tender which is how ribs should be.  They were a little lighter on the spice than I'd hoped, but all in all a great start to the meal, and something I'm going to try and make myself.  Unfortunately, this ended up being the high point of the meal.  When my fish and chips arrived it looked ok, and I was eager to dig in.  As I usually do with fish and chips I went to add some malt vinegar, but there was no malt vinegar.  Just a simple, very mild flavored vinegar that the breading completely absorbed.  Biting in, the outside was crispy, but the fish was completely mushy.  Rather than nice and flaky like you want fish and chips, it was about the consistency of mashed potatoes.  The fries were just as lack luster.  While they appeared to be hand cut, there was no crunch or crispiness (or even heat).  And the slaw didn't appear to have any dressing on it at all, and I had to add vinegar just to get a little bit of flavor outside the raw cabbage.  It ended up being yet another meal that I didn't finish, and felt bad about eating.
Sunset Grill on Urbanspoon
The Sunset Grill was definitely a fun volleyball player spot; a great place to relax with a beer.  And it's a place where I'll try a couple of other things because I'm sure we'll end up back there (though not the cheeseburger which was almost as bad as the one I had for lunch).  The ribs lead me to believe that there is some good food coming out of that kitchen, even if the fish and chips were not it.


Final Verdict - 2 Stars

Sunday, June 13, 2010

Deck's Super Moist Slow Cooker Pot Roast

One of the gifts that we got for our wedding was a slow cooker, and I have to say I was really excited about it.  With as busy as we are, it's nice to be able to throw something in before leaving for work, and having a delicious dinner waiting when you get home.  The most common of all things to cook in the slow cooker would be the pot roast.  I've had some great slow cooker pot roasts, and I've had some not so great. The thing that makes a great pot roast is that when you take it out it is still moist, and doesn't need to be drowned in gravy.

So, I was determined to make sure that my first slow cooker pot roast was very moist, and found there are 3 tricks to making sure that this happens:
  1. Make sure you get a cut of meat that has fat in it.  As the meat cooks, the fat renders down and keeps the meat nice and moist.  You can remove the leftover fat at the end.
  2. Sear the meat prior to cooking it.  This creates a sort of "barrier" that keeps the moisture recirculating in the meat, making it increasingly moist.
  3. Make sure you have enough liquid that it will keep the meat about 2/3 submerged through the cooking process.  If you want to make it into a gravy later, you can pour off what you need and reduce it.  
The great thing about this recipe is that it is ridiculously simple, and it turned out very well!  Feel free to modify spices and liquids to make it even better.

Deck's Super Moist Slow Cooker Pot Roast


Serves 4 (or 2 with leftovers)


Ingredients:

3 - 3 1/2 pound chuck roast (not super lean)
1 - 1 1/2 pounds fingerling or baby red potatoes
1 medium yellow onion
1 pound of carrots
1/2 bottle red wine
1 cup heavy cream
1 package onion soup mix
1/2 - 1 cup of water
Salt and Pepper

Step 1:  The day before you make the pot roast (at least 12 hours), season liberally with salt and pepper. Leave out at room temperature for about 30 minutes before returning the roast to the refrigerator.

Step 2:  In the morning, brown the roast on all sides using a little bit of oil over medium high heat.  This should take about 30 seconds to 1 minute per side.  You just want it browned.  When all six sides have been browned, place the roast in the slow cooker.


Step 3:  Cut the potatoes and carrots into medium bite size pieces.  You don't want them too small as they might get a little too mushy.  For the onion, peel it, cut it in half, and then quarter each of the halves.  Add all of this around the roast in the slow cooker.


Step 4:  Add the wine, onion soup, heavy cream, and just a bit of water to make sure that there is about 4 cups of liquid in the pot.  The roast should not be completely submerged.  Just about 3/4.

Step 5:  Set your slow cooker on low (or whatever setting cooks around 200-225 degrees).  If you have a timer, it should cook for at least 8 hours.  Then remove to a plate and enjoy.

I did not end up making gravy as the roast was so moist that it didn't need it, and I'm not a huge gravy person myself.  But you could definitely strain the liquid into a pot, reduce down for a little bit, add some flour and have a decent gravy.  Also, when the roast is done cooking, you can leave it in the liquid for as long as you need to on the warm setting.  The roast just continues to get moist, but doesn't get mushy.  We left it in for almost an additional 8 hours.


Saturday, June 12, 2010

Deck on Larry’s Smokehouse - Seattle Restaurant Review

One of my biggest gripes about working in Bothell has always been the lack of good restaurants. When I was working downtown as an intern, there were so many places to go try (though I was a little short on funds at that time). In Bothell there are just a couple restaurants and the café, or so I thought. The truth of the situation is that I really never tried that hard to look. If it wasn’t within my line of site when I drove in to work, then it didn’t exist. So, when one of my colleagues suggested we go to lunch at Larry’s Smokehouse, I was game; couldn’t be worse than the alternatives.

Larry’s is located in an area that if I didn’t know better would just look like a series of storage sheds. In fact, I’m pretty sure I’ve driven by a couple of times and never noticed it; not even the smoker sitting out in the parking lot. The outside décor is quite simple, a white awning covering the entrance and a Betty Boop statue (which seems out of place). Inside it isn’t a whole lot different with some older pictures and simple, clean tables. There are some display cases with various smoked items for sale. At the front is a counter where you place your order; no waitresses at Larry’s. It’s the type of place that would be featured on a show like Diners, Drive-in’s and Dives, not a place where the chef is on Iron Chef America.

On the way there, my co-worker told me that their smoked salmon was excellent. But, when I walked up and quickly looked at the menu, I opted for the ½ pulled pork sandwich lunch which came with chips and a side (I went for the slaw). It just seemed like the right thing to order. I also got a soda, which I was told to just grab out of the cooler. The whole thing came to less than $5.

We walked to the cooler, grabbed our sodas, and took a seat at one of the tables. It was only a couple minutes until our food arrived. The sandwich was definitely very good sized. The pork was covered in sauce with more on the side. The bread wasn’t the traditional bun that I was expecting, but more of a French style bread with a soft inside and crispy outside. When I took a bite, the sandwich was very flavorful. The sauce was sweet initially, and left a little bit of heat at the end. The pork was very moist, tender, and quite flavorful. The slaw was your basic cole slaw, with a sweet dressing and cabbage crunch, nothing too unique. I contemplated adding the slaw to the sandwich (Southern style), but since I was with a co-worker and not friends, I opted to save that idea.


Larry's Smokehouse on UrbanspoonFor me, it was a very good lunch, full of unexpected flavor. The only drawback for me was actually the bread, as I prefer a bun instead of the crispy bread with my barbeque. But all, in all, I was definitely pleased and will definitely be back. And it gave me hope that there is good food to be found in Bothell, as long as I’m willing to go out and look for it.


Final Verdict – 4 stars

Thursday, June 10, 2010

Braised Short Ribs - Learning another new technique

When I went to Whole Foods the other day to go grocery shopping, I didn't enter with a plan for a change. Instead I simply looked around to see if I could see something that would be interesting to make.  As I was checking out the meat counter, I noticed beef short ribs.  Having never actually made short ribs myself, and never having attempted to braise anything, it seemed like something worth trying (especially since I could experiment on myself).  So, I had them wrap up a pound and a half of spare ribs (basically 4 ribs), and headed home to pull out the cookbooks.

Of the 5 cookbooks that I own, two had recipes for braised short ribs; Bobby Flay and Michael Symon.  Looking at the recipes I quickly realized that I really only had ingredients to try and pull of the Bobby Flay version, so that's the one I decided to do.  I actually got started last night by adding salt and pepper to the meat to allow it to be more receptive to the flavors that I would be trying to incorporate and infuse.

After a long day at the office, I headed home to begin cooking.  It was at this point that I wondered to myself why I thought it would be a good idea to try braising short ribs knowing that the earliest I would be getting home is 6, and at a minimum it would take 3 hours to get the ribs to a nice and tender state (unless I had a pressure cooker of course...).  But, since I had already proceeded to apply the salt and pepper, I needed to make sure I cooked them.  So, I just dove in and decided that I would simply find myself a snack at some point in the evening.  Besides, after eating out for the past few nights, I needed a change and a home-cooked meal, even if my Urbanspoon ranking might suffer a little.

I started by putting together a simple spice rub while the oil heated.  It called for chile powder, cinnamon and black pepper.  Then I applied the rub to the ribs prior to putting it in the oil to brown.  At this point, I ended up making a couple mistakes.  The first was that I didn't shake the excess rub off so it fell into the oil.  This leads to burning, and a flavor that is not that desirable.  The second was that I had not pre-chopped my veggies that I would need, so I was trying to do that, and ended up cooking the ribs a bit past golden brown.  But, I pulled them out, and forged on ahead, where actually the rest is quite simple.  I added some onion, garlic, carrot and celery to a little bit of oil remaining in the pot.  I also decided to throw in a jalepeno for a little flavor (kinda cooked this a little long too).  Then I added the red wine and went to add the chicken stock when much to my shock, I realized I had none in the house.  This is quite the rare occurrence lately, but it happened just when I needed about 4 cups.  So, I improvised.  I added an additional two cups of wine and two cups of water.  I brought this to a simmer, added the ribs and put it in the oven at 275 (the Michael Symon recipe called for 225, and Bobby Flay's was 325, so I compromised).


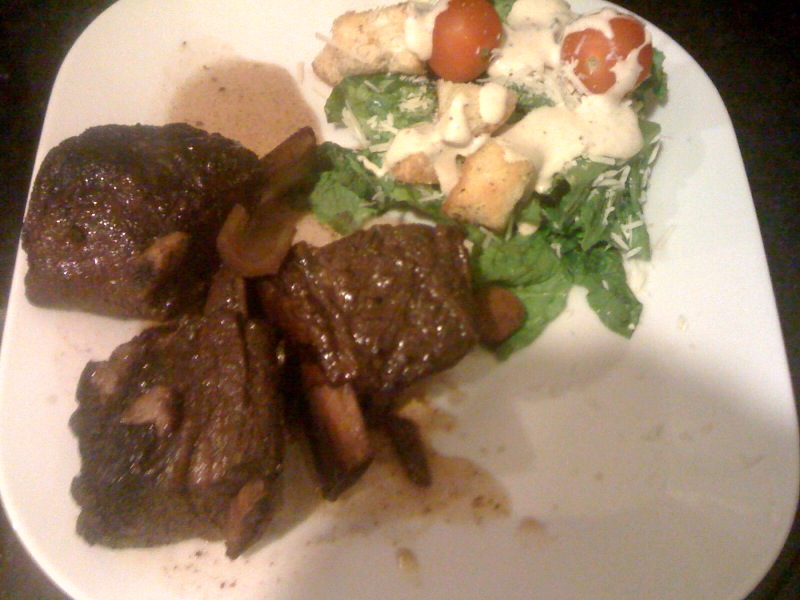
At this point, I just went about my evening; going for a run, getting some work done, picking up the house.  All told, I left the ribs in the braising liquid for almost 3 hours.  Finally, I had to pull them out and eat.  I decided to opt out of the part of the recipe that called for a sauce to be made out of the braising liquid, put them on my plate, and dug in.  The first thing I noticed was that they were incredibly tender, even though they probably could have used another half hour or so.  I didn't need a knife to get to some bite-sized pieces.  The flavor though was a little weak.  Part of that owes to the spice rub not really being applied liberally and worked into the meat, and part of it was just weak ingredients.  The chile powder was just the kind you get with a spice rack and the cinnamon was not freshly ground.  But, the meat was very tender, and very moist, so I was quite pleased with that.


In the end, I had a good dinner, albeit awful late at night.  And, I learned a few things, mistakes I can correct for the next time such as working the rub into the meat, and removing the excess to prevent burning.  I also came up with a few other things to try like using Coca-Cola as the primary braising liquid, or doing the whole thing is a sweeter red wine.  Maybe mixing up the rub to have some different, more defined flavors.  Or I could be really crazy and make sure that I have the ingredients that the recipe calls for and actually make it the way the chef intended.  All I know is that now that I have a general understanding of braising, I'm going to be experimenting with that cooking style more often; just maybe not during the week.