About Me

My Photo
Michael
This blog is about 3 things. First, eating out and telling you about it. Writing food reviews is fun and enjoyable. Second, making my own meals and sharing recipes. I'm all about simple, easy, and tasty. Third, tackling some challenges in my cookbooks. This way I learn techniques and flavors that I can add to my own cooking. And it all adds up to lots of talk about lots of food. I'm getting hungry just thinking about it.
View my complete profile
Deck On Food Seattle restaurants

Saturday, June 12, 2010

Deck on Larry’s Smokehouse - Seattle Restaurant Review

One of my biggest gripes about working in Bothell has always been the lack of good restaurants. When I was working downtown as an intern, there were so many places to go try (though I was a little short on funds at that time). In Bothell there are just a couple restaurants and the café, or so I thought. The truth of the situation is that I really never tried that hard to look. If it wasn’t within my line of site when I drove in to work, then it didn’t exist. So, when one of my colleagues suggested we go to lunch at Larry’s Smokehouse, I was game; couldn’t be worse than the alternatives.

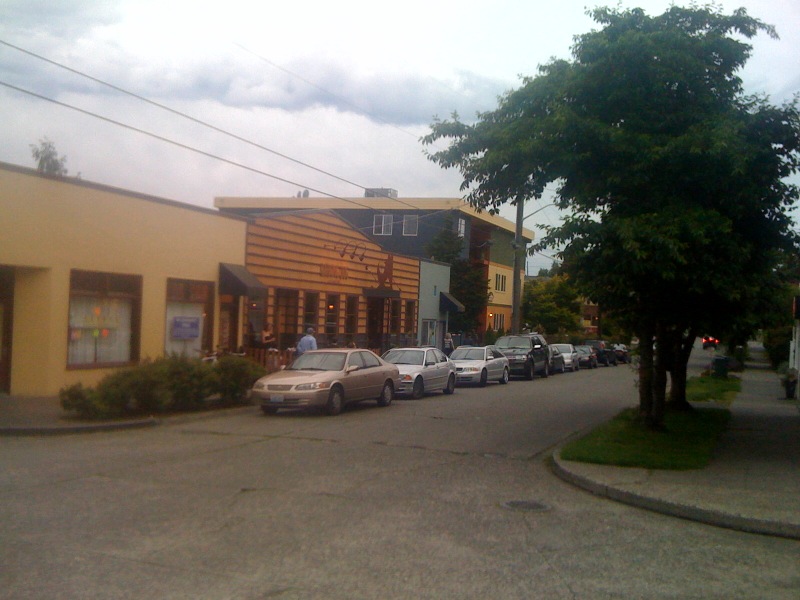
Larry’s is located in an area that if I didn’t know better would just look like a series of storage sheds. In fact, I’m pretty sure I’ve driven by a couple of times and never noticed it; not even the smoker sitting out in the parking lot. The outside décor is quite simple, a white awning covering the entrance and a Betty Boop statue (which seems out of place). Inside it isn’t a whole lot different with some older pictures and simple, clean tables. There are some display cases with various smoked items for sale. At the front is a counter where you place your order; no waitresses at Larry’s. It’s the type of place that would be featured on a show like Diners, Drive-in’s and Dives, not a place where the chef is on Iron Chef America.

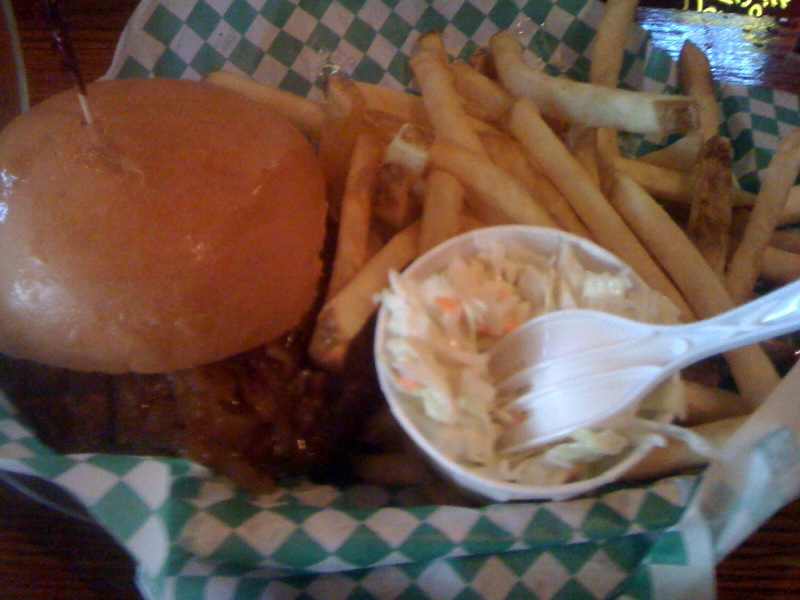
On the way there, my co-worker told me that their smoked salmon was excellent. But, when I walked up and quickly looked at the menu, I opted for the ½ pulled pork sandwich lunch which came with chips and a side (I went for the slaw). It just seemed like the right thing to order. I also got a soda, which I was told to just grab out of the cooler. The whole thing came to less than $5.

We walked to the cooler, grabbed our sodas, and took a seat at one of the tables. It was only a couple minutes until our food arrived. The sandwich was definitely very good sized. The pork was covered in sauce with more on the side. The bread wasn’t the traditional bun that I was expecting, but more of a French style bread with a soft inside and crispy outside. When I took a bite, the sandwich was very flavorful. The sauce was sweet initially, and left a little bit of heat at the end. The pork was very moist, tender, and quite flavorful. The slaw was your basic cole slaw, with a sweet dressing and cabbage crunch, nothing too unique. I contemplated adding the slaw to the sandwich (Southern style), but since I was with a co-worker and not friends, I opted to save that idea.


Larry's Smokehouse on UrbanspoonFor me, it was a very good lunch, full of unexpected flavor. The only drawback for me was actually the bread, as I prefer a bun instead of the crispy bread with my barbeque. But all, in all, I was definitely pleased and will definitely be back. And it gave me hope that there is good food to be found in Bothell, as long as I’m willing to go out and look for it.


Final Verdict – 4 stars

Thursday, June 10, 2010

Braised Short Ribs - Learning another new technique

When I went to Whole Foods the other day to go grocery shopping, I didn't enter with a plan for a change. Instead I simply looked around to see if I could see something that would be interesting to make.  As I was checking out the meat counter, I noticed beef short ribs.  Having never actually made short ribs myself, and never having attempted to braise anything, it seemed like something worth trying (especially since I could experiment on myself).  So, I had them wrap up a pound and a half of spare ribs (basically 4 ribs), and headed home to pull out the cookbooks.

Of the 5 cookbooks that I own, two had recipes for braised short ribs; Bobby Flay and Michael Symon.  Looking at the recipes I quickly realized that I really only had ingredients to try and pull of the Bobby Flay version, so that's the one I decided to do.  I actually got started last night by adding salt and pepper to the meat to allow it to be more receptive to the flavors that I would be trying to incorporate and infuse.

After a long day at the office, I headed home to begin cooking.  It was at this point that I wondered to myself why I thought it would be a good idea to try braising short ribs knowing that the earliest I would be getting home is 6, and at a minimum it would take 3 hours to get the ribs to a nice and tender state (unless I had a pressure cooker of course...).  But, since I had already proceeded to apply the salt and pepper, I needed to make sure I cooked them.  So, I just dove in and decided that I would simply find myself a snack at some point in the evening.  Besides, after eating out for the past few nights, I needed a change and a home-cooked meal, even if my Urbanspoon ranking might suffer a little.

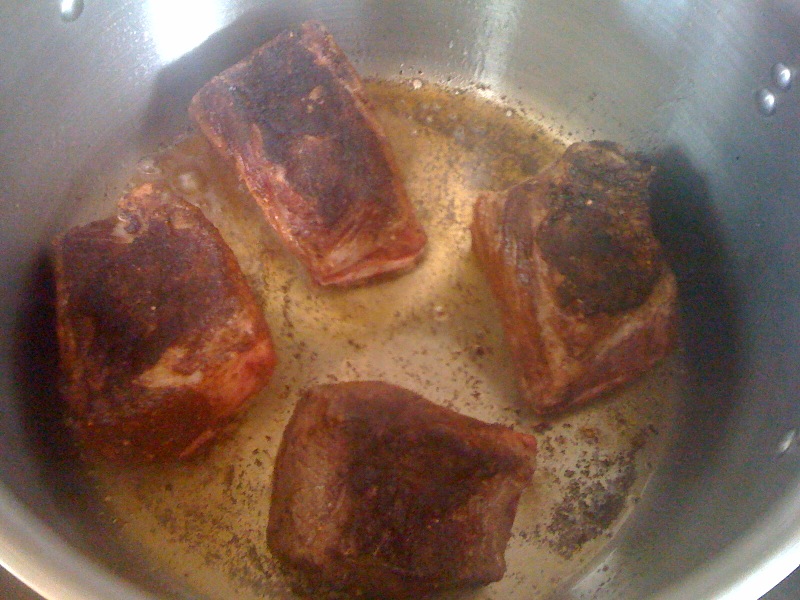
I started by putting together a simple spice rub while the oil heated.  It called for chile powder, cinnamon and black pepper.  Then I applied the rub to the ribs prior to putting it in the oil to brown.  At this point, I ended up making a couple mistakes.  The first was that I didn't shake the excess rub off so it fell into the oil.  This leads to burning, and a flavor that is not that desirable.  The second was that I had not pre-chopped my veggies that I would need, so I was trying to do that, and ended up cooking the ribs a bit past golden brown.  But, I pulled them out, and forged on ahead, where actually the rest is quite simple.  I added some onion, garlic, carrot and celery to a little bit of oil remaining in the pot.  I also decided to throw in a jalepeno for a little flavor (kinda cooked this a little long too).  Then I added the red wine and went to add the chicken stock when much to my shock, I realized I had none in the house.  This is quite the rare occurrence lately, but it happened just when I needed about 4 cups.  So, I improvised.  I added an additional two cups of wine and two cups of water.  I brought this to a simmer, added the ribs and put it in the oven at 275 (the Michael Symon recipe called for 225, and Bobby Flay's was 325, so I compromised).


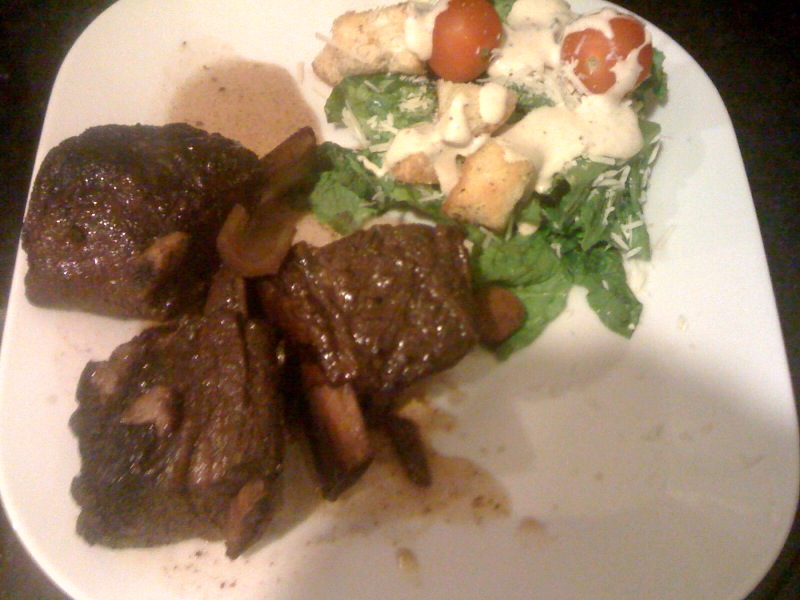
At this point, I just went about my evening; going for a run, getting some work done, picking up the house.  All told, I left the ribs in the braising liquid for almost 3 hours.  Finally, I had to pull them out and eat.  I decided to opt out of the part of the recipe that called for a sauce to be made out of the braising liquid, put them on my plate, and dug in.  The first thing I noticed was that they were incredibly tender, even though they probably could have used another half hour or so.  I didn't need a knife to get to some bite-sized pieces.  The flavor though was a little weak.  Part of that owes to the spice rub not really being applied liberally and worked into the meat, and part of it was just weak ingredients.  The chile powder was just the kind you get with a spice rack and the cinnamon was not freshly ground.  But, the meat was very tender, and very moist, so I was quite pleased with that.


In the end, I had a good dinner, albeit awful late at night.  And, I learned a few things, mistakes I can correct for the next time such as working the rub into the meat, and removing the excess to prevent burning.  I also came up with a few other things to try like using Coca-Cola as the primary braising liquid, or doing the whole thing is a sweeter red wine.  Maybe mixing up the rub to have some different, more defined flavors.  Or I could be really crazy and make sure that I have the ingredients that the recipe calls for and actually make it the way the chef intended.  All I know is that now that I have a general understanding of braising, I'm going to be experimenting with that cooking style more often; just maybe not during the week.

Wednesday, June 9, 2010

Deck on the Barking Dog - Seattle Restaurant Review

So, I've lived in my neighborhood on the north edge of Ballard for almost 4 years now, and I'm ashamed to say that I've never been to the Barking Dog Alehouse; an establishment located exactly 8 blocks due south.  I've run countless laps around the neighborhood, passing by 70th, and have yet to stop in.  But tonight, as I had no food in the house, and needed something to eat, I finished my run, packed up my computer, and headed down to the Barking Dog.  And you know what, I'm glad I did.

The Barking Dog is a pretty nice place, aesthetically pleasing from the outside, and fitting in nicely amongst the homes in this neighborhood.  There is a small patio outside, and plenty of seating inside.  It's an unassuming place where you walk in and seat yourself, but in typical Seattle fashion, it's a place where pulling out a laptop to work while consuming a beer is not out of place.  The decor is simple, but nice.  And there are flat screen televisions strategically positioned to show a variety of sports.

When I walked in, I grabbed a table along the side so I would have some space to get a little bit of work done while I was eating (this was actually the impetus for me not cooking for myself this evening).  After getting settled, I perused a nice beer list with a blend of local brews on tap, Belgium imports, and some unique beer options.  I settled on a Silver City Red Ale, and then turned my attention to the food menu which was only a couple of pages.  Everything appeared to be simple bar food, but taken up just a notch.  I was trying to figure out what I was in the mood for, and almost narrowed it down to the burger until a part of me just couldn't do it being that I'm still on burger overload from my personal Juicy Lucy Challenge (read about it here).  So, I ended up going with the Halibut and Chips; a fairly safe choice.

After responding to just a couple of e-mails, my dinner arrived.  The halibut was nice and brown, and served over the top of some waffle potato fries.  I'm a malt vinegar guy, so I put a bit on the halibut, dipped it in the tartar sauce and took a bite.  Much to my pleasure, the halibut was cooked very well.  The breading was nice and crunchy with a very subtle flavor, and no greasiness.  The halibut was incredibly moist and was definitely the star of the show as it should be.  The tartar and the malt vinegar accented it very nicely.  I quickly put down that first piece of halibut before I even got into the fries, which were ok, but I'm guessing frozen, not fresh, and lacked just a bit of salt (which I just added myself).

Barking Dog Alehouse on UrbanspoonAll in all, I made pretty quick work of the halibut, and finished off the fries.  Then I ordered another beer and got some work done.  The meal itself was pretty simple, which is exactly what I was looking for.  And while fish and chips is not a real stretch, and probably not the best indicator of overall performance, I do have to give credit for not overcooking the halibut.  There is nothing worse to me than a dry, ruined piece of halibut.  And the atmosphere was great as well.  I can definitely see myself taking the Heel-Toe Express down to the Barking Dog Alehouse on more occasions to get some work done on nights when it is just me, while trying the more "adventurous" fare such as the grilled pork chop or the bleu cheese and fig ravioli.


Semi-Final Verdict (pending expected trips) - 3.5 Stars

Monday, June 7, 2010

Deck on the Juicy Lucy – Matt’s Bar vs. the 5-8 Club – Minneapolis

Today, I undertook a challenge that I’ve never done before. Today for dinner not only did I eat two hamburgers with fries, but I did it in two different establishments, and I did it within an hour of each other. Now, what, you might ask, would compel me to do something like this? It was for you my reader, and for the opportunity for me to establish which is the best of the best in Battle Juicy Lucy!
 
See, in Minneapolis, there are two establishments that serve a very unique hamburger known as the Juicy (or Jucy) Lucy. This burger is basically two quarter pound patties that have the cheese actually cooked inside of them. That’s right, a stuffed cheeseburger! The two establishments are Matt’s Bar and the 5-8 Club. Both are on Cedar Avenue in Minneapolis. Both claim to have invented the famous burger. Both have been featured on multiple Food Network and Travel Channel shows (most recently Man vs. Food and Food Wars). And, since I don’t know the next time I will be in Minneapolis, I thought today would be a great opportunity to try them both and offer my opinion.

 
I started my hamburger endeavor at Matt’s Bar. I chose to start there simply because it made the most sense for my loop to the airport. I was able to walk in and find a seat at the small bar in Matt’s. It definitely is not a big place, seating about 60 if everyone squishes. The whole thing sort of has a feel of “Grandma’s Basement”, but in a good way. There is golden wallpaper on the wall, older carpet on the ground, simple booths, an ATM in the corner (Matt’s doesn’t take plastic), and a couple of TVs on the wall. It is definitely the type of place that has seen its fair share of after softball revelers who come to drink one of the 6 beers on tap. The whole place is run by 3 people; the bartender, cook and waitress, and the menu is about 10 items up on the wall. Conversely, the 5-8 Club is a little more diner/bar. Originally it was started as a “Speakeasy” back in the days of prohibition, and has retained a little bit of that social club ambiance. There is a main dining area, a separate bar with both high tables and bar seating, and an outside deck. It is a little more open than Matt’s and a little brighter. There were quite a few more people working at Matt’s, with at least 5 servers that I could see, and I don’t know how many people in the kitchen. The menu was much bigger as well, like you would expect in a diner.

 
At both places, I ordered the same thing; a Juicy Lucy with fried onions, side of fries and one beer. {Interesting side note: at Matt’s it is spelled Jucy, a typo that was just never corrected, and now will never change}. At Matt’s, the Lucy only comes one way, with American cheese. At the 5-8 Club, you can mix it up, so I opted to go with Pepperjack. At both places, the wait for the burger was about the same; 20 minutes give or take. That’s because they are all cooked to order, nothing sitting around under a heat lamp at either of these places. The wait could have been longer at Matt’s if I’d arrived 20 minutes later as it filled up with people.

 
The Juicy Lucy is not a burger that you cut in half when you get it, so when I got my burger at Matt’s (see picture on the left), I just dove in. In the picture, it doesn’t look like much, but that’s because the goodies are on the inside. The interesting thing is in my first bite, I bit in just right that half of the cheese actually squirted out the back, fortunately landing on the wrapper. It ended up giving me a nice dipping sauce for the burger. Everything about the burger was simple, but good. The meat was definitely flavorful with the cheese really working to keep it moist even though it was cooked to medium well. The onions added a good amount of flavor, picking up some of the flavors from the burgers since they were prepared on the same flat top. But, they were very finely diced, almost like McDonald’s, which I really don’t like that much. Then there were a couple of pickles that add that nice crunch and acidity that balances very well with a burger. I did not end up adding any ketchup or anything like that to the burger, and they don’t come with any type of special sauce, though it really didn’t need any. The French fries were your basic shoestring variety, and good, though nothing super special.

 
Having finished that burger, I had a feeling that the 5-8 Club had its work cut out. So, I was excited when that burger came out, feeling like they were up to the challenge. It appeared that the Juicy at the 5-8 Club was actually a little bit bigger than the one at Matt’s. It came with the “fried” onions (in both cases these were actually caramelized) that were much more the style that I like; coarsely chopped. The fries were thicker cut, and had a nice amount of salt and crunch. Biting into the burger, it was cooked perfectly; medium and juicy. The cheese was melted like you would find in a cheese stick, not completely liquefied. It did not shoot out the back when I bit in, and I was definitely happy except for one thing; it seemed to be less flavorful. The beef just seemed a little more bland than what I had at Matt’s, and the onions definitely had less flavor (I’m guessing that they are cooked apart from the burgers). I did like the melted Pepperjack as part of the burger quite a bit, and I definitely finished the entire burger. 
 
5-8 Club Tavern & Grill on UrbanspoonMatt's Bar on UrbanspoonAt the end, each place had something that it did really well. I really enjoyed the ambiance of Matt’s, so much more a local watering hole where everyone knows everyone. At the 5-8 Club, I really enjoyed the opportunity to include different cheese in my Juicy, and the overall preparation was great. The 5-8 Club also had excellent fries. When the Travel Channel did the Food Wars head-to-head challenge, the winner was Matt’s Bar. And, I have to say, Deck On Food agrees with this verdict! It really came down to the taste of the burger, and there was just a little bit missing from the 5-8 Club burger; just slightly underseasoned. But that little bit was enough to give the victory to Matt’s (even though I wouldn’t mind trying the Blue Cheese Juicy Lucy next time I’m in Minneapolis).


Final Verdict (head-to-head):

  • Ambiance – Matt’s Bar
  • Selection – 5-8 Club (4 cheese options)
  • Technique – 5-8 Club 
  • Taste – Matt’s Bar

Overall – Matt’s Bar

 
Final Verdict (overall burger rating):

 
Matt’s Bar – 3.75 Stars (good burger, ok fries)
5-8 Club – 3 Stars (ok burger, good fries)


Why do we always get chicken breasts at these events?

This past weekend I was in Minnesota celebrating my wife’s class reunion. On one evening, as is customary at events like this, there was a big group dinner. Kind of like you get when you go to a charity auction or a wedding or banquet. I was initially planning on writing about the food that was there, and scoring it like I’ve been doing for my restaurant reviews. But, after a few bites, I decided I did not want to do that. Unfortunately the food just wasn’t that good, but the atmosphere and the camaraderie were great, and honestly that’s what this whole evening was about. So instead, I thought I would write about the approach that these facilities take, and how it continues to perplex me.


Like I said, these events are not about the food, but the people and the event, but why can’t the food be a part of that? And why do these events consistently insist on serving roasted chicken breast? As a home cook, preparing a chicken breast that remains moist can be a challenge, and that’s when I’m cooking for 2, not 60. I’ve been implementing some breading techniques doubled with searing prior to roasting. And then it has to be served immediately, and doesn’t have time to sit. Yet, here we are with 60 warm, dry chicken breasts to eat, trying to compensate with some watered down sauce and a few capers. If anything, it slightly dampens the evening’s festivities (or at least doesn’t boost it). The same thing always happens with salmon. How many of these events have you gone to where you order the salmon and have to dip it in your water to put some sort of moisture back into it? And don’t even get me started on the sad vegetables and roasted potatoes that look like they’ve been sitting out for a couple of days (and are covered in garlic!!)

If these events are going to insist on serving chicken, why not change techniques? Maybe use chicken thighs instead of breasts. Not only are thighs much more difficult to dry out, they tend to be less expensive per pound than chicken breast. Or at least bread the chicken breasts before roasting, thus allowing some additional flavor from the chicken. For the sauce, why not a simple fruit based sauce instead of a heavy cream (which ends up being watered down to the consistency of 2% milk before it is all said and done)?

Now, I’m no expert. I haven’t cooked for more than 8, and I know how difficult it can be to have everything done at the same time and ready to head out. But, I don’t think it is that difficult to think through the menu a little. If there are going to be say 100 plates, you know that they are probably going to have to sit for a bit. So, serve meat that has a lot of moisture like chicken thighs, spare ribs or sea bass (other oily fish). Consider different cooking techniques. Don’t just throw everything in the oven for 30 minutes and call it good. Bread it. Poach it. Marinate it (this one is easy!!). For side dishes, what about mashed potatoes, a creamy polenta, risotto? Having spent a lot of time working on my risotto, I can tell you that this can hold up to sitting for a time without losing anything. For sauces, avoid milk/cream based sauces unless you are serving pasta. These don’t hold up well to sitting, and honestly don’t add a whole lot of flavor. A simple fruit sauce (I’m thinking one of my pepper/fruit sauces) would be great, and again holds its flavor over time.

These types of events aren’t about the food, and it shows. The food can really accentuate the evening. A good meal leaves people talking, and builds memories. This is a meal that will be completely forgotten and not talked about beyond finishing this post. When people go home, they won’t say “remember that great meal”, they will say we spent two hours in a room, and then went outside and talked to so-and-so. And as a “foodie” this actually makes me a little sad.

Friday, June 4, 2010

Learning the proper (and legal) way to poach salmon


I would say that at this point in my cooking adventures, my "cooking" techniques (the actual act of heating the food) are a little limited. I can grill, sautee, and roast.  I've also learned a little bit about searing and locking in some of the flavors.  All of this is a definite marked improvement; chicken and pork are light years better than before.  But, there are a lot of different things that I still want to learn.  So, I decided that I was going to tackle poaching, and that I would do it with some fresh Copper River Sockeye Salmon.


Salmon is without a doubt one of our favorite foods, and I've spent some time learning a couple of different ways to cook it.  It's also one of those foods where my experimentation is a little more restricted, especially given that my wife grew up in the Salmon capital of the world, Juneau, AK (it really doesn't get any fresher).  Right now the two winners in our household so far are steamed salmon with just a little butter, salt and pepper; or grilled salmon, with a simple brown sugar and soy glaze.  So, I knew that when I wanted to try a new cooking technique, I was taking a bit of a risk.  Fortunately, I had the recipe stylings of Michael Symon on my side, so I jumped in.

In his cookbook, he shows three different poaching methods, two of which called specifically for salmon.  The first was a court bullion poaching liquid, while the other was a butter poaching method.  I was really interested in butter poaching and fusing the butter flavor into the fish.  But, I don't currently have a good thermometer and with butter it is incredibly important to keep it at the right temperature to prevent it from breaking down.  So, I decided I would wait until I got the tools I need, and instead opted for the bullion method.


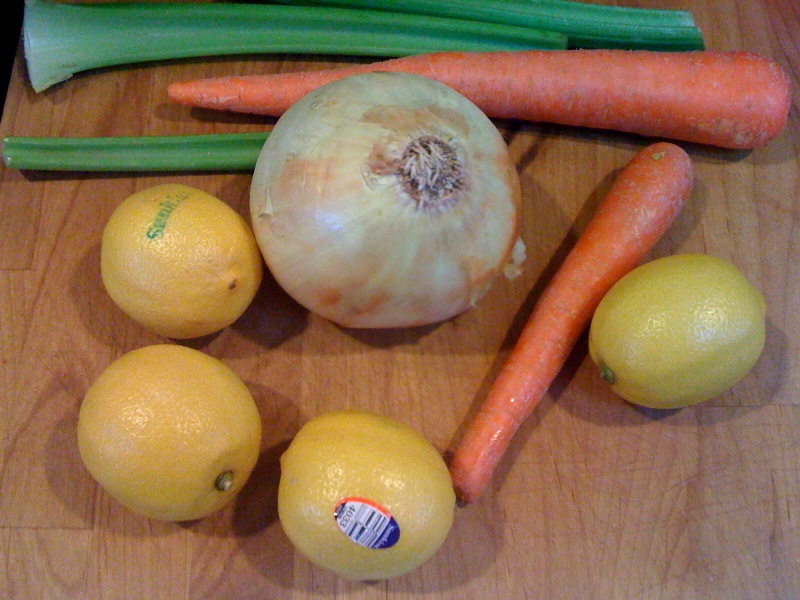
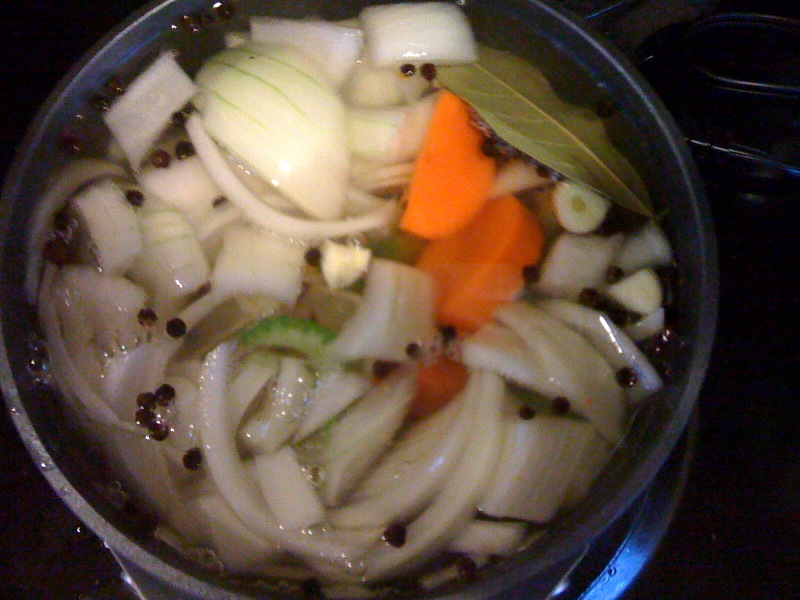
Making the poaching liquid is actually quite easy.  You simply start with some aromatics; onion, carrot, celery and garlic.  I've definitely used a lot of onion and garlic before, but the combination of the carrot and celery is new, and thusfar something I like (though my understanding of how to appropriately use it is still evolving).  From there I added a little bit of lemon juice and some black peppercorns.  Then, to give it a little more flavor, I ground some cinnamon stick, orange zest, corriander and cumin together.  Everything was combined in a pot with a quart of water, and brought to a simmer.  I let it cook for a little over half an hour, and then strained all of the solids out, leaving myself with a very nice, aromatic liquid.

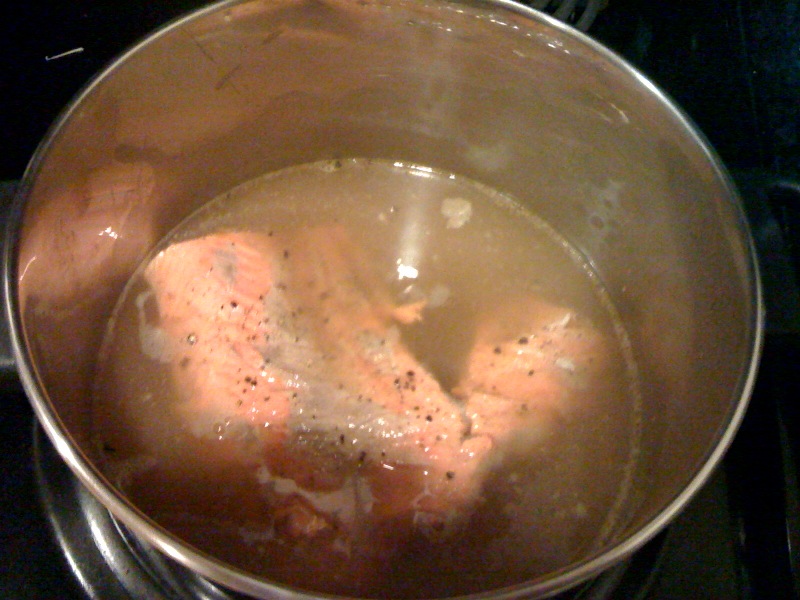
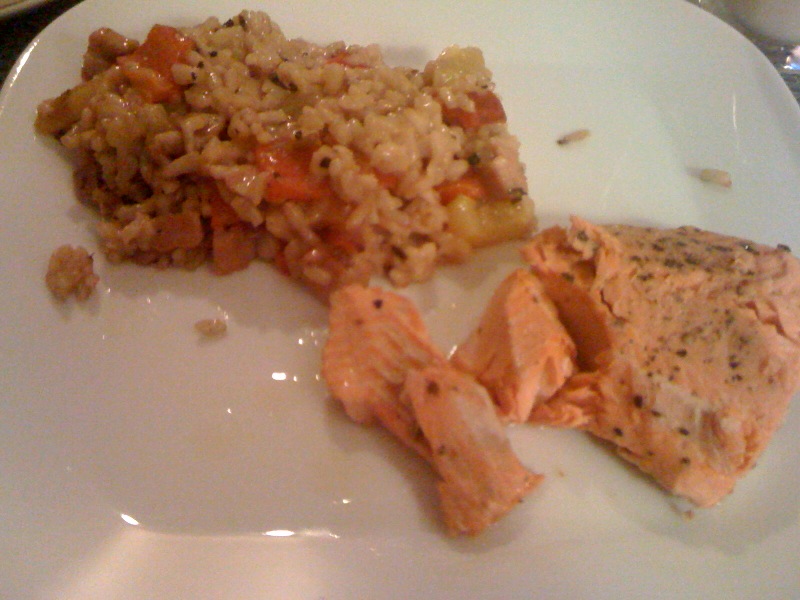
After that, it was pretty easy.  I simply heated the liquid until it was steaming, almost simmering, but not quite.  If I had a good thermometer, I would have just brought it up to about 175.  Then I added the salmon, which I had added a little salt and pepper to, and basically let it soak for about ten minutes.  About half way through, I wanted to flip the salmon over just to make sure that it was covered completely.  As I went to flip it with the tongs, it simply flaked apart, it was so tender.  Once it was done, I pulled it out, and served it with a variation of my risotto (bacon, roasted red and yellow peppers, no purees) as well as a caprese salad* (see note at end).


At first bite, I was a little nervous.  Not only had I tried a new cooking technique for the salmon, but I had finished it a little too early.  Usually I try to time it so that I'm just setting the plate down when she gets home.  Tonight I was off by about 15 minutes.  But, in the end it worked.  By poaching the salmon, I was able to really lock in the moisture as well as infuse it with the flavors from the bullion.  Even though it had cooled, it still flaked off, and wasn't dry.  Overall, we were both very pleased with the meal, and this will definitely be a technique that I use again.  I want to try a lot of variations such as butter poaching, as well as different spice mixtures.  I also want to try different meats and fish (I'm already thinking about butter poached shrimp, or even trying bullion poached pork loin).  This definitely expands my repetoire and will allow me to experiment even further with different flavors in my food.

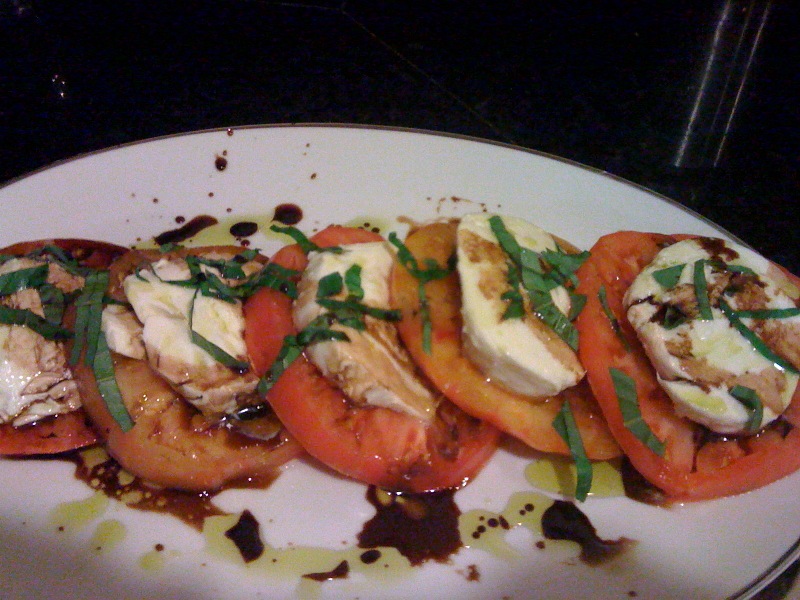
*Cook's Note on Caprese - The Caprese that we had with the salmon turned out deliciously.  I couldn't have been more pleased.  But, a successful caprese has very little to do with the cook's technique (at least in my opinion).  The biggest indicator of success is the quality of the ingredients.  I simply purchased fresh, organic heirloom tomatoes, a very flavorful olive oil, a nice balsamic vinegar, and fresh mozzarella.  I then added fresh basil from our garden, and some ground sea salt and black pepper.  These ingredients are a magical combination together, and this dish truly shows why purchasing quality ingredients can make or break the meal before you even begin.

Wednesday, June 2, 2010

Deck's Chicken Parmesan

Some evenings call for a quick and easy meal, but that doesn't mean that flavor has to be sacrificed (something I now understand).  Tonight was one of those evenings, so I broke out one of my sure fire, simple and delicious recipes; Chicken Parmesan.  I'll admit that I cheated a little bit on this one, using a pre-made sauce instead of doing my own.  As my cooking evolves, so to will this recipe.  But for now, it is a great flavorful dish for the working professional.

Deck's Chicken Parmesan


Serves 2 (with some leftovers)


Ingredients:

2 Bone-in, Skin-On Chicken Breasts
1/4 - 1/2 cup of Italian Seasoned Bread Crumbs
2 Tbsp Extra Virgin Olive Oil
3 Tbsp Butter
Salt and Pepper
3 cups Marinara Sauce (I prefer the Whole Foods 365 Brand)
1/4 cup Balsamic Vinegar
1/4 cup buttermilk blue cheese
1/2 cup Shredded Parmesan cheese
Angel Hair Pasta or Spaghetti

Step 1:  Heat the oil over medium-high heat in a skillet or pan that you will be able to place in the oven.  At the same time, preheat your oven to 350, and put some salted water on to boil for your pasta.


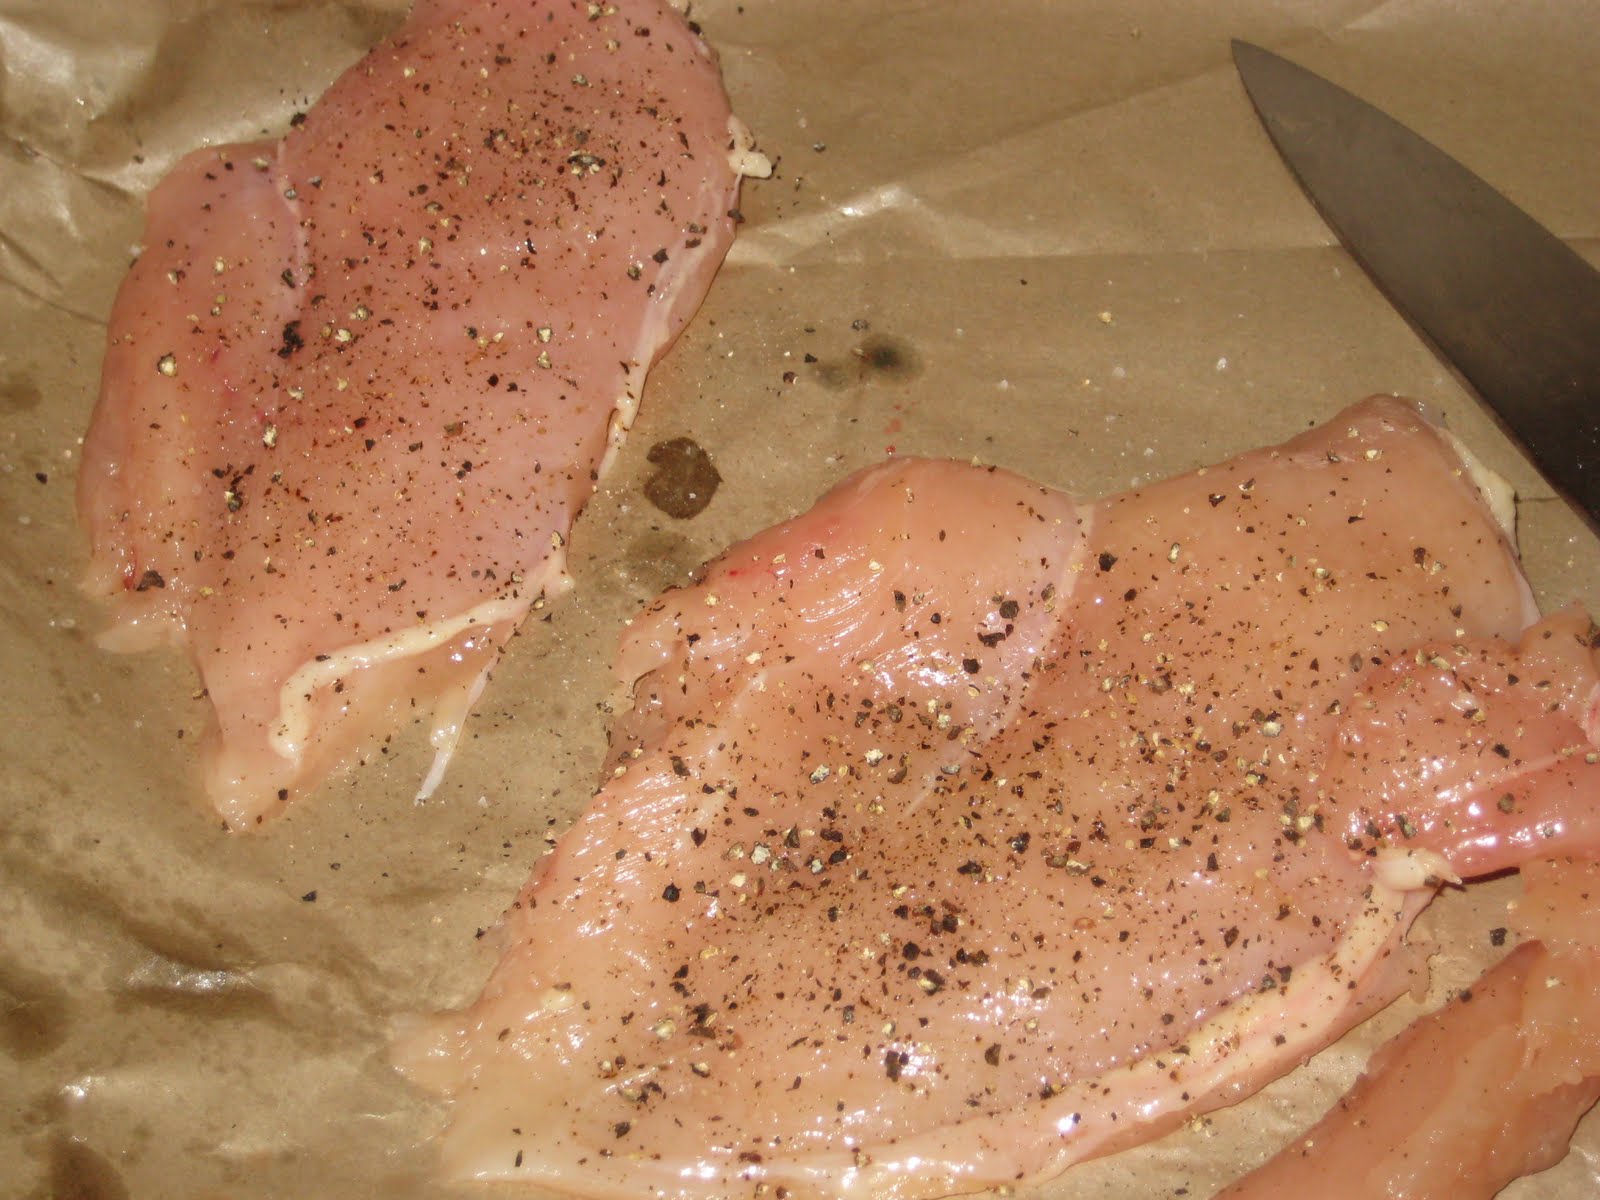
Step 2:  Remove the bone and skin from the chicken.  Then season with some salt and pepper.


Cook's note:  I prefer to purchase the bone-in, skin-on chicken breasts feeling that these help keep the chicken breasts nice and moist (not to mention being a little cheaper).  I also try and avoid freezing the chicken so that it doesn't lose any of the natural moisture.

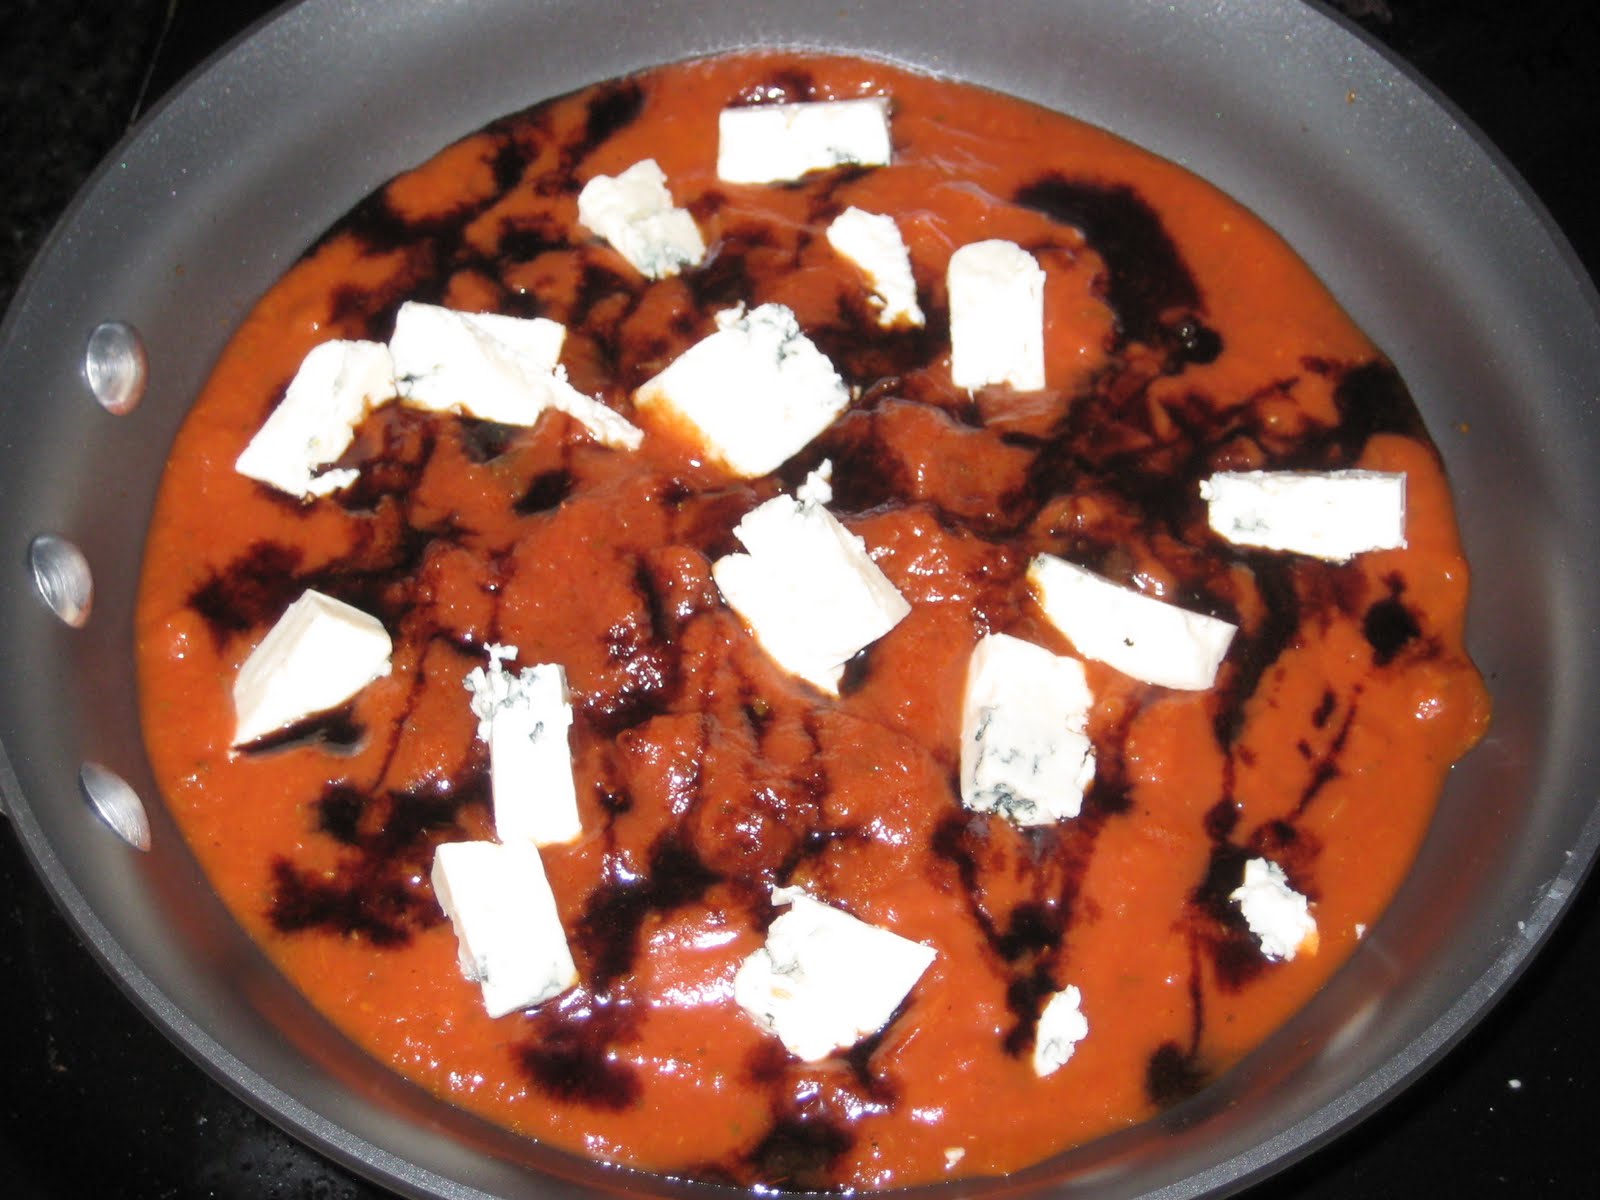
Step 3:  Melt the butter in a dish that will be big enough to lay the chicken breasts in.  While the butter is in the microwave, combine the blue cheese, balsamic vinegar and marinara sauce in a sauce pan over medium heat.  You can also add any type of herbs here (I prefer oregano and basil), as well as some fresh ground black pepper.


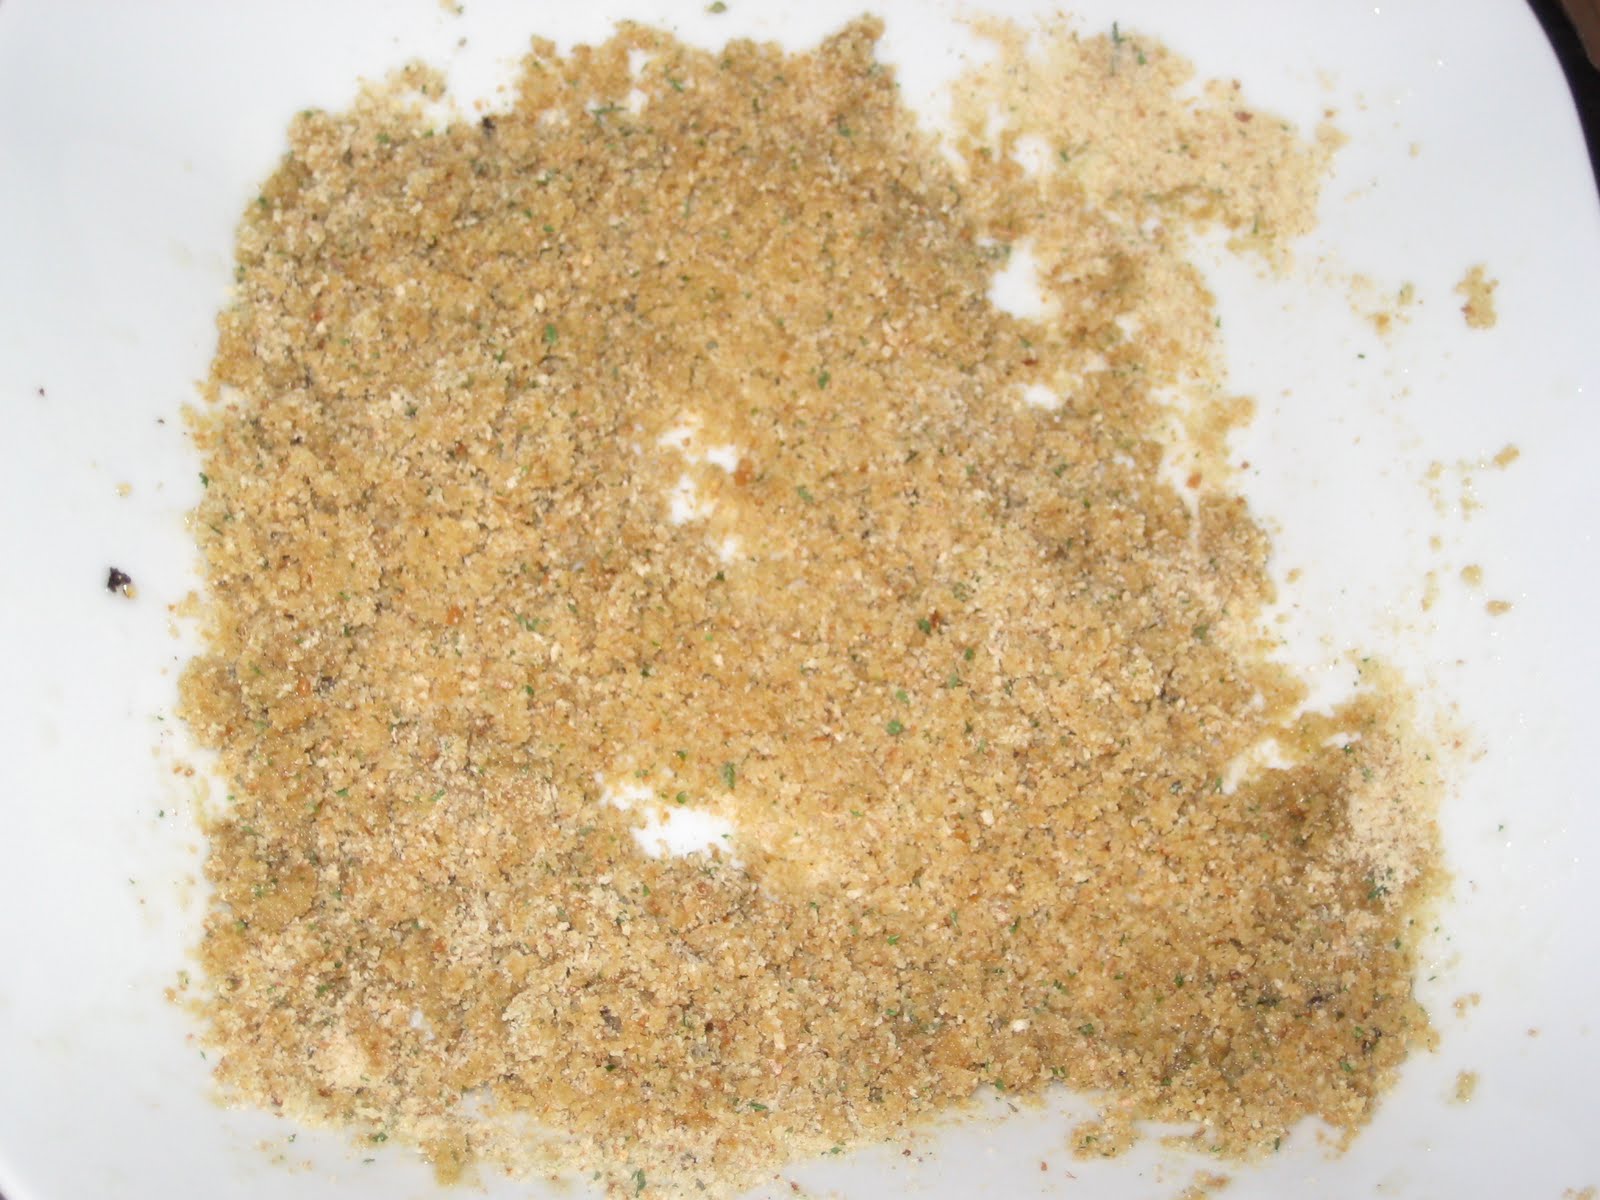
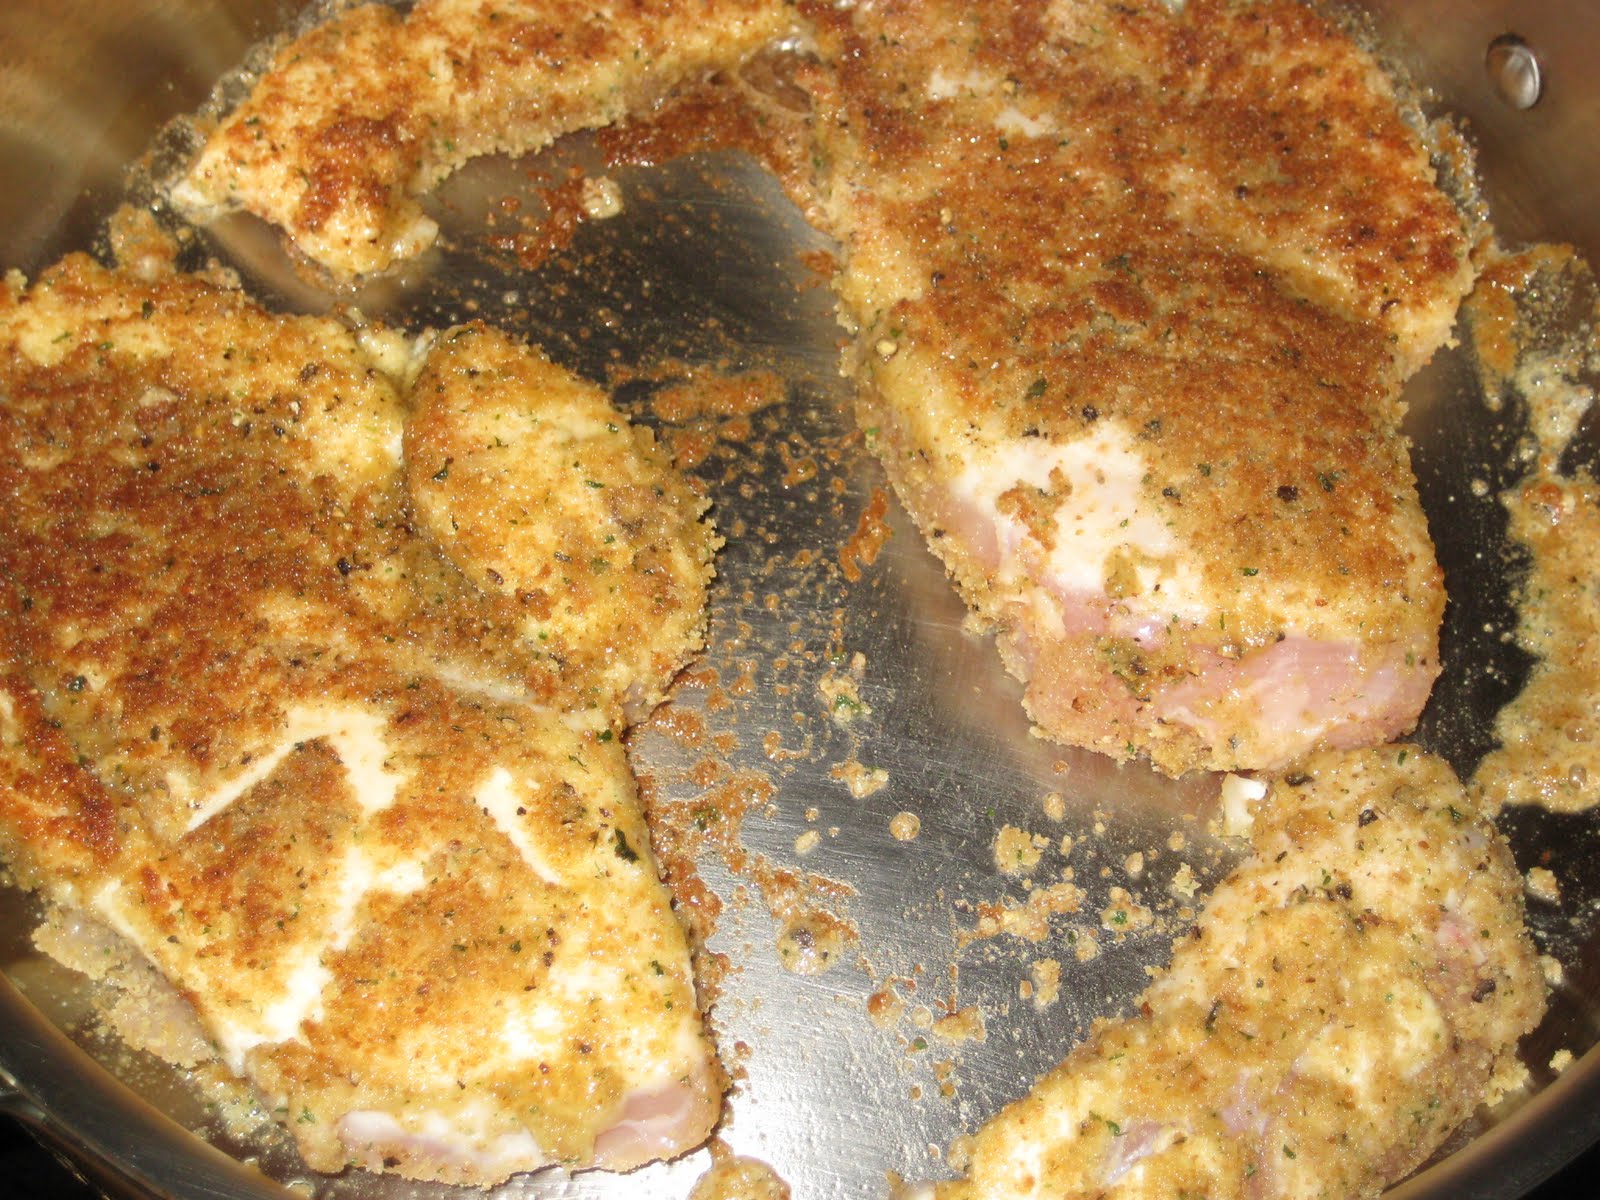
Step 4:  Brush a little bit of the melted butter on each side of the chicken breast.  You just want to put a thin layer on.  Add the bread crumbs to the remaining butter and mix together.


Step 5:  Coat the chicken breasts in the bread crumbs, and add to the heated oil.  Cook for about 2 minutes, and then flip over (you want to cook just long enough to brown the bread crumbs, but not cook all the way through).  Cook for another minute, and put directly into the pre-heated oven.

This would be a good time to put your pasta in the water as well.


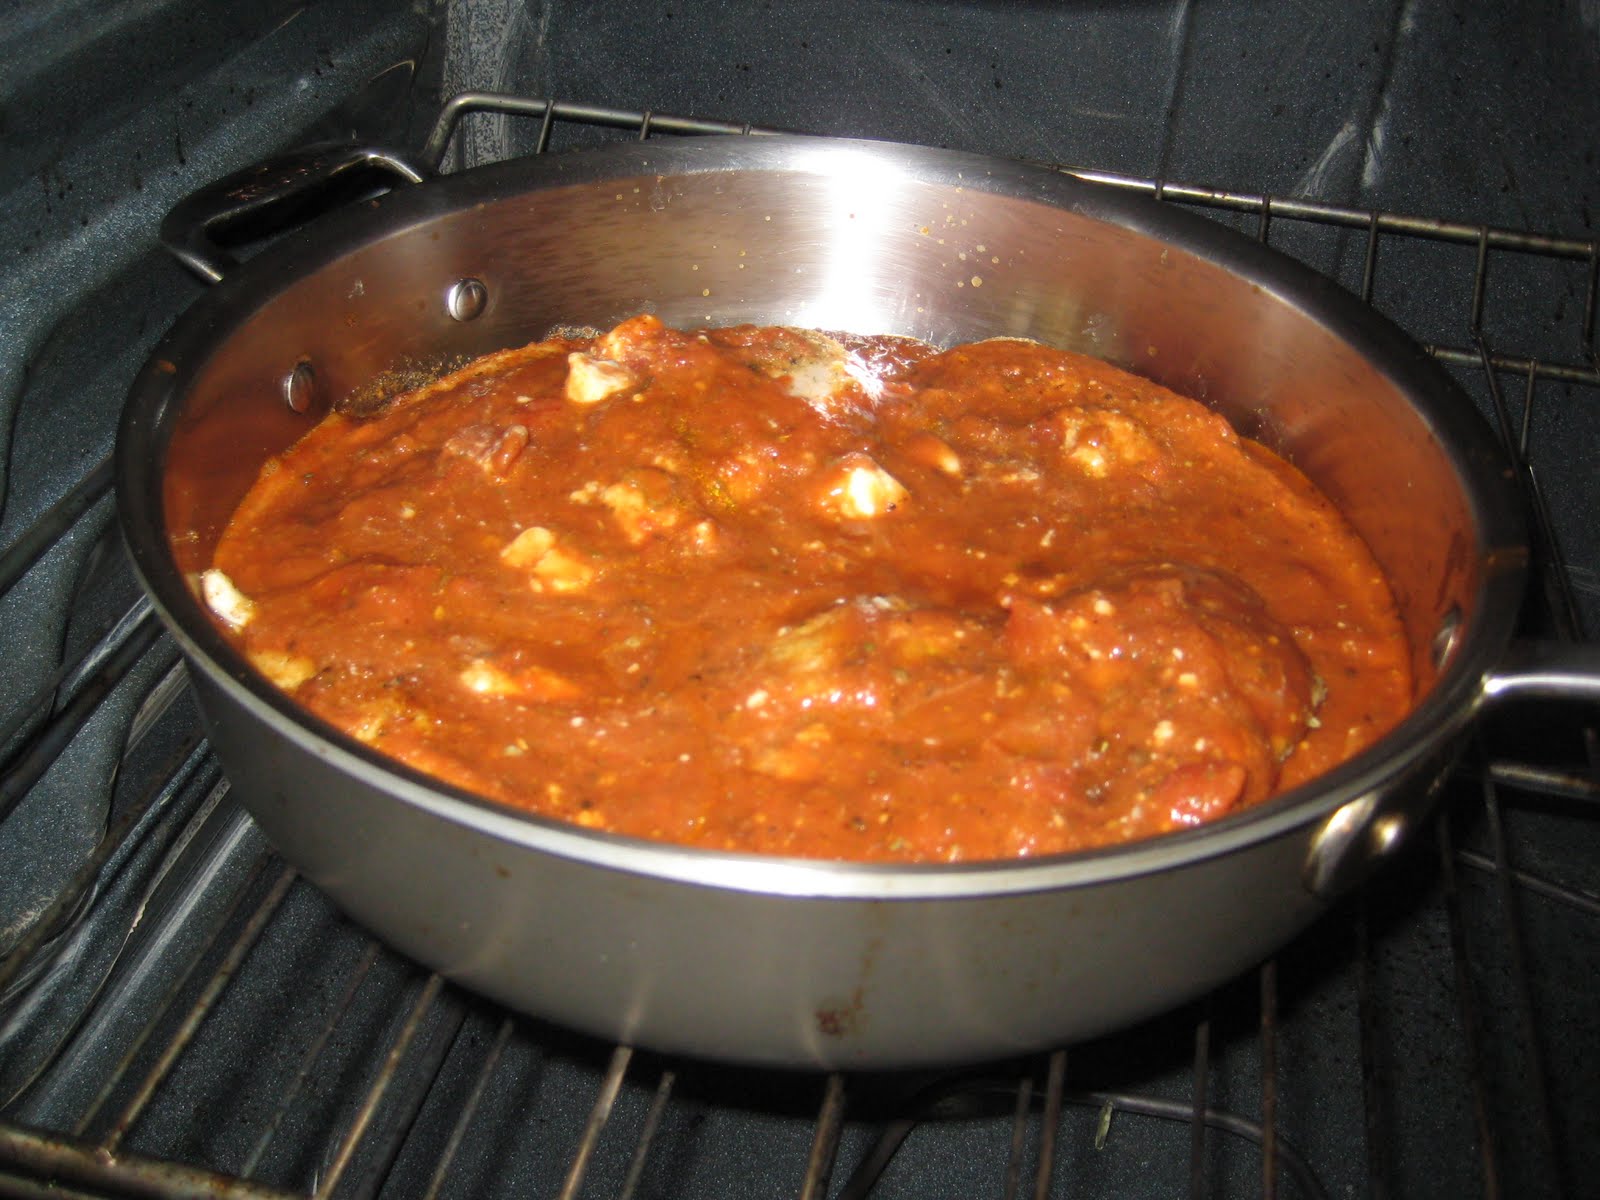
Step 6:  After about five minutes, pull the pan out of the oven, and pour the sauce directly over the chicken breasts.  Put the pan back in the oven.


Step 7:  After another 5 minutes, pull the pan out, add the cheese, and put back in the oven long enough to melt the cheese.

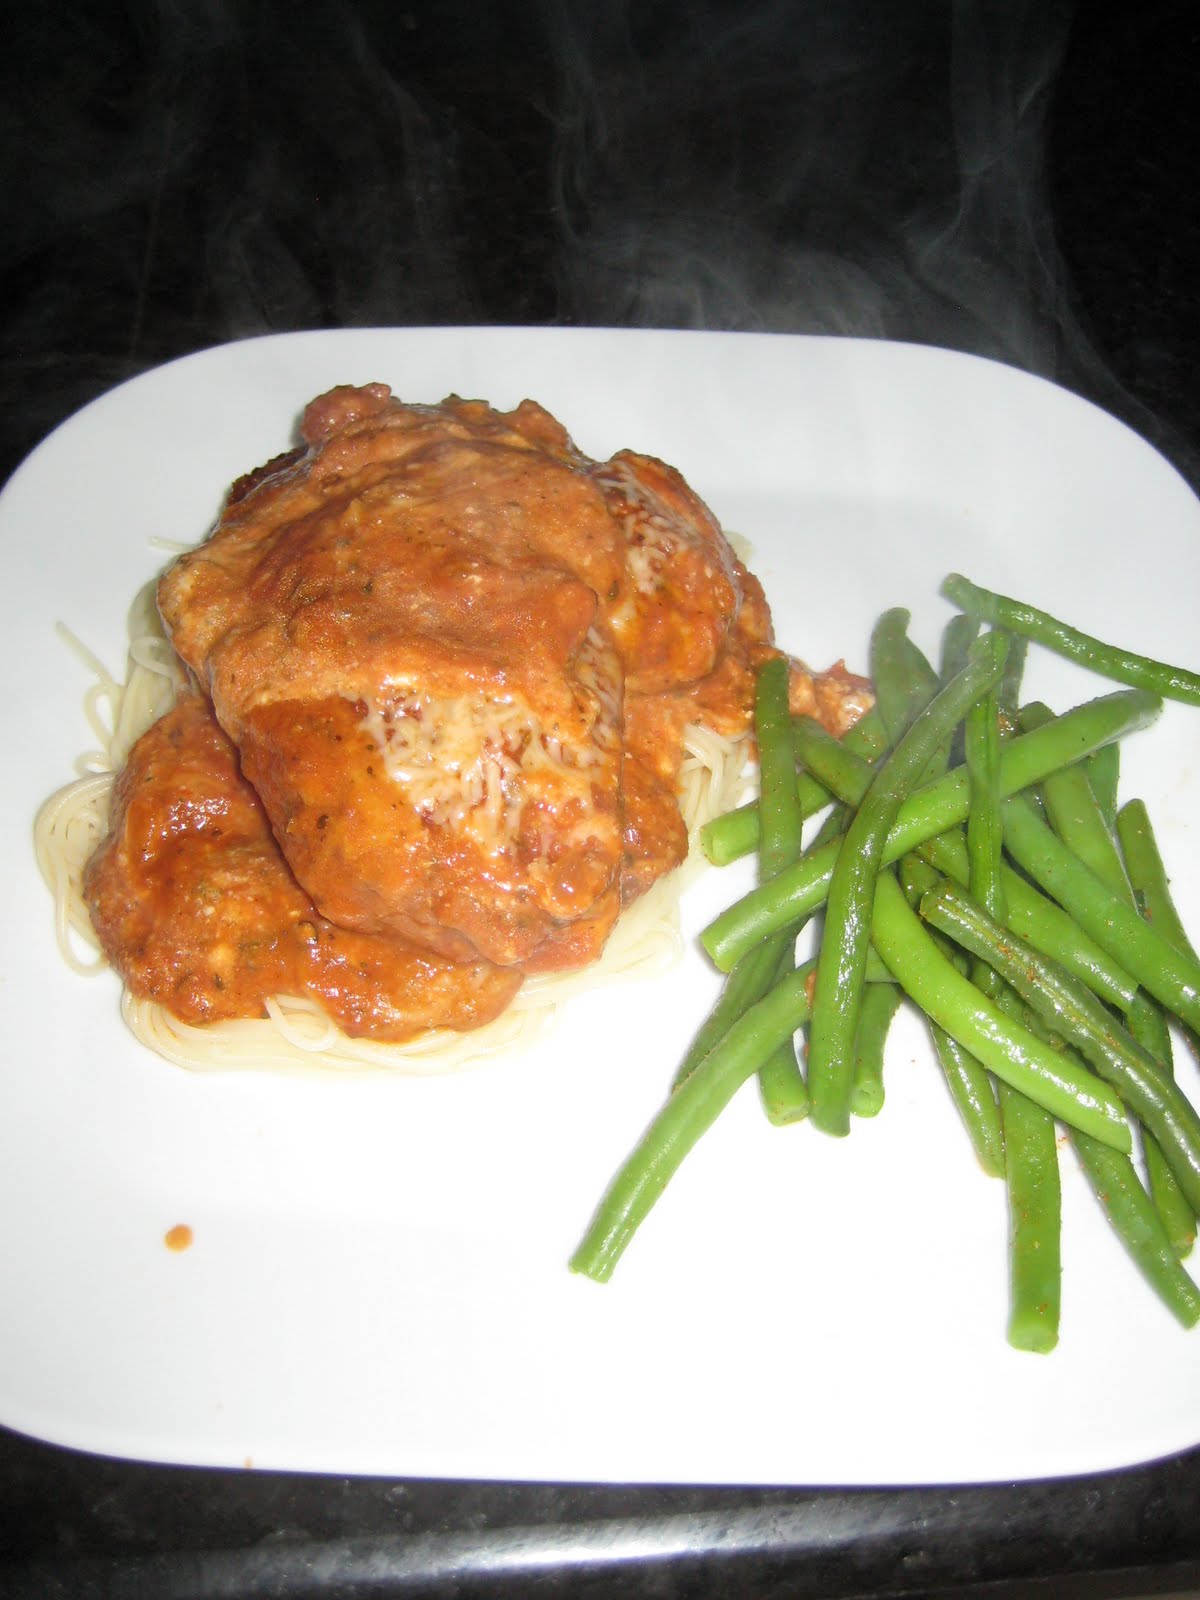
To serve:  Remove from the oven.  Put some of the pasta on the plate.  Add some of the sauce directly to the pasta.  Then place a chicken breast on top of the pasta, add cheese to your taste, and enjoy!